Direct Link to tutorial/solution:
Click here to view tutorial/solution in a new tab.
Embedded tutorial/solution:
32 STEPS
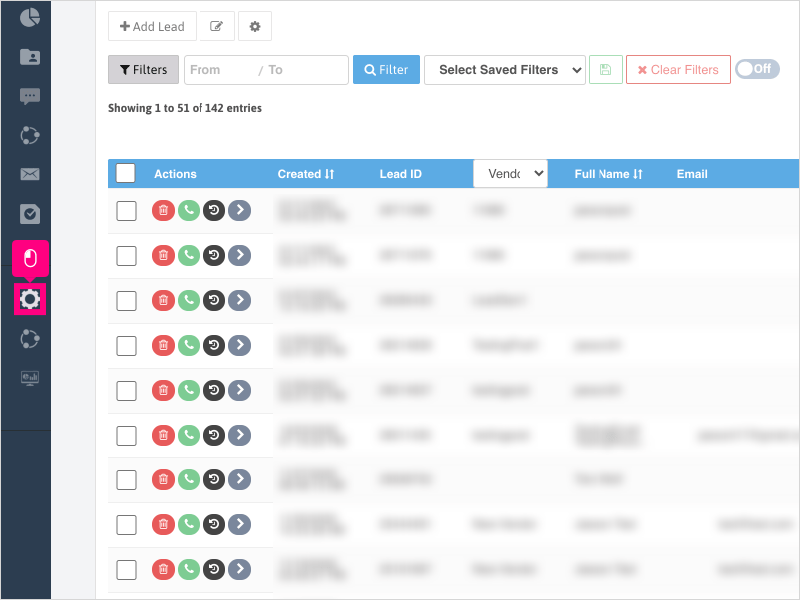
1. To create a script, click Configuration
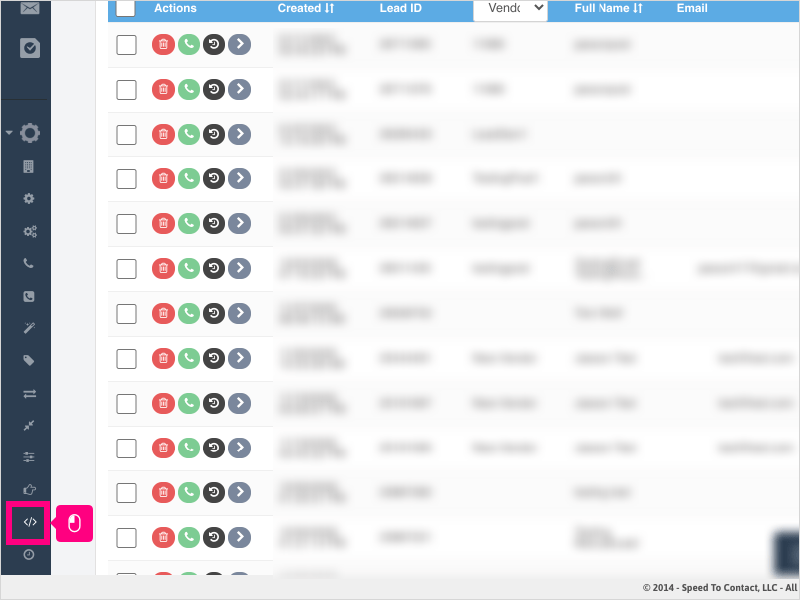
2. Click Script Management
3. Click Add Script

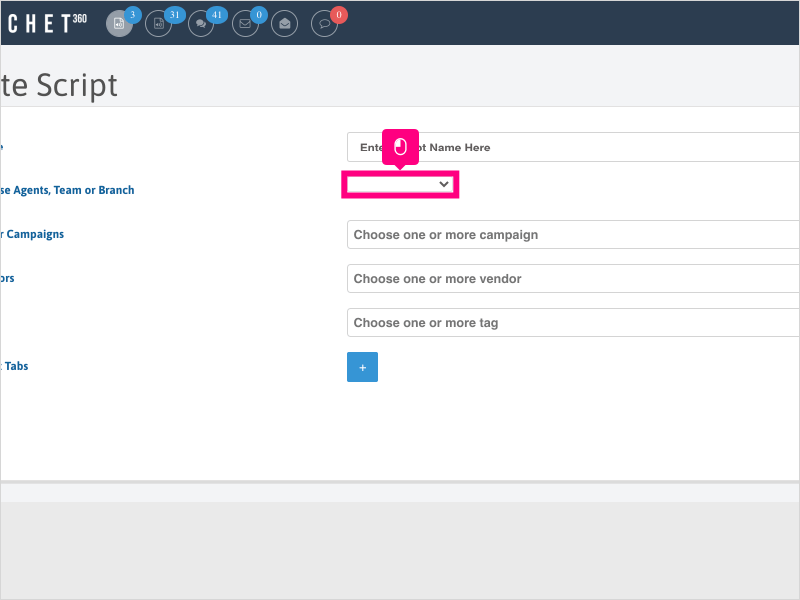
4. Click inside the Name area and give the new script a name.

5. Click the dropdown to choose who should have visibility to this script on the lead pop-up window.
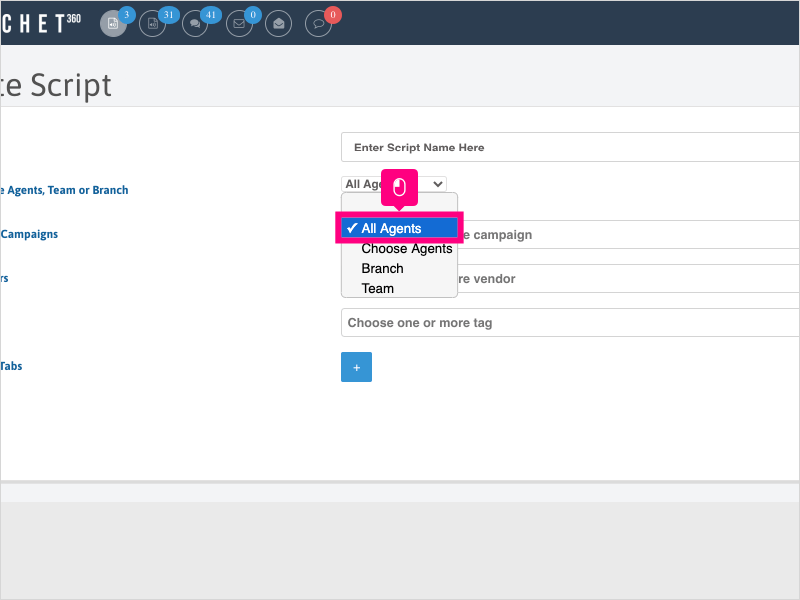
6. You can choose from All Agents, Choose Agents, Branch or Team.
For this example, we will select All Agents
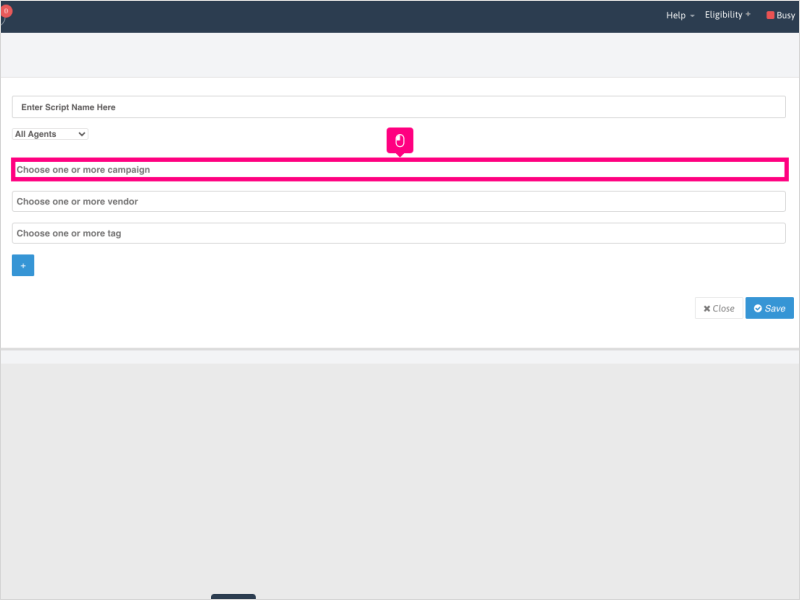
7. Click in the Dialer Campaigns area and choose one or more dialer campaigns you wish to have this script show up for.
Note: Adding a filter for Dialer Campaigns removes the Vendor filter.
8. Click in the Tags area and choose one or more tags, if necessary.
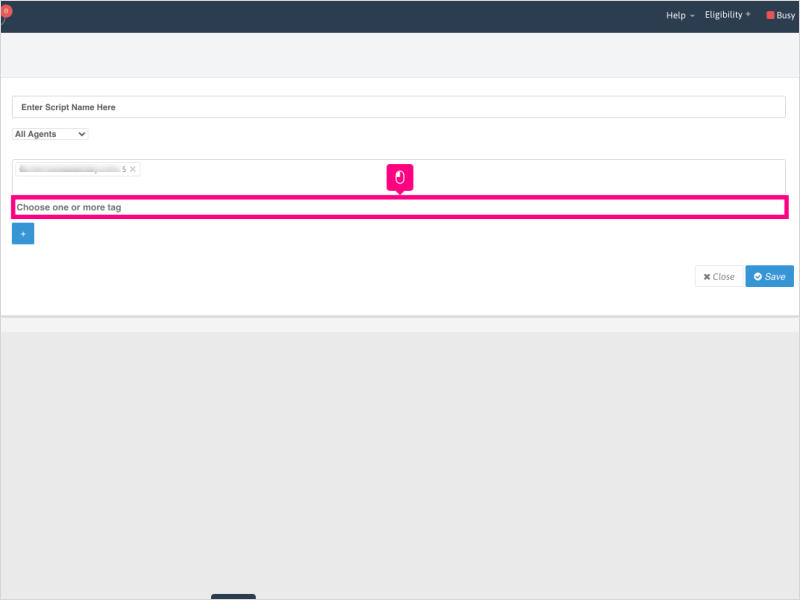
9. For this example, we will click Manually Created

10. Click the X to remove a filter from the section. For this example, we will remove the Dialer Campaign selected.

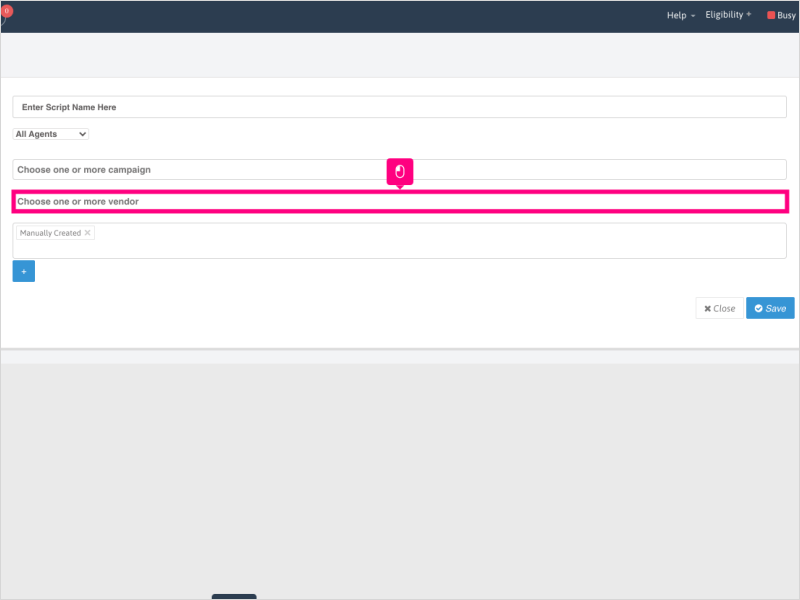
11. Click inside the Vendors area to choose one or more vendors.
Note: Adding a filter for Vendor removes the Dialer Campaigns filter.
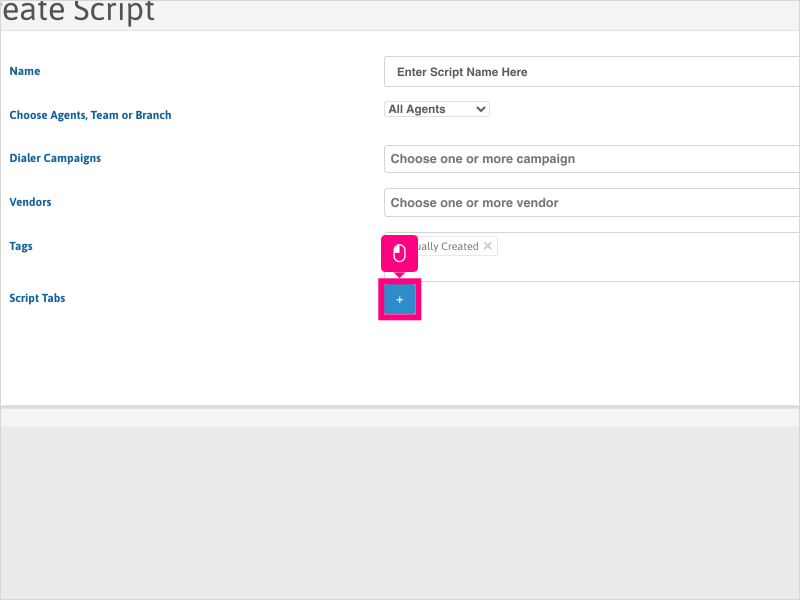
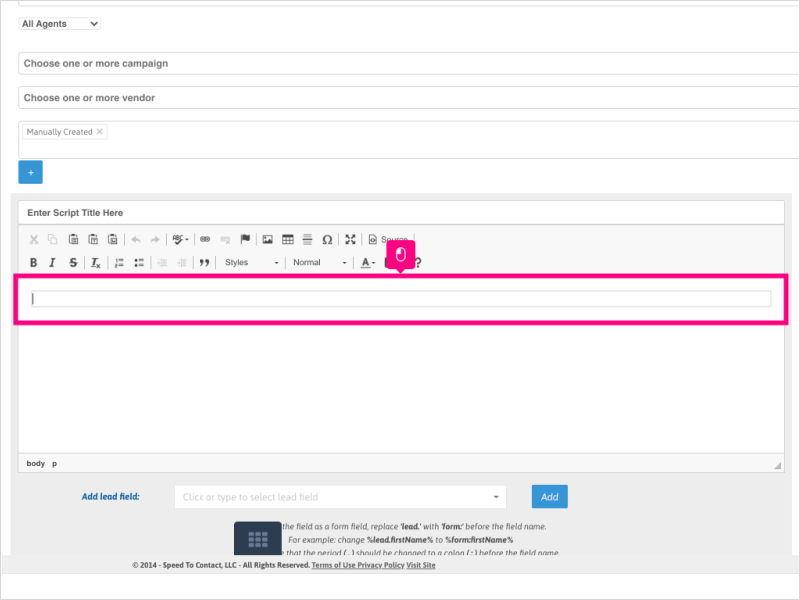
12. Click the + symbol for Script Tabs to create your first Script Tab.
13. Click inside the Script Title area and enter the name of the Script Tab you want displayed for the agents on the Lead Pop-up window.

14. Click inside the text area and begin typing out your script for your agents to use for this script tab.
You can use HTML coding by clicking on the "Source" button and add HTML coding, or utilize the WYSIWYG (What you see is what you get) editor.
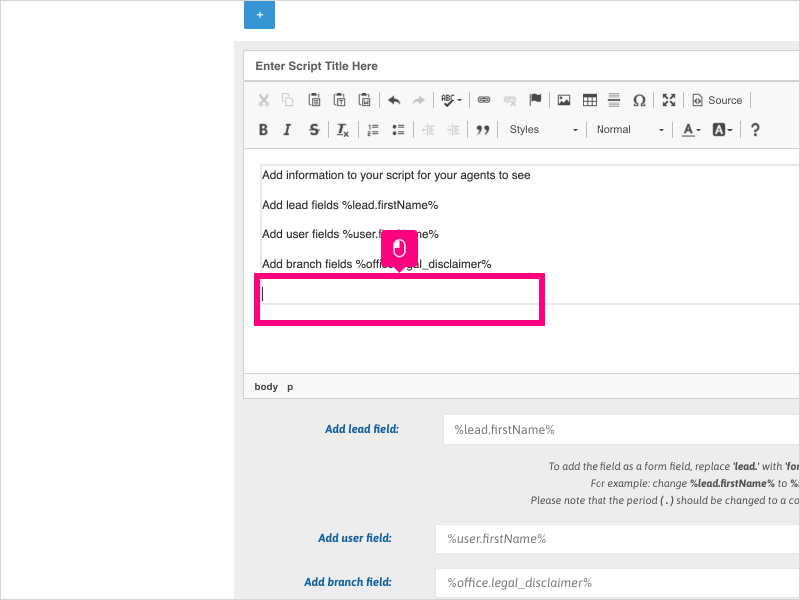
15. You can add Lead Fields, User Fields and/or Branch Fields to the Script.
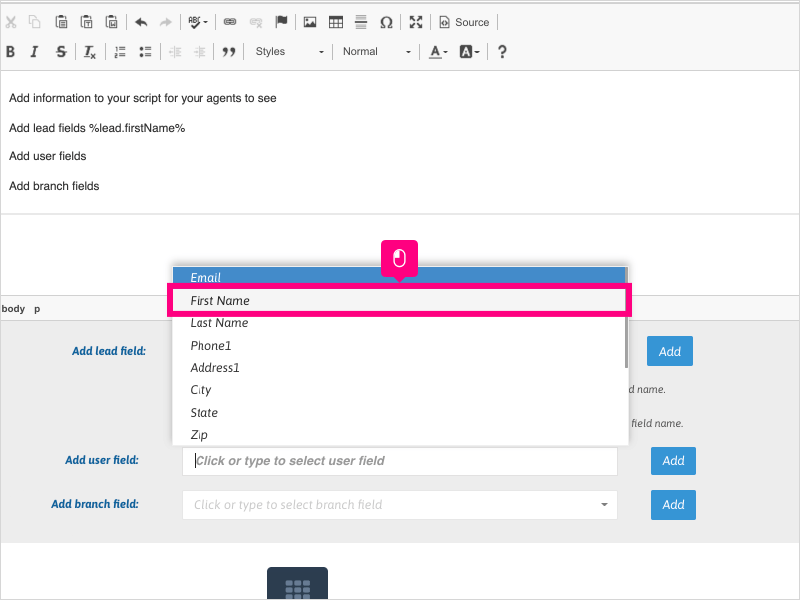
First, make sure your cursor is in the appropriate location in the text area and click the dropdown for Add Lead Field.

16. For this example, we will click First Name

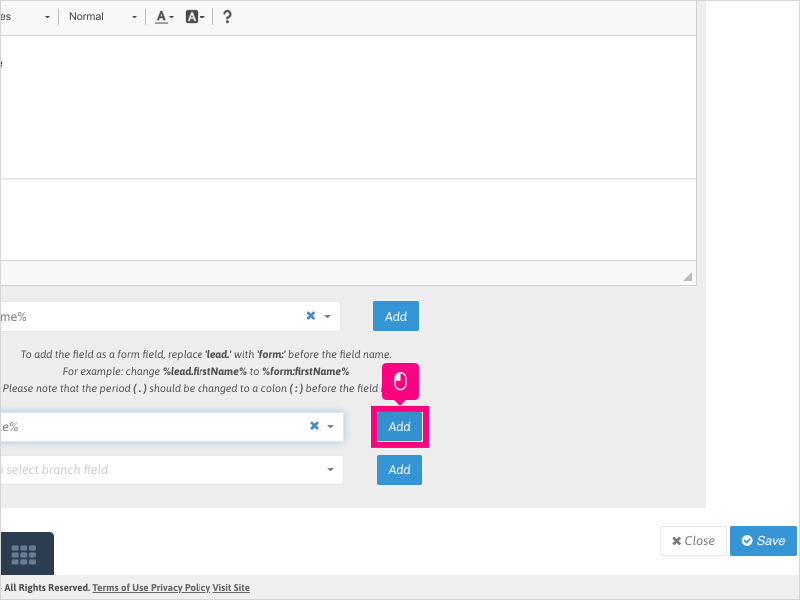
17. Click Add.
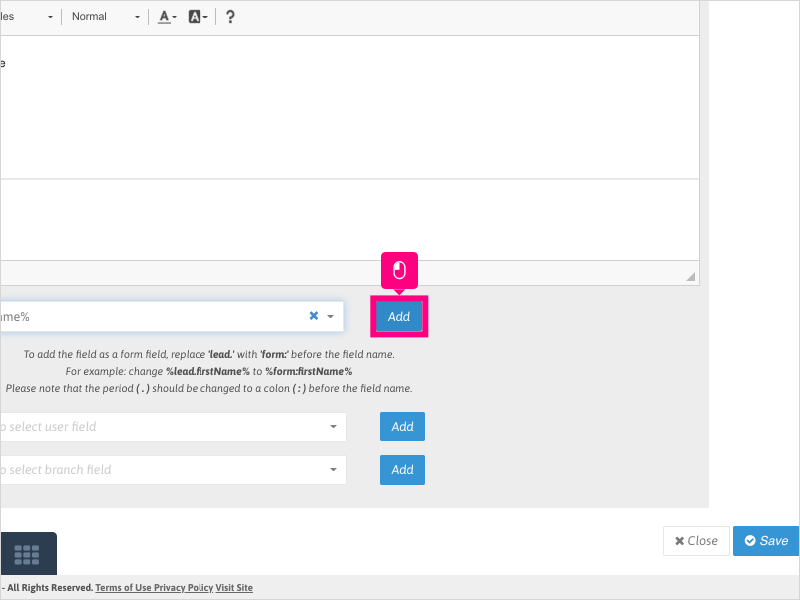
18. This will add specially coded text to your script. Do not modify the data between the % symbols - this format is needed to display the lead's data as a static field.
If you have more to add, move the cursor to the location needed.
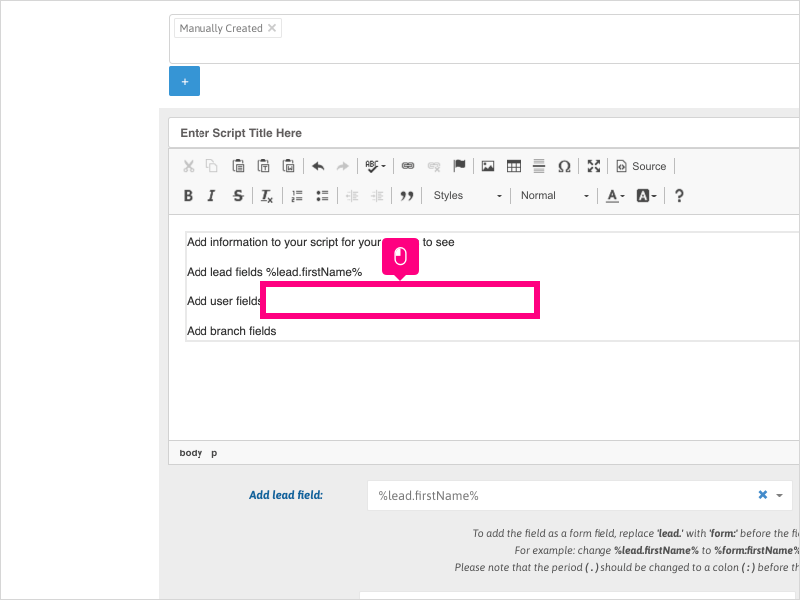
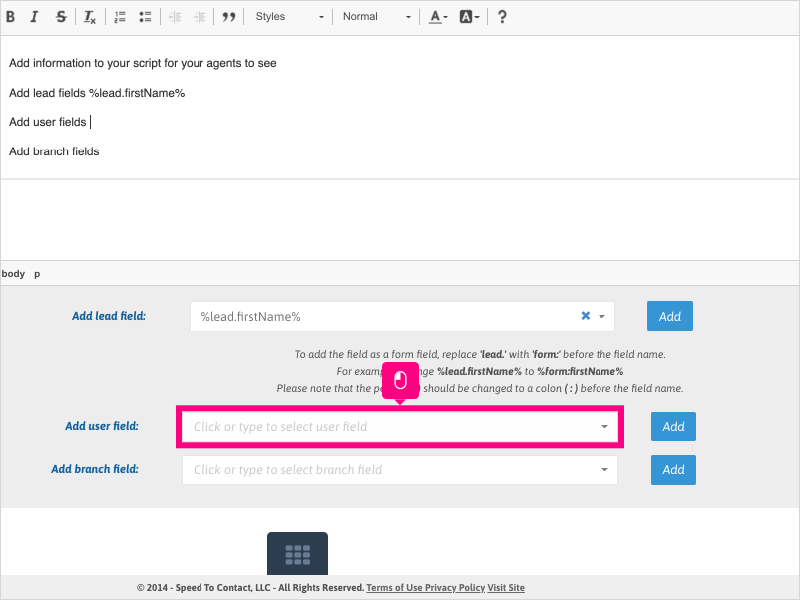
19. Next we will add a field from the User Field section. Click the dropdown for Add User Field.
Note: This will display information for the Agent's profile to be added to the script. The most commonly used field is First Name
20. For this example, we will click First Name
21. Click Add.
22. If you have more to add, move the cursor to the location needed.
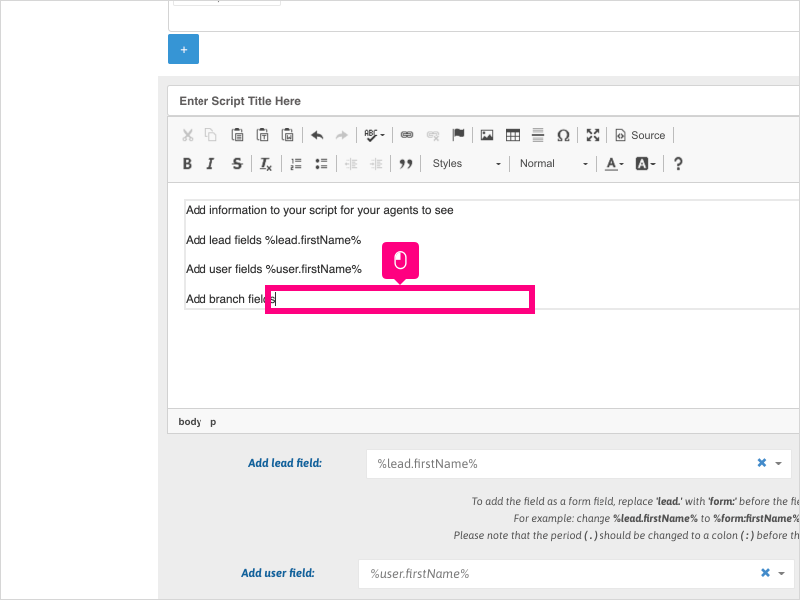
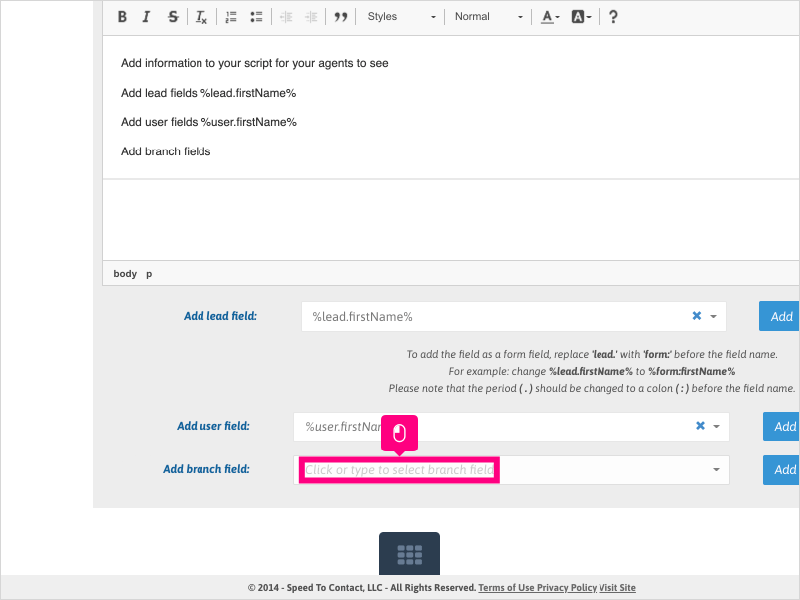
23. Next we will add a field from the Branch Field section. Click the dropdown for Add Branch Field.
Note: The Branch Field is not widely used, but can be if you wish to insert a disclaimer from your Branches (Manage --> Branches) in the script tab.
24. For this example, we will click Legal Disclaimer

25. Click Add.
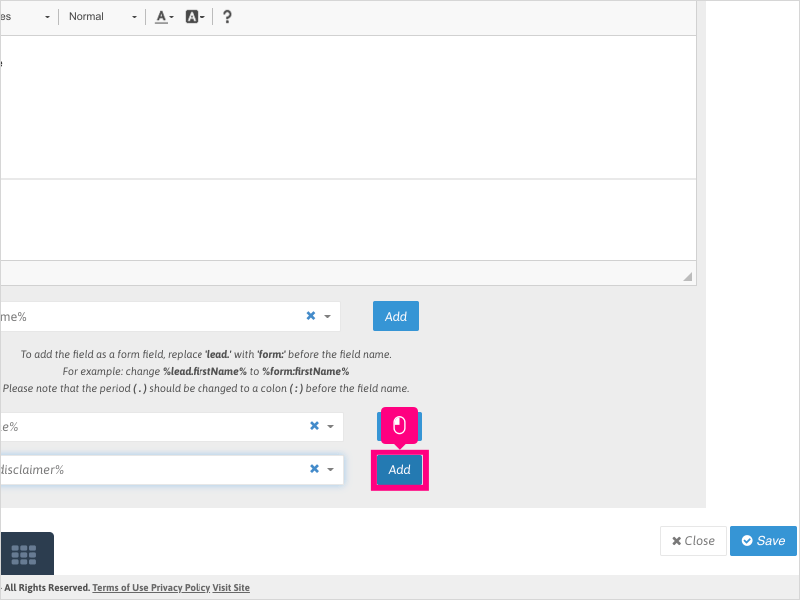
26. Another feature of the Script Tabs is the ability to add a Form Field.
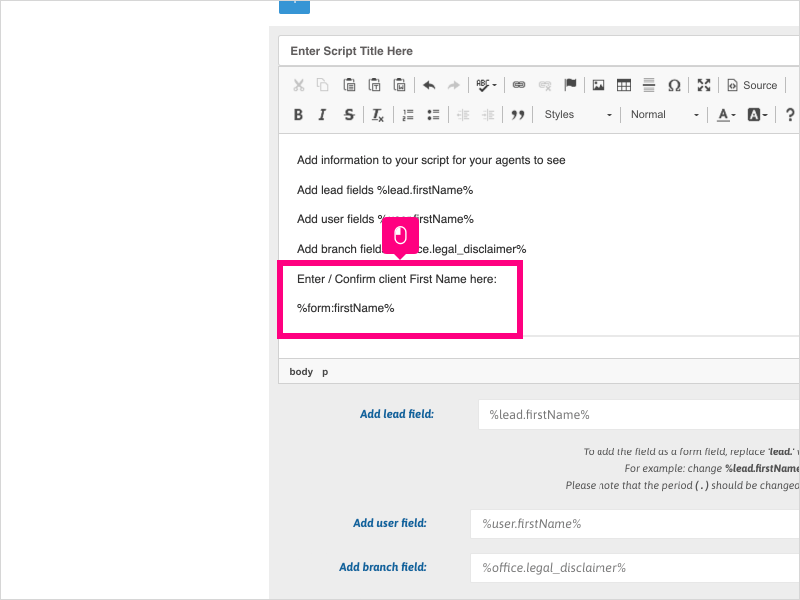
Form Fields allows you to add a lead field and edit the field directly in the script. Move your cursor to the area you wish to add a Form Field
27. Add the lead field to the script.
Next, you'll need to modify the beginning part of the field. Change the %lead. to %form: - this will make the field editable on the script page.
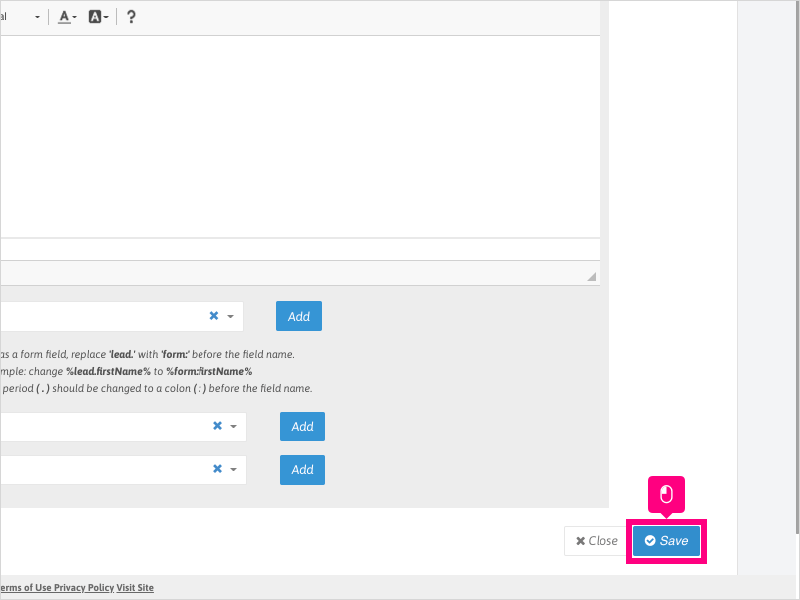
28. If you want to add another script tab, click the blue + symbol and repeat the steps.
You can also drag the tabs/sections on this page to order them according your needs.
Otherwise, click Save when finished with your script tab creation.
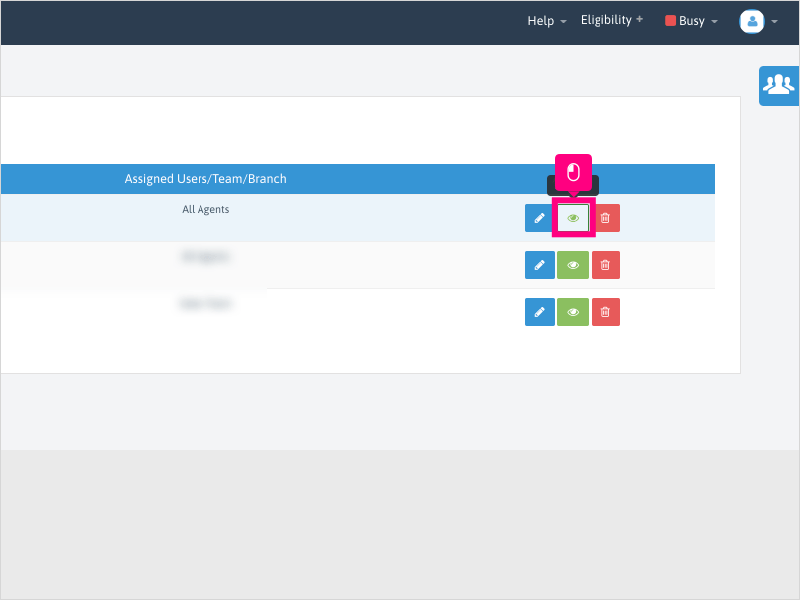
29. Refresh the browser and navigate back to the Scripts Management page.
To preview the script, click the Green preview icon.
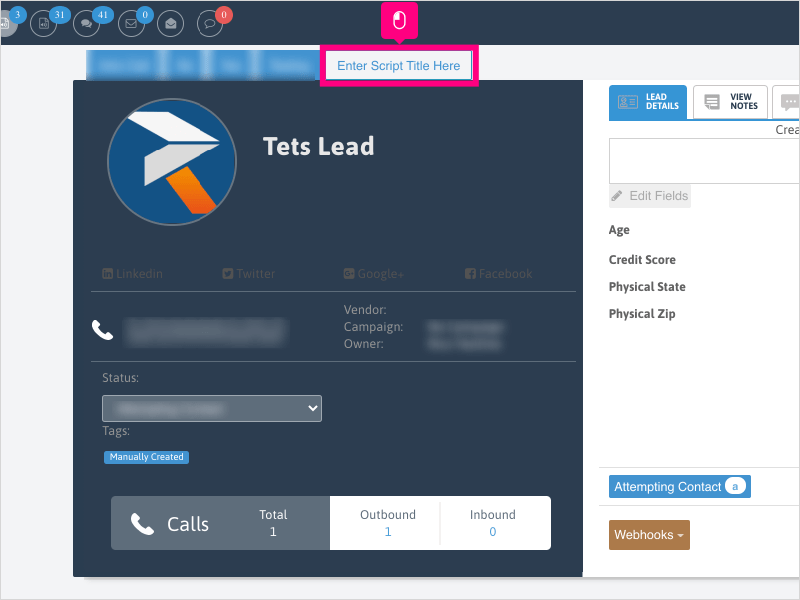
30. Click the script tab you wish to preview.
Note: Script tabs will appear in the order they were created - oldest ones at the beginning of the list of script tabs, newest ones at the end of the list of script tabs.
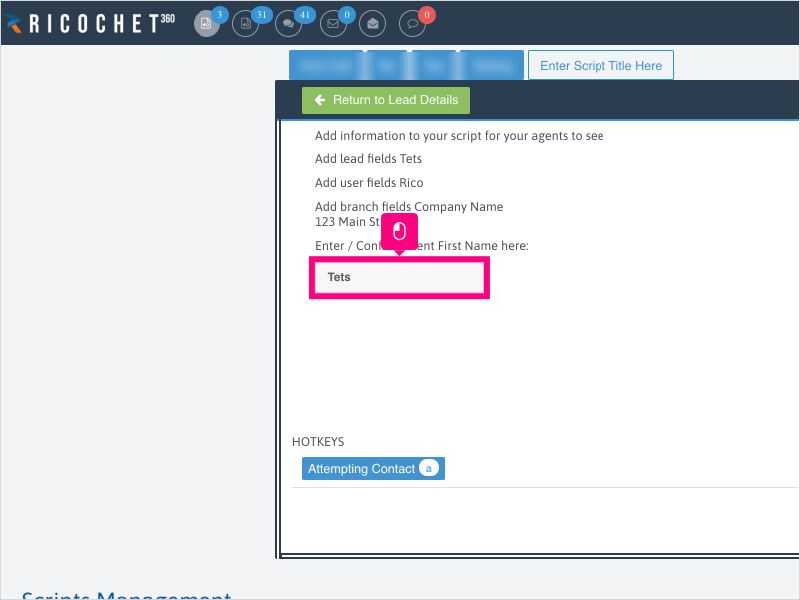
31. Here you will see the information from the Fields added on the script.
The Form Field entered allows you to change the data inside the field from the Scripts tab.
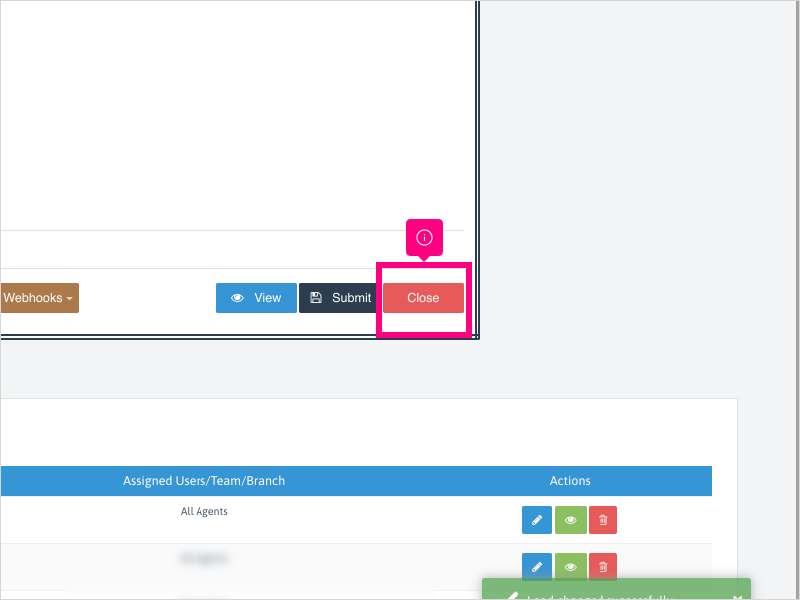
32. Once completed with previewing the script, you can click "Return to Lead Details" or click "Close" at the bottom right of the lead pop-up window.
Here's an interactive tutorial
https://www.iorad.com/player/1760911/How-do-I-create-a-script-
Copy of text and screenshots from the tutorial/solution:
1. To create a script, click Configuration

2. Click Script Management
3. Click Add Script
4. Click inside the Name area and give the new script a name.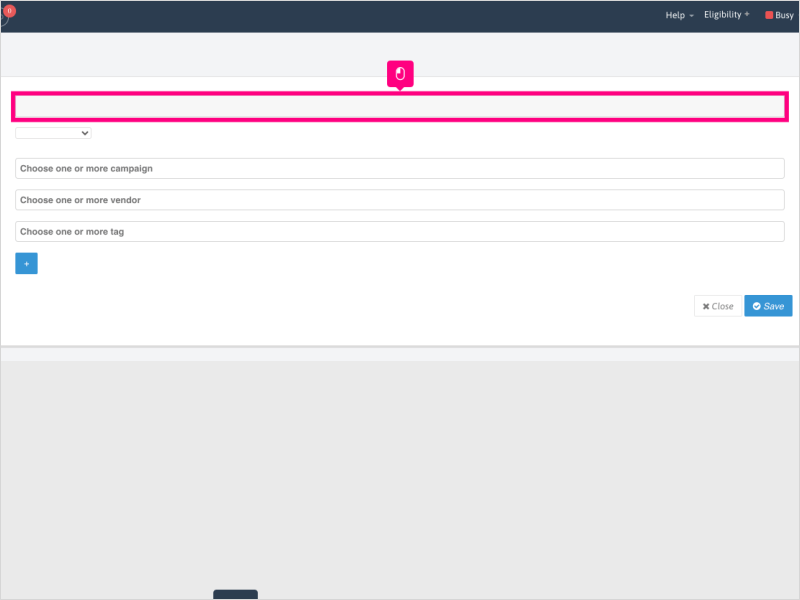
5. Click the dropdown to choose who should have visibility to this script on the lead pop-up window.
6. You can choose from All Agents, Choose Agents, Branch or Team.
For this example, we will select All Agents
7. Click in the Dialer Campaigns area and choose one or more dialer campaigns you wish to have this script show up for.
Note: Adding a filter for Dialer Campaigns removes the Vendor filter.
8. Click in the Tags area and choose one or more tags, if necessary.
9. For this example, we will click Manually Created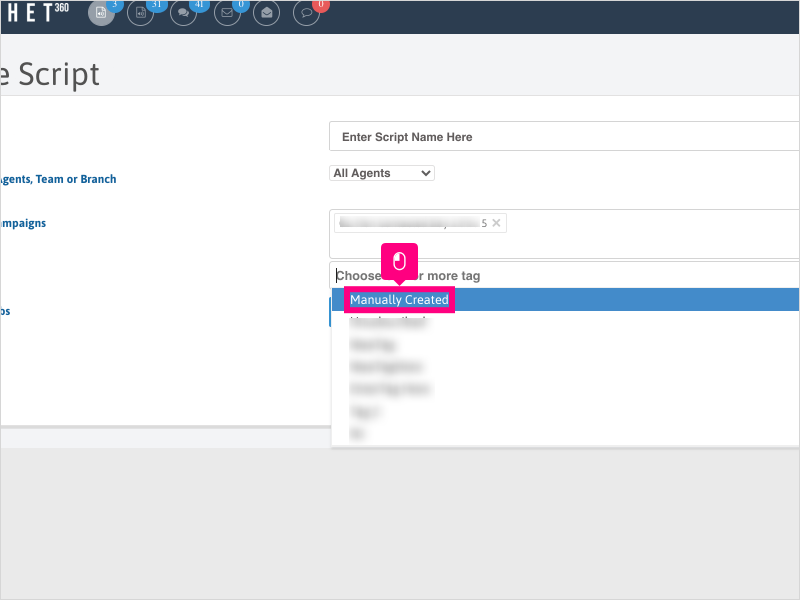
10. Click the X to remove a filter from the section. For this example, we will remove the Dialer Campaign selected.
11. Click inside the Vendors area to choose one or more vendors.
Note: Adding a filter for Vendor removes the Dialer Campaigns filter.
12. Click the + symbol for Script Tabs to create your first Script Tab.
13. Click inside the Script Title area and enter the name of the Script Tab you want displayed for the agents on the Lead Pop-up window.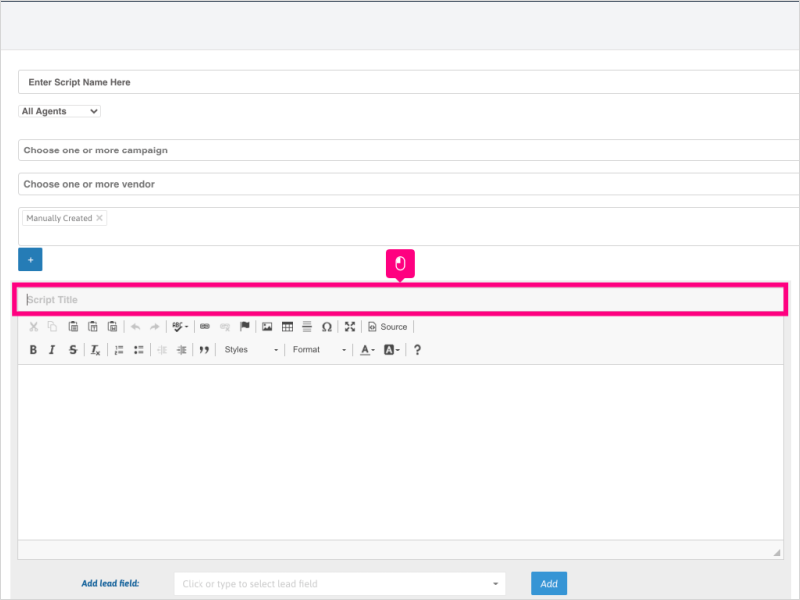
14. Click inside the text area and begin typing out your script for your agents to use for this script tab.
You can use HTML coding by clicking on the "Source" button and add HTML coding, or utilize the WYSIWYG (What you see is what you get) editor.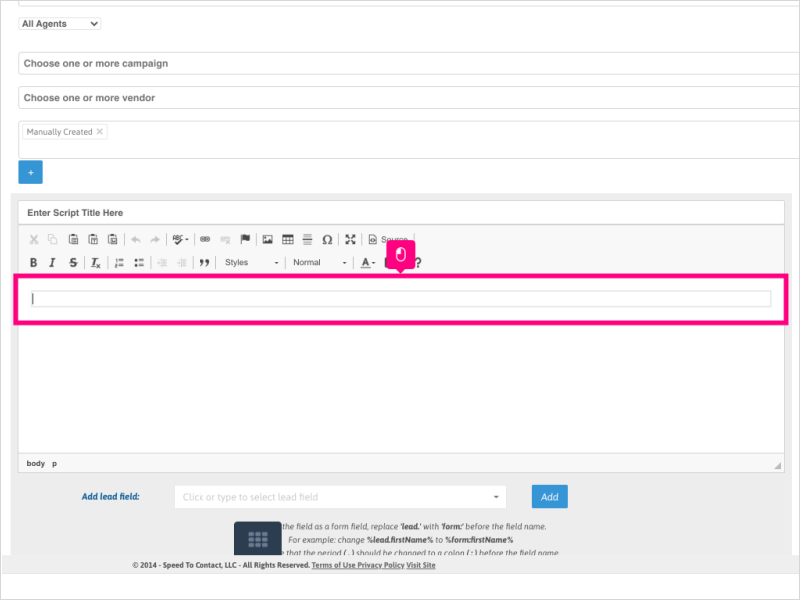
15. You can add Lead Fields, User Fields and/or Branch Fields to the Script.
First, make sure your cursor is in the appropriate location in the text area and click the dropdown for Add Lead Field.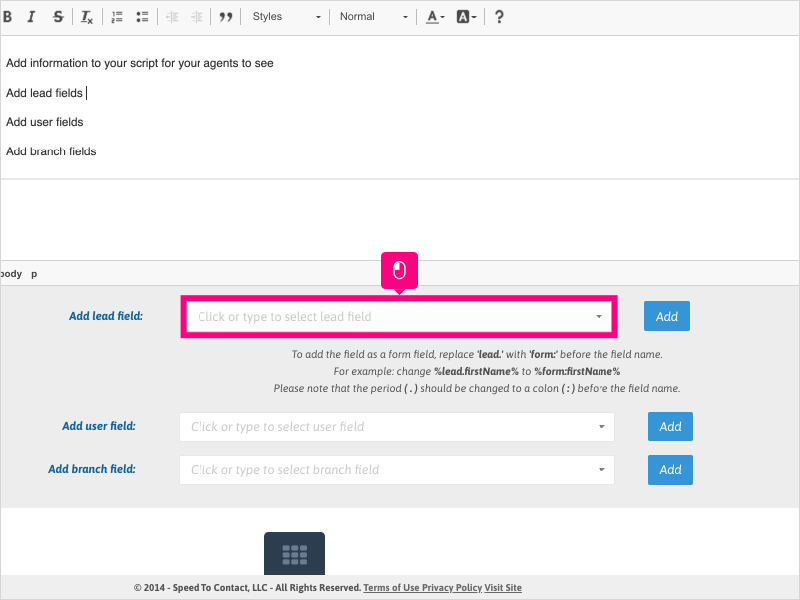
16. For this example, we will click First Name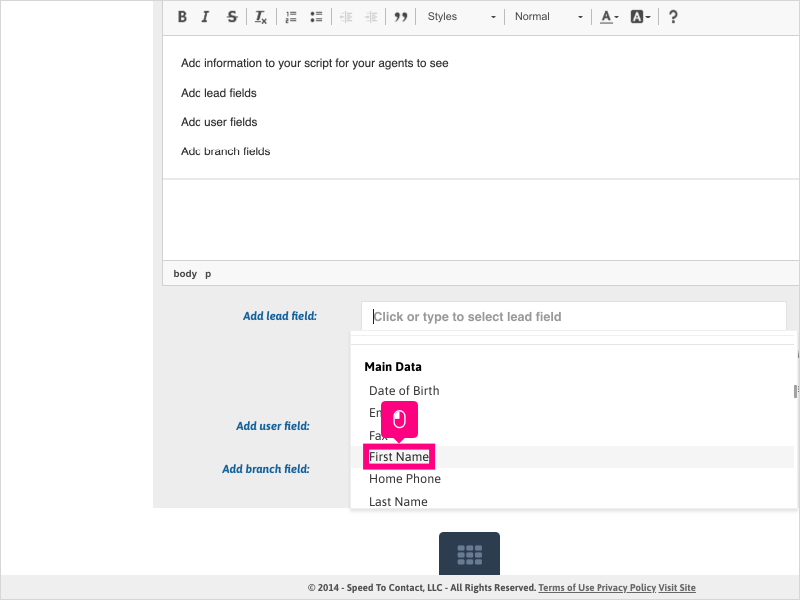
17. Click Add.
18. This will add specially coded text to your script. Do not modify the data between the % symbols - this format is needed to display the lead's data as a static field.
If you have more to add, move the cursor to the location needed.
19. Next we will add a field from the User Field section. Click the dropdown for Add User Field.
Note: This will display information for the Agent's profile to be added to the script. The most commonly used field is First Name
20. For this example, we will click First Name
21. Click Add.
22. If you have more to add, move the cursor to the location needed.
23. Next we will add a field from the Branch Field section. Click the dropdown for Add Branch Field.
Note: The Branch Field is not widely used, but can be if you wish to insert a disclaimer from your Branches (Manage --> Branches) in the script tab.
24. For this example, we will click Legal Disclaimer
25. Click Add.
26. Another feature of the Script Tabs is the ability to add a Form Field.
Form Fields allows you to add a lead field and edit the field directly in the script. Move your cursor to the area you wish to add a Form Field
27. Add the lead field to the script.
Next, you'll need to modify the beginning part of the field. Change the %lead. to %form: - this will make the field editable on the script page.
28. If you want to add another script tab, click the blue + symbol and repeat the steps.
You can also drag the tabs/sections on this page to order them according your needs.
Otherwise, click Save when finished with your script tab creation.
29. Refresh the browser and navigate back to the Scripts Management page.
To preview the script, click the Green preview icon.
30. Click the script tab you wish to preview.
Note: Script tabs will appear in the order they were created - oldest ones at the beginning of the list of script tabs, newest ones at the end of the list of script tabs.
31. Here you will see the information from the Fields added on the script.
The Form Field entered allows you to change the data inside the field from the Scripts tab.
32. Once completed with previewing the script, you can click "Return to Lead Details" or click "Close" at the bottom right of the lead pop-up window.
Applicable User Seat Types
Admin
Galaxy
Applicable Permissions
Administrator
Did this Solution Article help you?
If you need to submit a support ticket, Admins and Agents: Return to your Ricochet platform and proceed to file a ticket using the Help -> Get Support action to open the Help widget.
If you have access to Ricochet's Ahoy Management Portal - click anywhere in this message to open the Ahoy Management Portal and the Support Widget.
If you are utilizing the Ahoy platform for ticket submission, for fastest results, please log into Ahoy so we can gather all the necessary information from your Ricochet account during the Ticket Submission process.
Did you find it helpful?
Yes
No
Send feedback Sorry we couldn't be helpful. Help us improve this article with your feedback.