Subject
Applies to: Admin/Branch Manager, Agent, All users
Purpose: Creating Tasks for Yourself and Not Lead Records
Location in Ricochet: Tasks Page
Description
These instructions describe how to create a task reminder that is not linked to a lead by navigating to Tasks, creating a new task, setting its title, priority, assignment, optional appointment type, description, date and time, and choosing optional notification, calendar sync, and invitee settings before adding the task.
Resolution
Optional: View the interactive tutorial for this process:
Click here to open the step-by-step tutorial in a new tab
1. To create a task reminder that isn't associated with a lead, click Tasks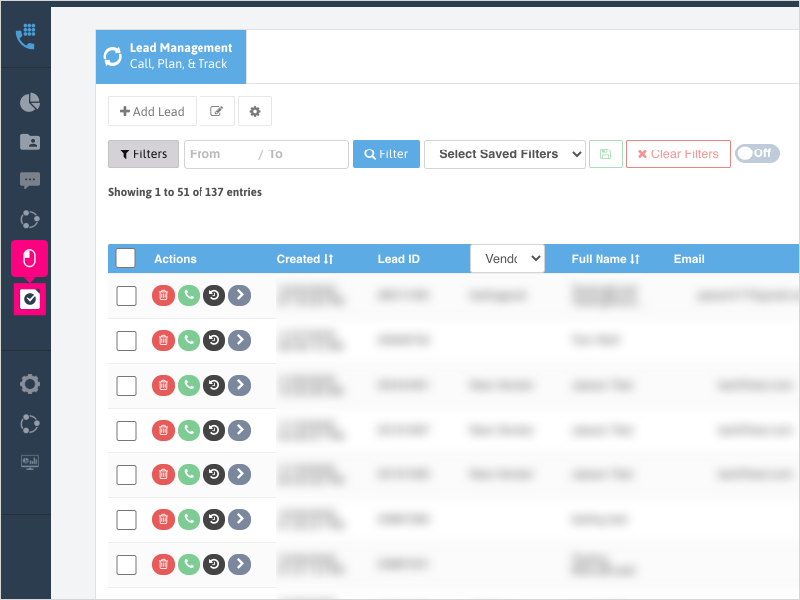
2. Click New Task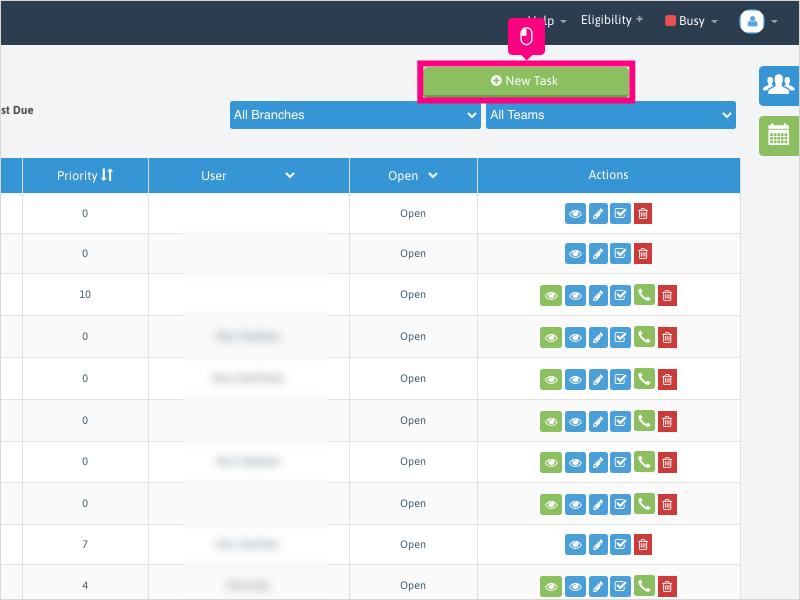
3. Click inside the Title area and type your title for the task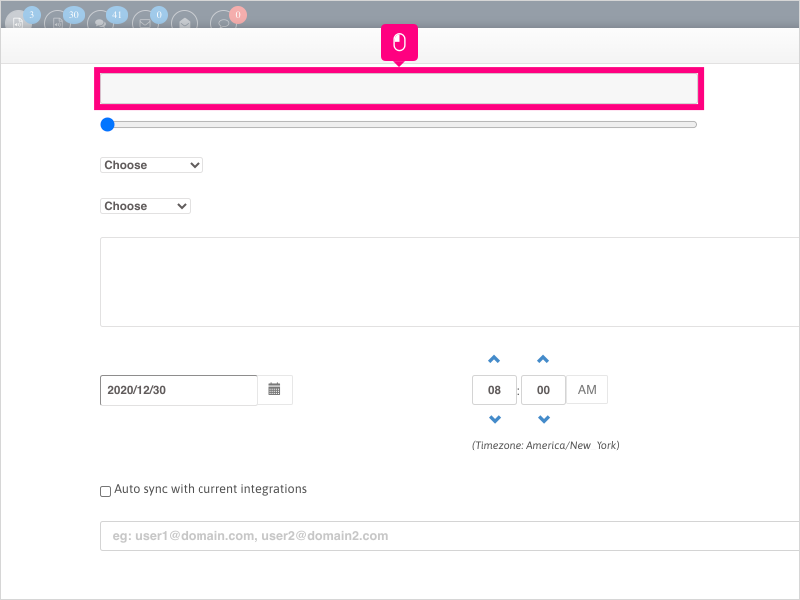
4. Click the priority slider and add a priority to your task.
Note: The slider is for your own reference only and has no bearing on the actual task. This will allow you to see tasks in a specific priority order on the main page.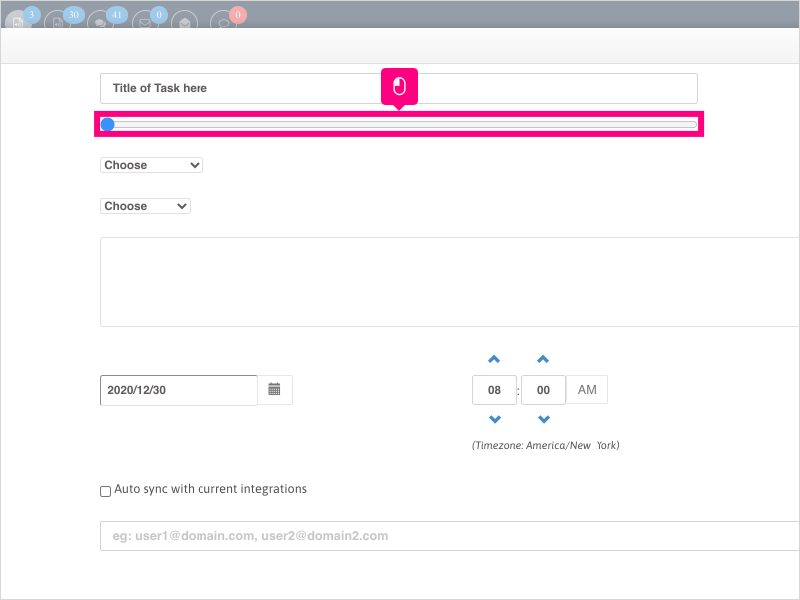
5. Click the dropdown for "Assign to" and choose a user to assign the task. This dropdown may not appear for all clients.
Note: You can leave as-is if you're creating the task for yourself, or choose a user in the dropdown to assign to someone else.
6. If you have Appointment Types enabled on your system, you can choose one from the dropdown.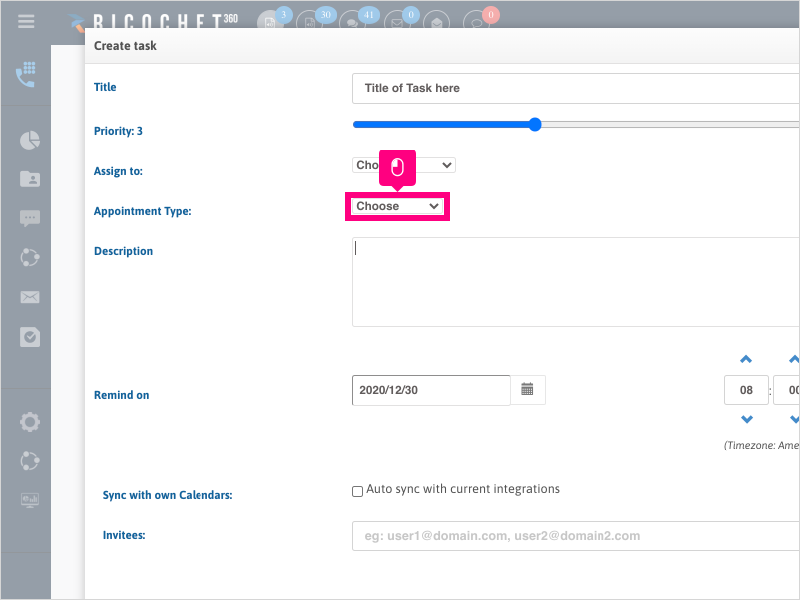
7. Type your description of your task in the Description area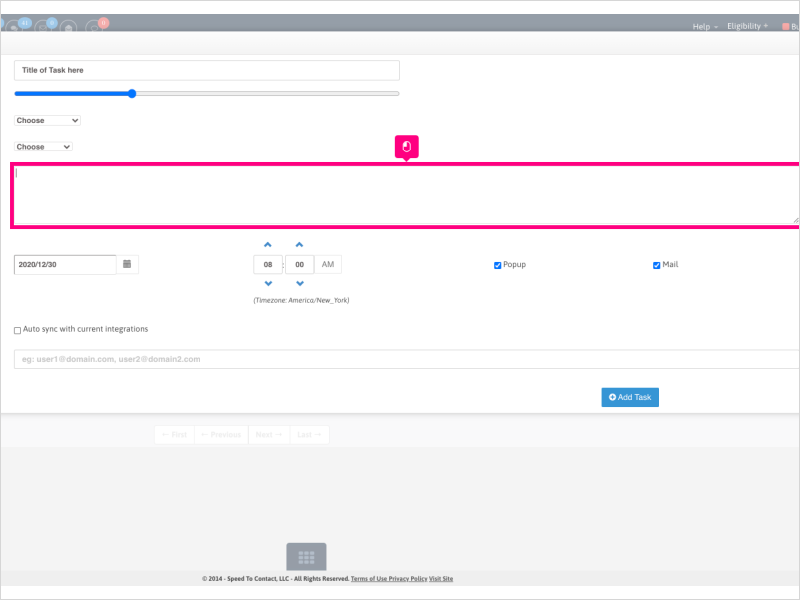
8. Click the calendar icon to choose your date you want the task to be set for.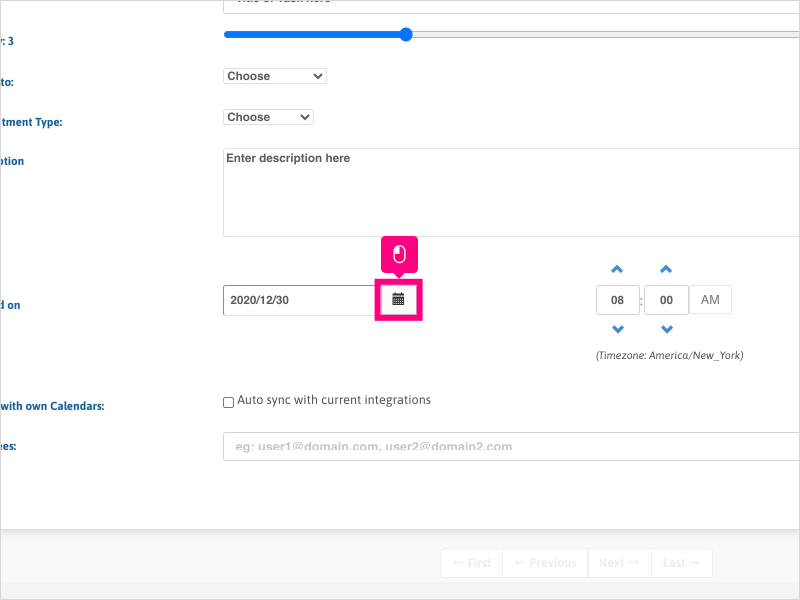
9. Click the up / down arrows to set the time for your task reminder to be set for.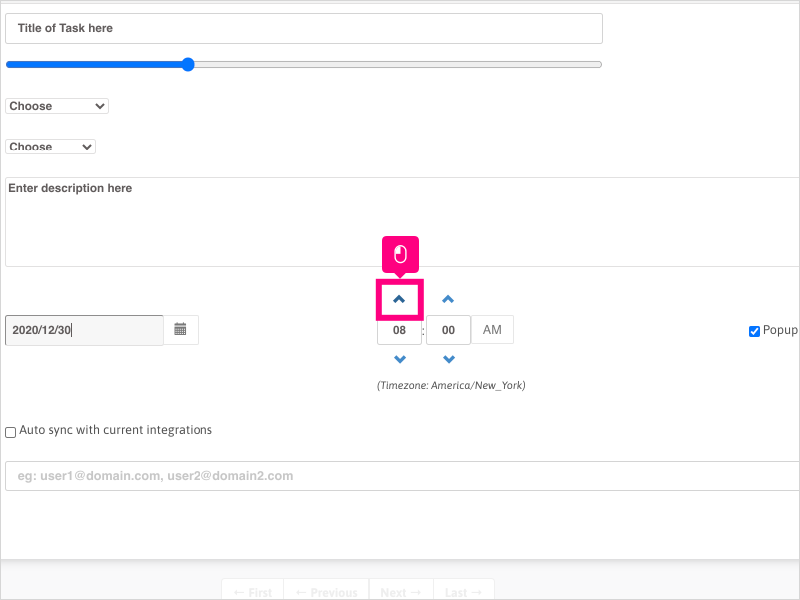
10. If desired, click the checkbox for Popup to display the pop-up reminder inside Ricochet on the date/time selected.
11. If desired, click the checkbox for Mail to send an email of the reminder on the date/time selected.
12. If desired and you have Calendar Integrations set up, click the checkbox for Sync with own Calendars to add the task to your integrated Outlook/Google calendar for the date/time selected.
13. If desired, click type an email address or addresses in the Invitees section to add invitees for the task reminder on the date/time selected.
Note: Separate each email address by a comma with no spaces between the email & comma
14. Click Add Task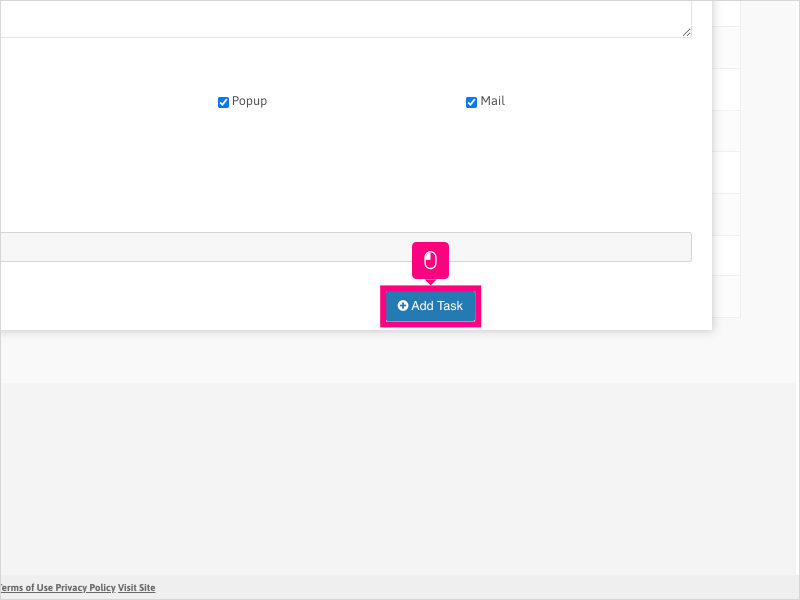
Was this article helpful?
That’s Great!
Thank you for your feedback
Sorry! We couldn't be helpful
Thank you for your feedback
Feedback sent
We appreciate your effort and will try to fix the article