Direct Link to tutorial/solution:
Click here to view tutorial/solution in a new tab.
Embedded tutorial/solution:
14 STEPS
1. To set up and create a Perfect Voicemail file for users to see, click Configuration
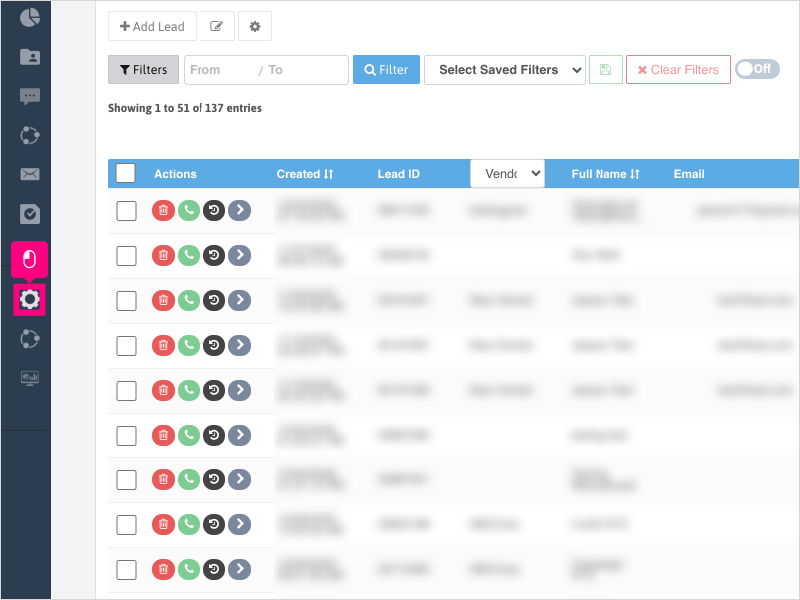
2. Click Company Settings

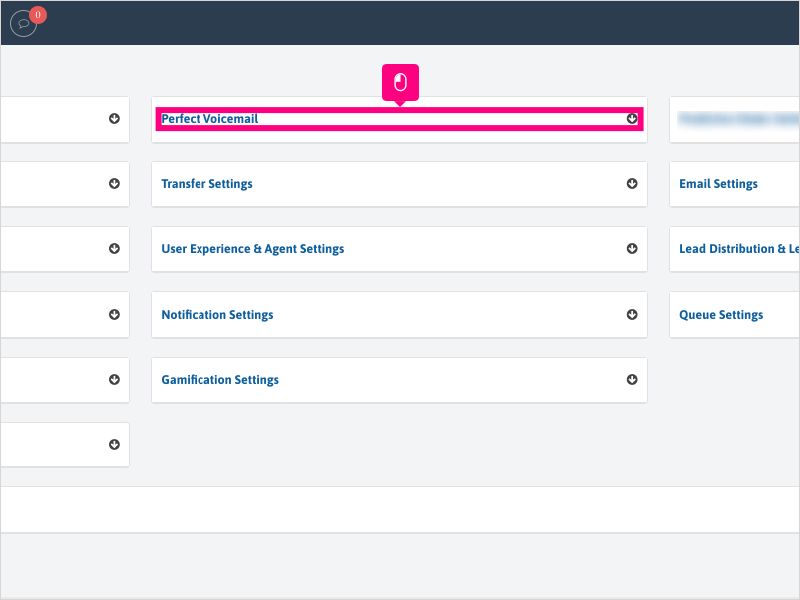
3. Click Perfect Voicemail dropdown
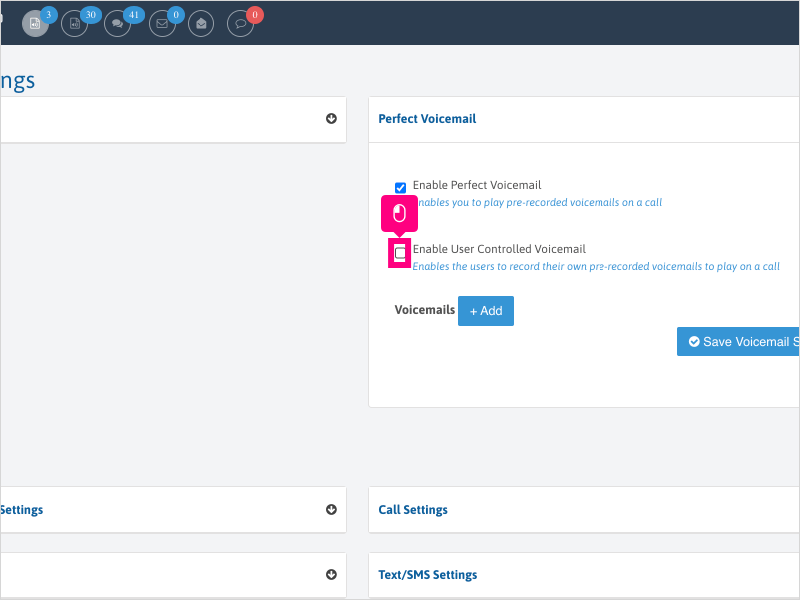
4. If it's not enabled, click Enable Perfect Voicemail checkbox

5. If you wish to enable users to create their own Perfect Voicemail files, click the checkbox for Enable User Controlled Voicemail
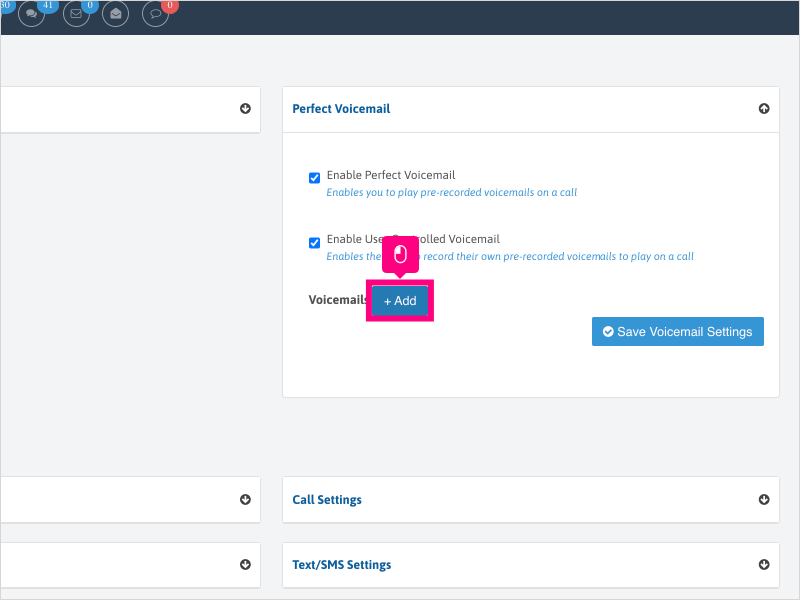
6. Click + Add
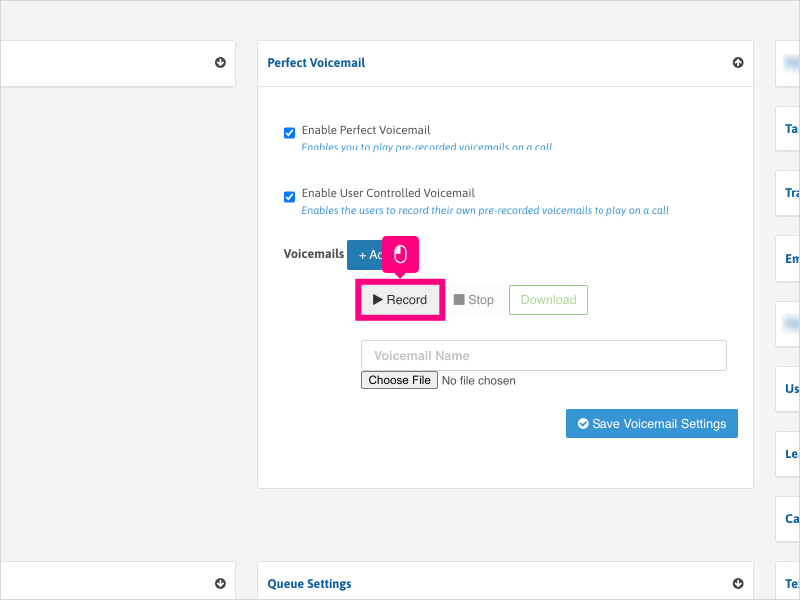
7. Click Record to start recording your Perfect Voicemail message.
Note: You must have a microphone connected and enabled in your browser to record.
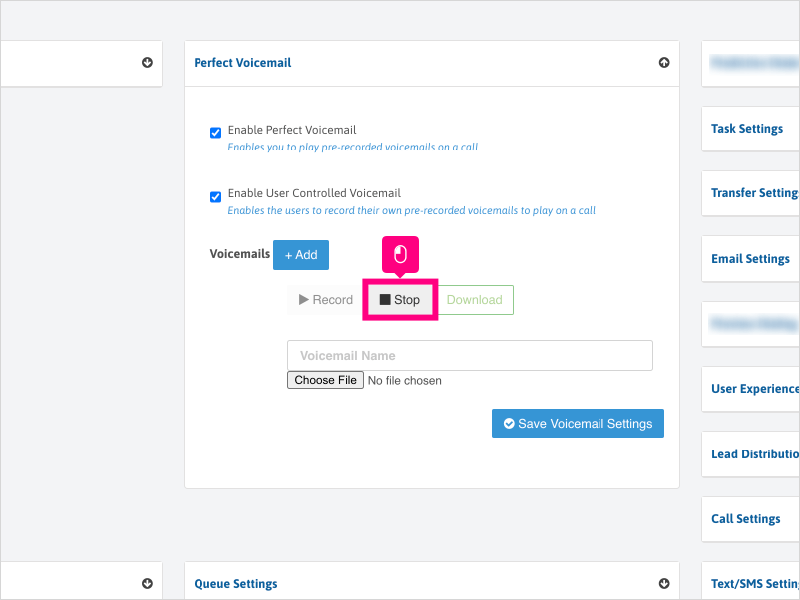
8. When finished recording, click Stop. This will open the recording in a new browser page for you to listen to it back.
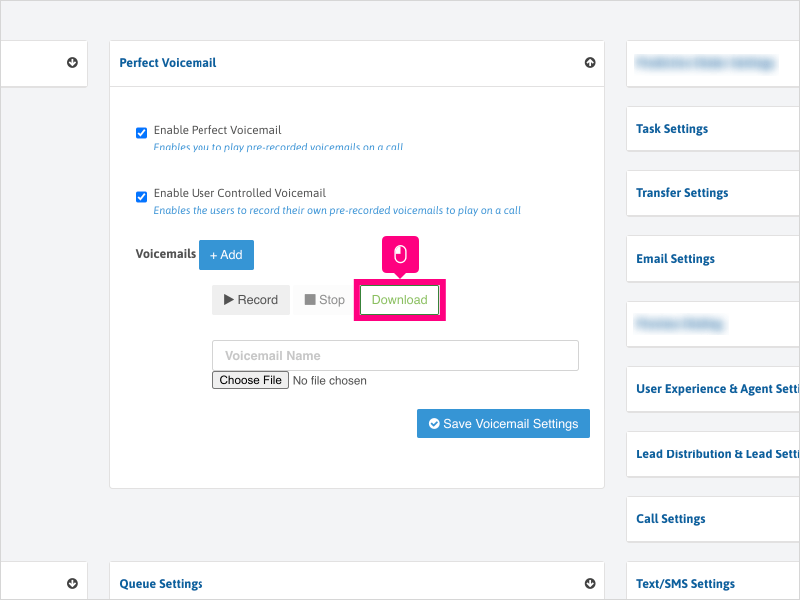
9. Once you listened to the file, click back to the Ricochet page and if the file is good to go, click Download and save the file to your computer.
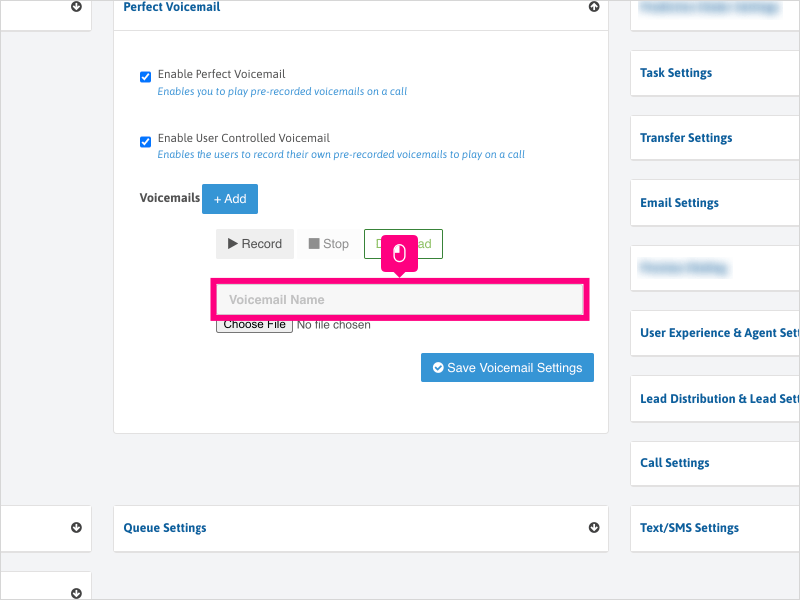
10. Click inside the Voicemail Name area and type the name of the file you want displayed to your users.
11. Click Choose File to add your downloaded Perfect Voicemail recording to the platform.

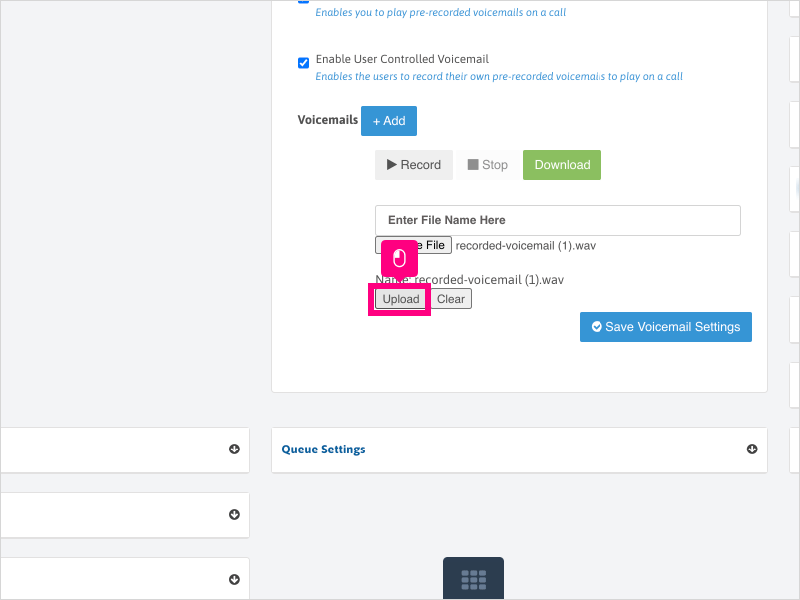
12. Click Upload once you've selected your file.
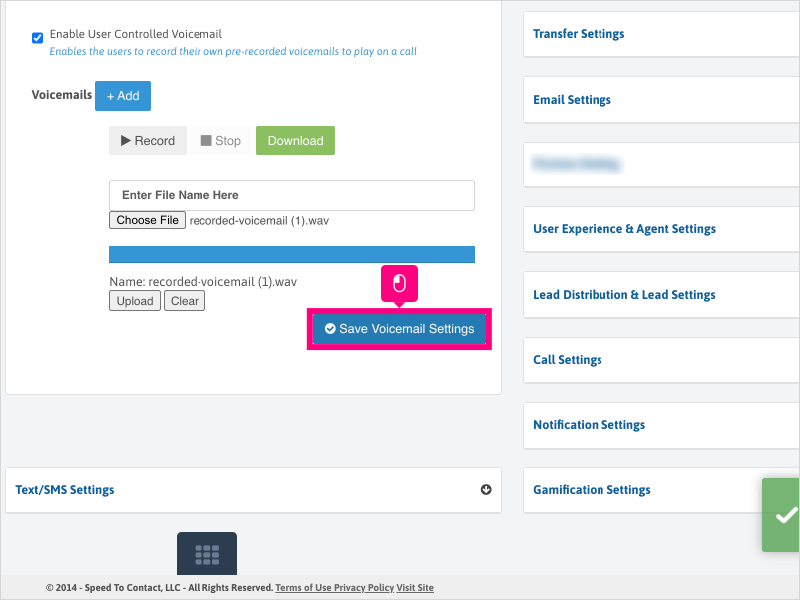
13. Click Save Voicemail Settings
14. Scroll down and click Save.
Once the settings are saved, ask your users to refresh so they'll see the new file in their Perfect Voicemail list while on an active call.

Here's an interactive tutorial
https://www.iorad.com/player/1756337/How-do-I-create-a-Perfect-Voicemail-for-all-users-to-see-
Copy of text and screenshots from the tutorial/solution:
1. To set up and create a Perfect Voicemail file for users to see, click Configuration

2. Click Company Settings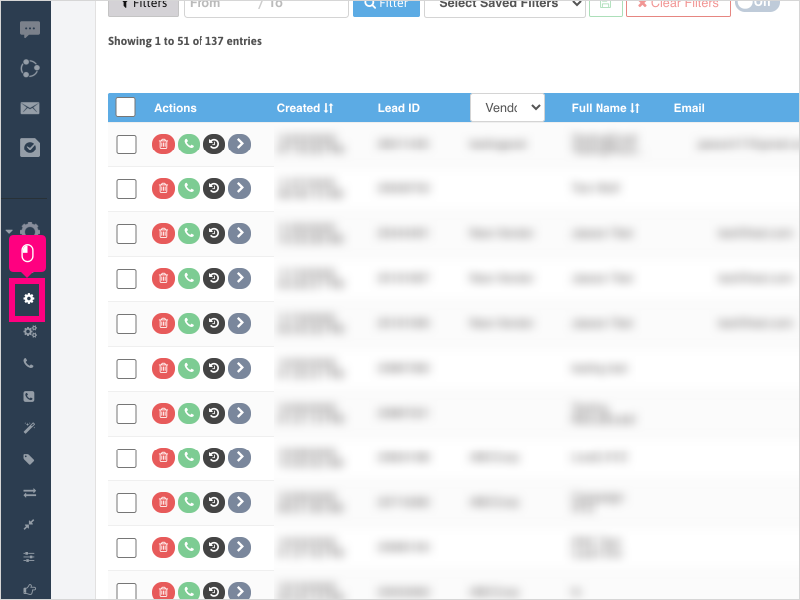
3. Click Perfect Voicemail dropdown
4. If it's not enabled, click Enable Perfect Voicemail checkbox
5. If you wish to enable users to create their own Perfect Voicemail files, click the checkbox for Enable User Controlled Voicemail
6. Click + Add
7. Click Record to start recording your Perfect Voicemail message.
Note: You must have a microphone connected and enabled in your browser to record.
8. When finished recording, click Stop. This will open the recording in a new browser page for you to listen to it back.
9. Once you listened to the file, click back to the Ricochet page and if the file is good to go, click Download and save the file to your computer.
10. Click inside the Voicemail Name area and type the name of the file you want displayed to your users.
11. Click Choose File to add your downloaded Perfect Voicemail recording to the platform.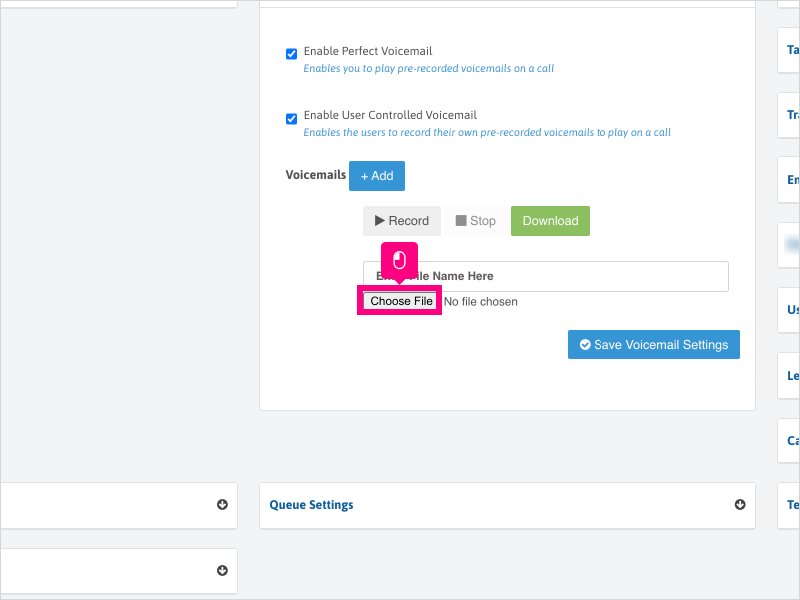
12. Click Upload once you've selected your file.
13. Click Save Voicemail Settings
14. Scroll down and click Save.
Once the settings are saved, ask your users to refresh so they'll see the new file in their Perfect Voicemail list while on an active call.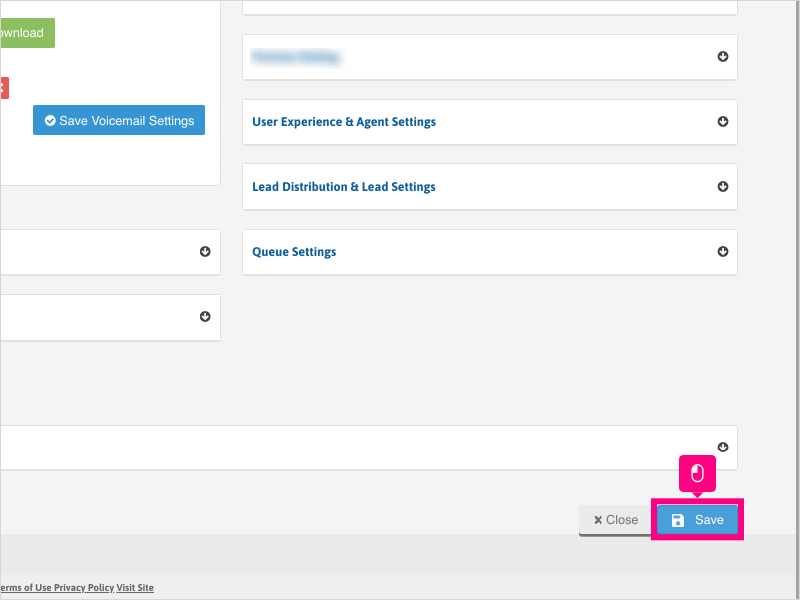
Applicable User Seat Types
Admin
Galaxy
Booster
Applicable Permissions
Administrator
Did this Solution Article help you?
If you need to submit a support ticket, Admins and Agents: Return to your Ricochet platform and proceed to file a ticket using the Help -> Get Support action to open the Help widget.
If you have access to Ricochet's Ahoy Management Portal - click anywhere in this message to open the Ahoy Management Portal and the Support Widget.
If you are utilizing the Ahoy platform for ticket submission, for fastest results, please log into Ahoy so we can gather all the necessary information from your Ricochet account during the Ticket Submission process.
Did you find it helpful?
Yes
No
Send feedback Sorry we couldn't be helpful. Help us improve this article with your feedback.