Subject
Applies to: Admin
Purpose: Creating Real Time Email Campaigns
Location in Ricochet: Configuration > Marketing Automation
Description
The instructions in this article require Administrator permission
These instructions describe how to create a Real Time Email campaign in Marketing Automation, which automatically sends emails to leads as they are posted from a vendor. The process includes selecting the campaign type, configuring assignment rules, setting the message sender and SMTP options, enabling read notifications, filtering by vendors, and determining when the email should be sent (immediately or after the first call attempt). Users can compose or apply a template, personalize the subject and message using lead or user fields, add attachments, test the campaign, name it, save it, and finally activate it to begin sending emails automatically to incoming leads.
Resolution
Optional: View the interactive tutorial for this process:
Click here to open the step-by-step tutorial in a new tab
Non-Administrators do not have the access to follow these instructions and should open a ticket.1. To create a Real Time Email campaign, click Configuration
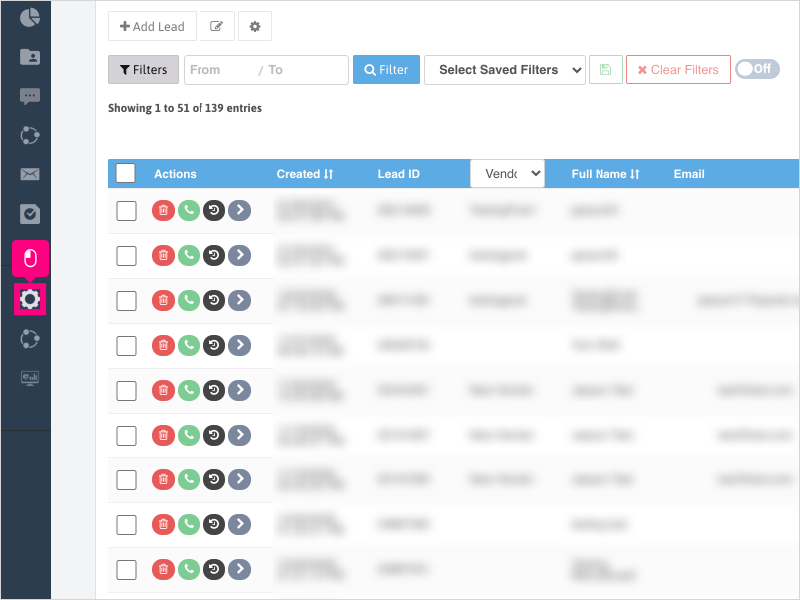
2. Click Marketing Automation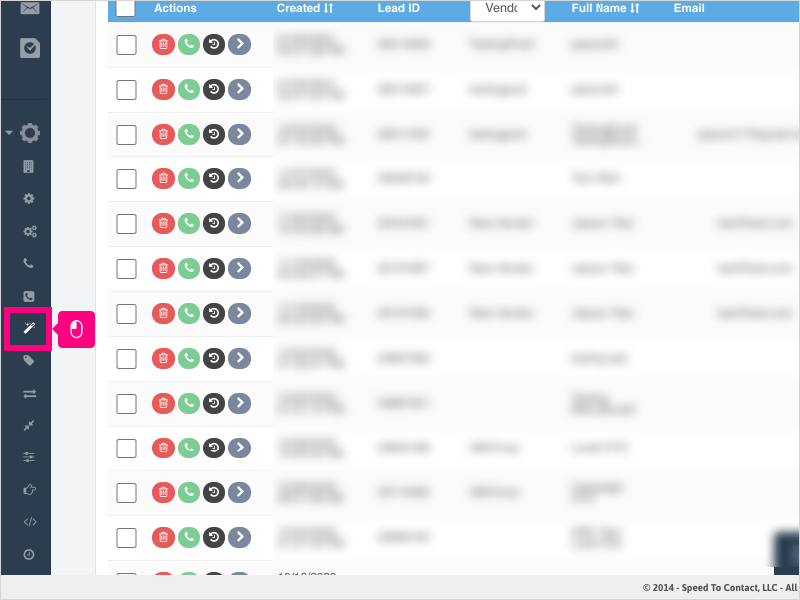
3. Click the Emails tab
4. Click Create New Automation
5. Click the dropdown to choose your automation type.
6. Select Email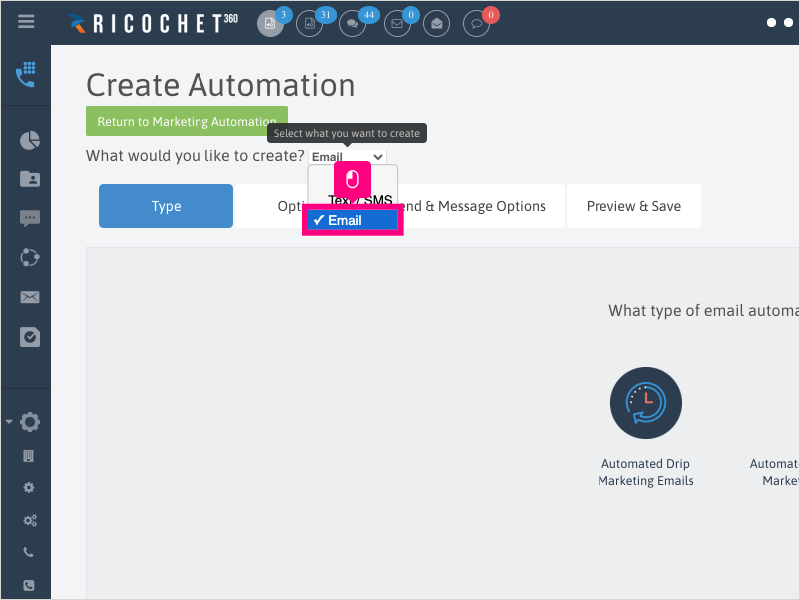
7. Click Automated Real Time Marketing Emails
8. Click the dropdown for Assignment Rules.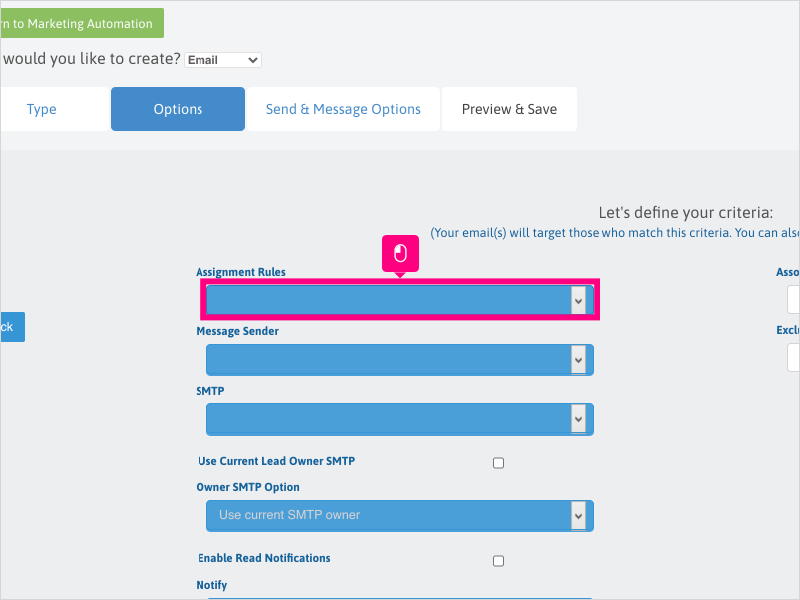
9. Select Auto-Assign as this is the most commonly used option.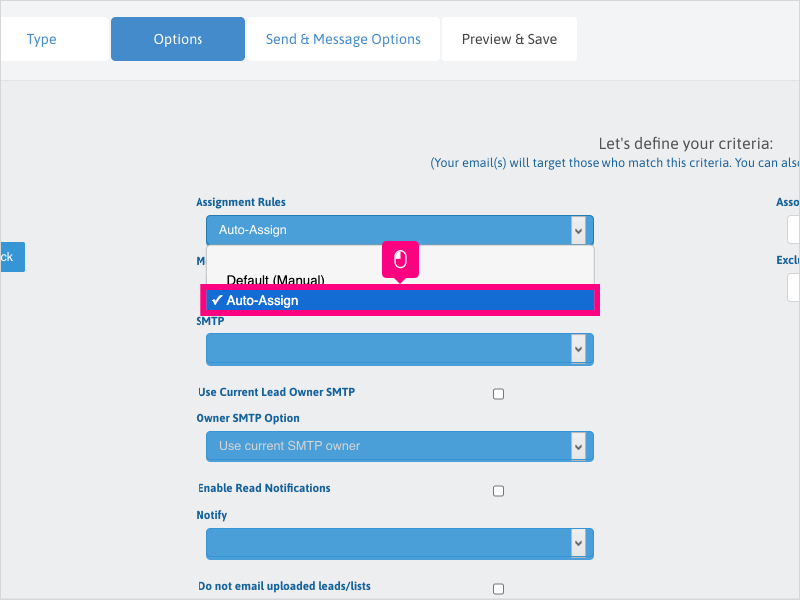
10. Click the dropdown for Message Sender.
Selecting a Message Sender will ensure that if your lead doesn't have a lead owner or the Agent who triggered the campaign doesn't have SMTP set up, the email will send from the Message Sender user/email address.
11. Select the desired Message Sender.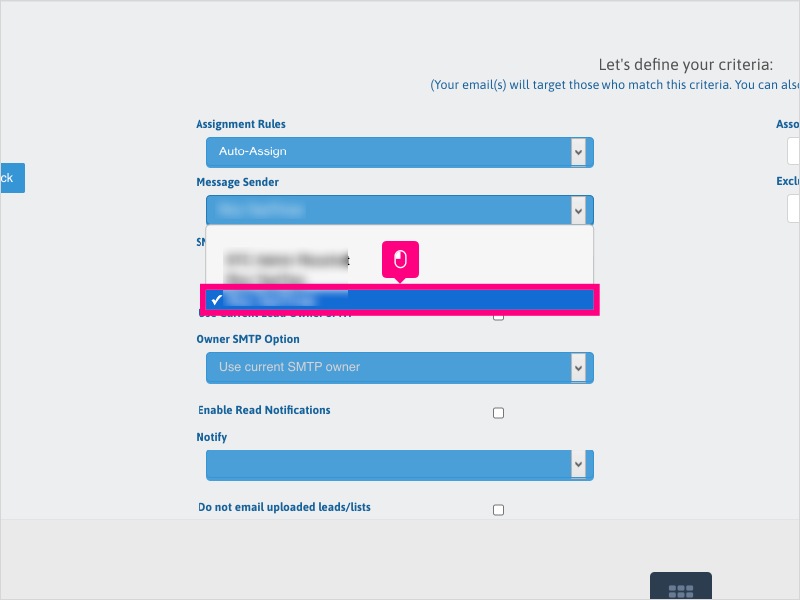
12. Click the dropdown for SMTP.
After choosing a Message Sender, select an SMTP (email address). This is the email address that will send out the emails if the lead that triggered the campaign has no lead owner or the Agent doesn't have SMTP set up.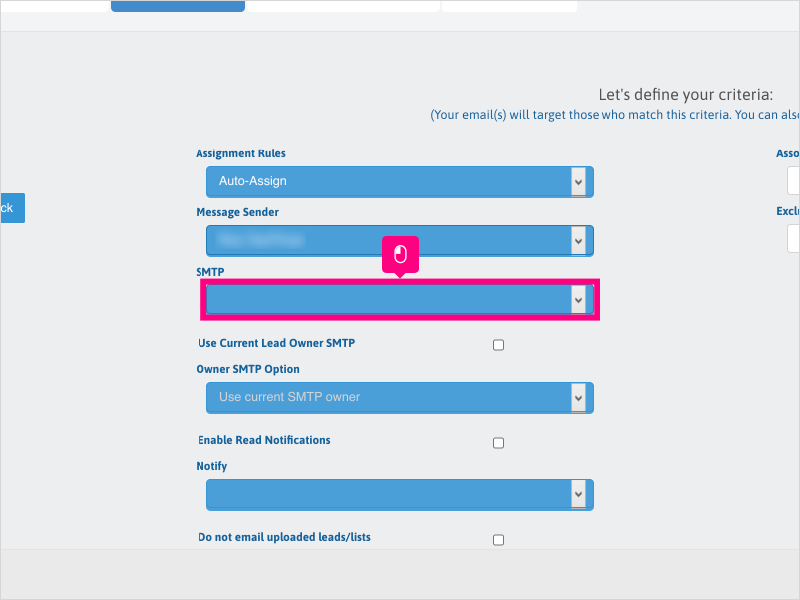
13. Select the email address you want to use from the dropdown items.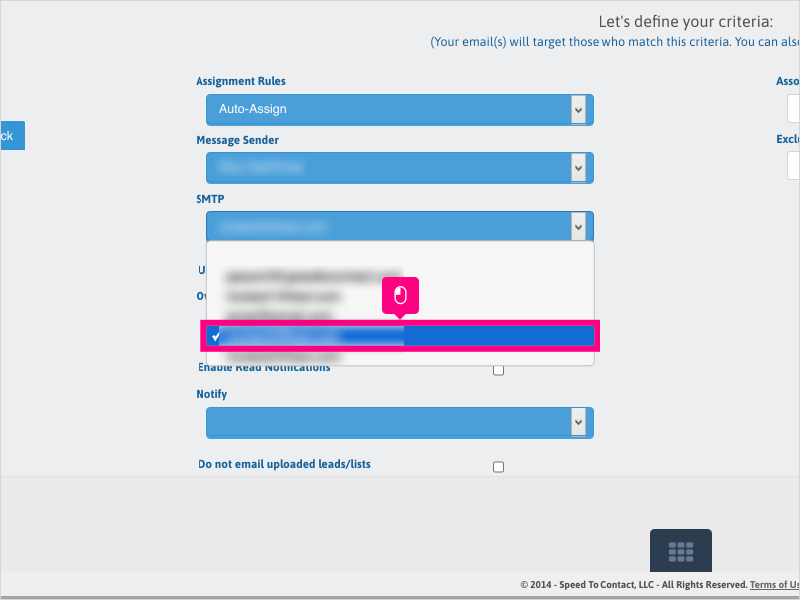
14. Click the checkbox if you want to use the current lead owner's SMTP.
If you selected a Message Sender/SMTP above, and check this box, if the lead owner has SMTP set up correctly, the Lead Owner SMTP will override the dropdown options.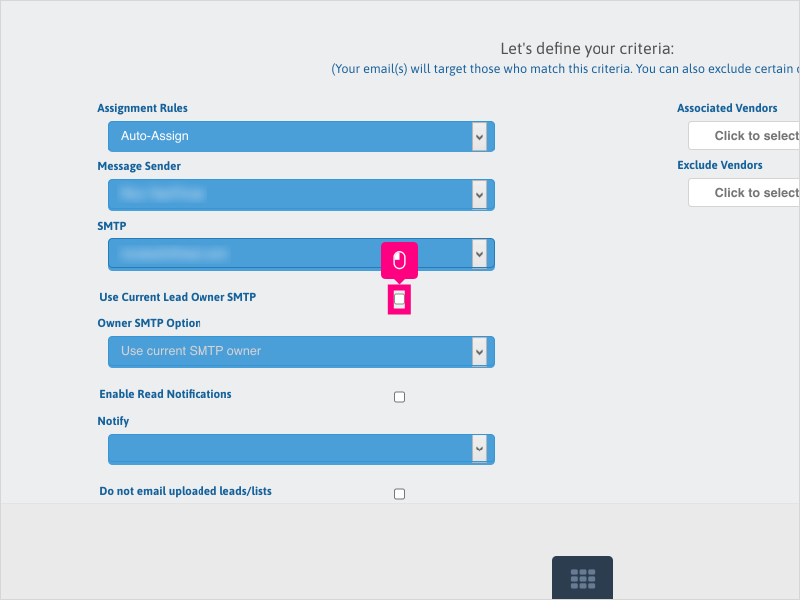
15. Click the dropdown for "Owner SMTP Option" to choose whether you want to use the current SMTP owner or the First Owner SMTP.
Most commonly used option is to Use current SMTP owner to send the email from the person that triggers the campaign.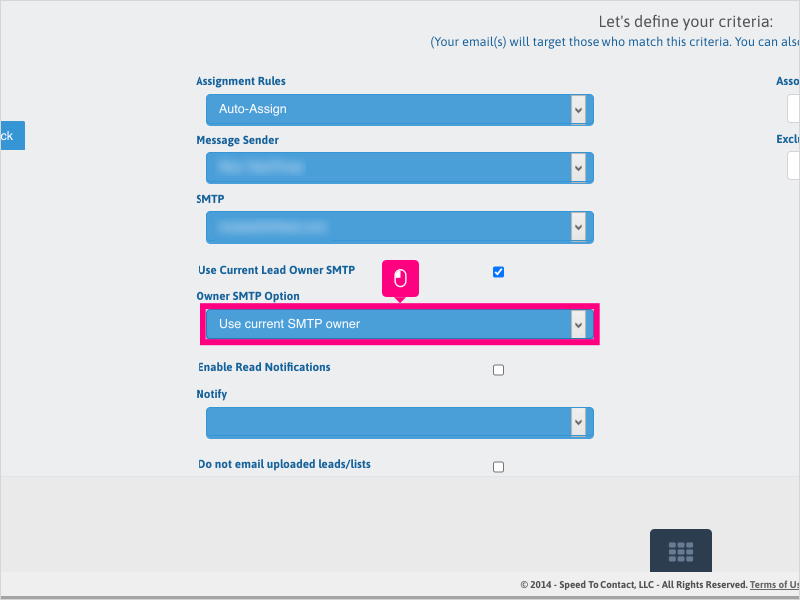
16. Click this checkbox to enable Read Notifications.
Notifications will show up at the top of Ricochet to notify you when an email sent has been opened by the recipient.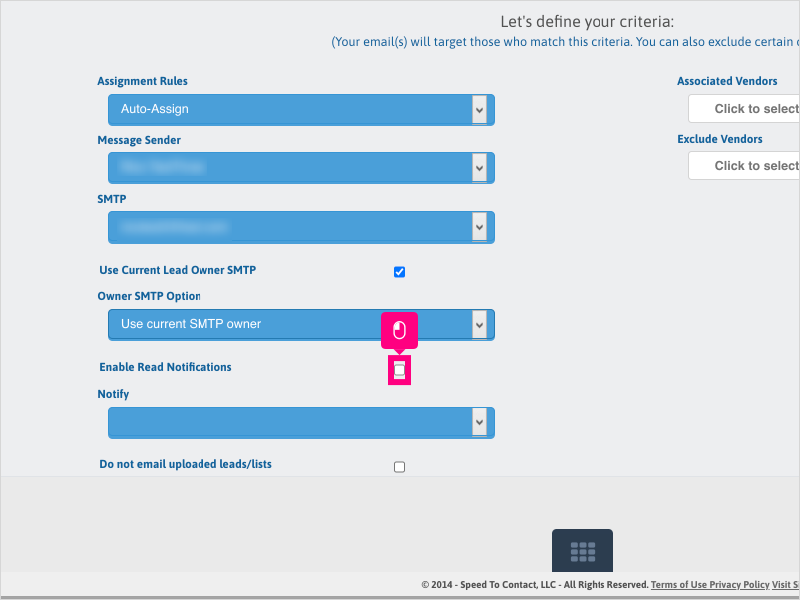
17. Click the dropdown to choose the Lead Owner to be notified.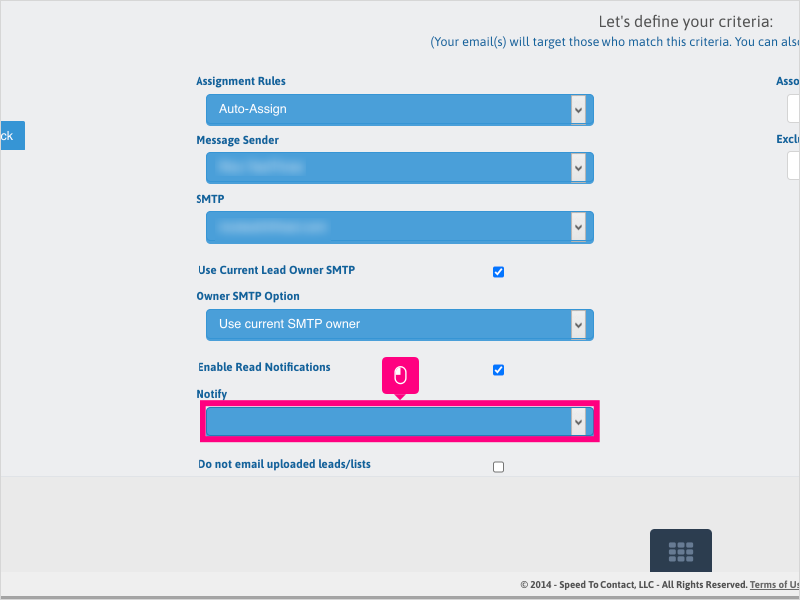
18. If you want to omit uploaded leads/lists, click this checkbox.
For Real Time email campaigns, only posted leads from an outside vendor to a posting URL will trigger Real Time campaigns by design. This option is not needed to be checked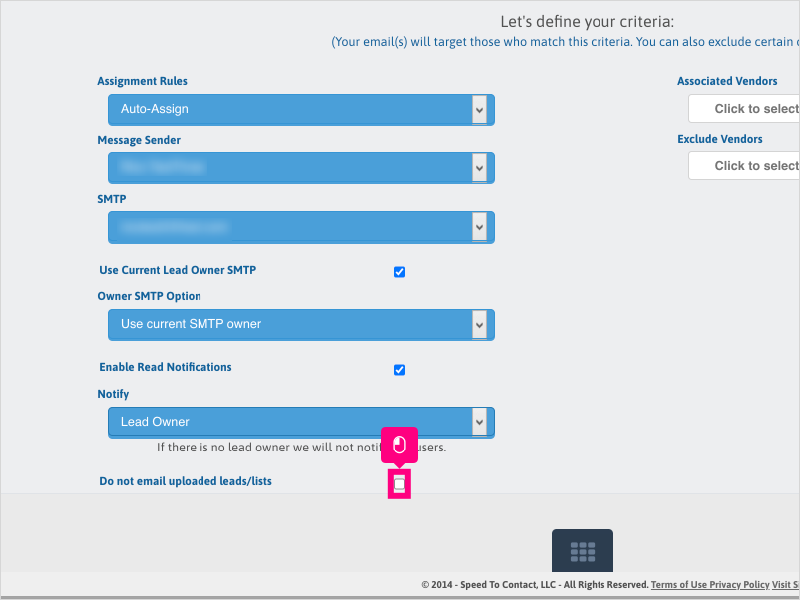
19. Click inside the Associated Vendors area if you want to make the campaign only send to specific Vendors.
Leave blank to include all vendors (or leads with no vendor).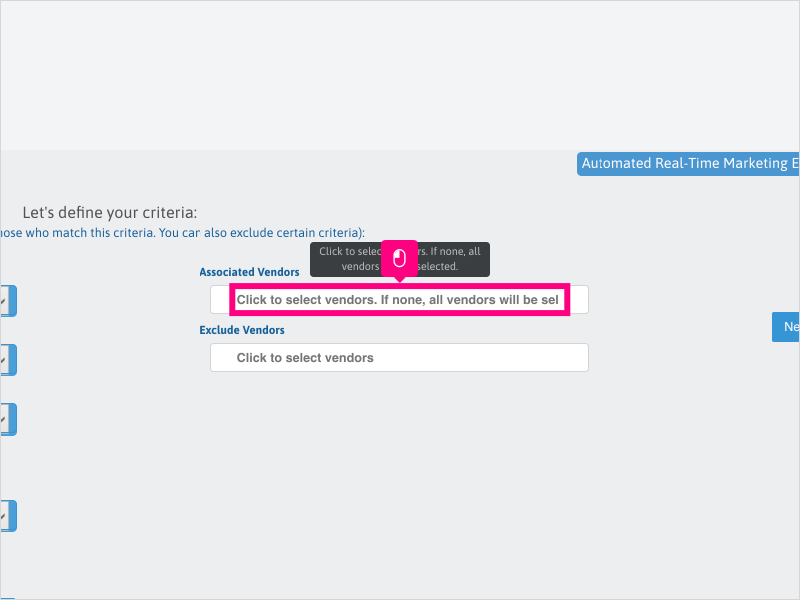
20. Click inside the Exclude Vendors area if you want to exclude certain vendors.
Be sure not to choose the same vendor(s) as listed in the Associated Vendors section. If you are including vendors, you do not necessarily have to add vendors in this area.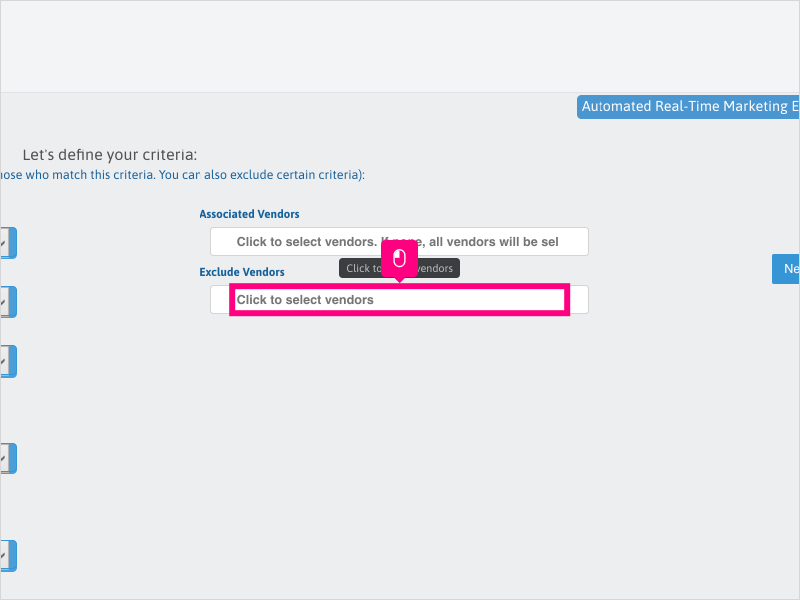
21. Click Next
22. Click the dropdown for "When to send" to choose either Send immediately or Send after first call attempt.
Send immediately will queue up and send the email upon lead posting. Send after first call attempt will send after the 1st call is made.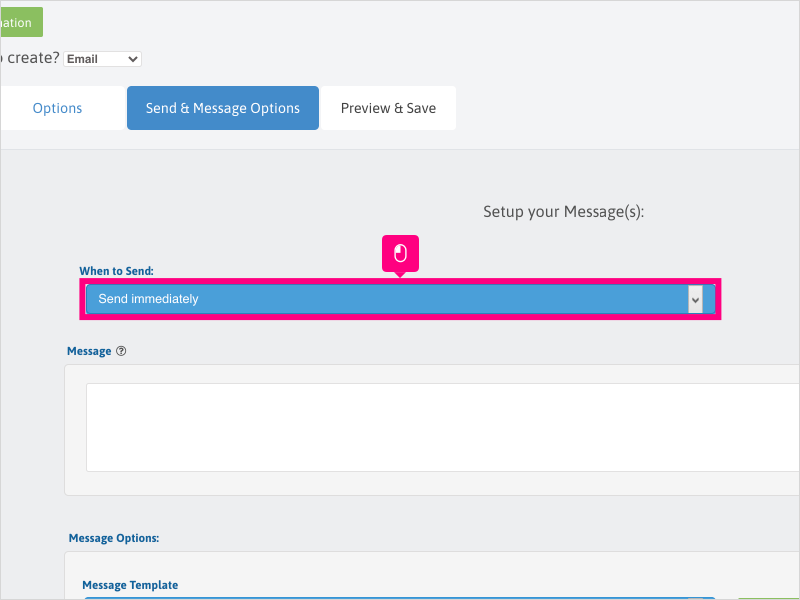
23. If you have a section in your template for the Message Hook, you can click into the message area and type in your message.
Conversely, you can also use this message area to type your email message if you're not using a template.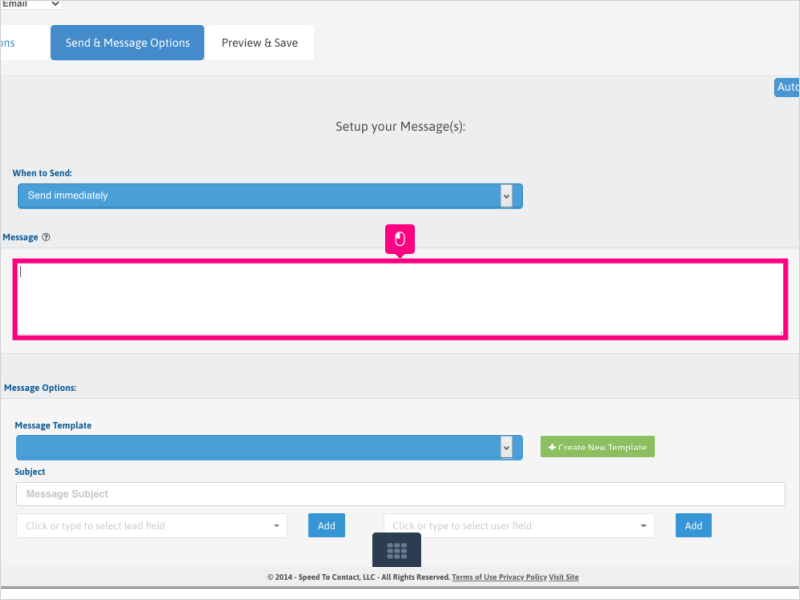
24. If you have a template created and wish to use it for the campaign, click the dropdown and select your template you want to apply to the message.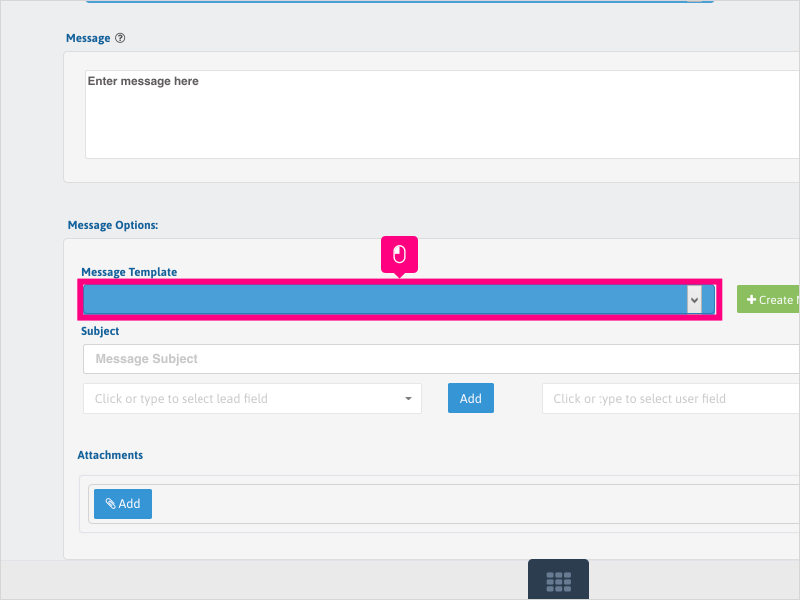
25. If you do not have a template and wish to create one, you can click the Create New Template button, which will take you away from the Campaign creation page.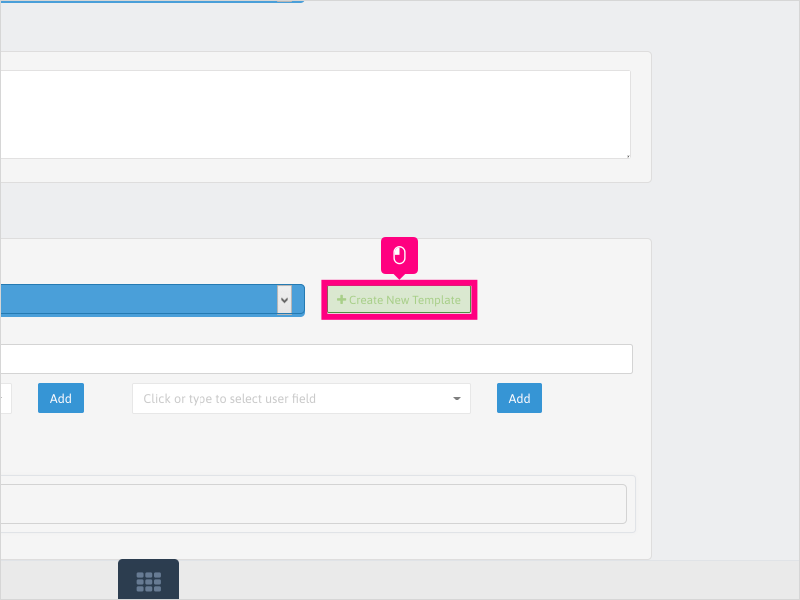
26. Click Ok to navigate away from the wizard to create your Email Template or click Close to return to your email wizard.
For this example, we will click Close to return to the wizard.
27. Click inside the Message Subject area and type your Subject of your Real Time email.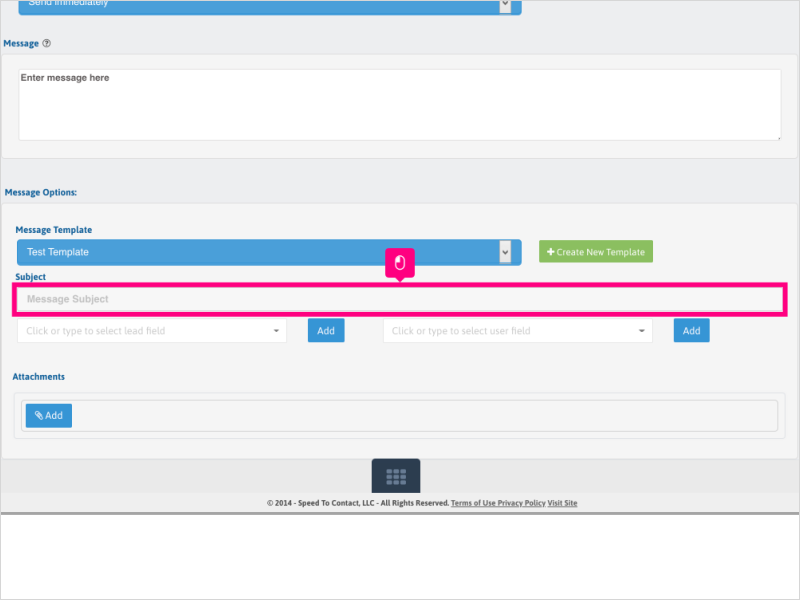
28. If you need to add Lead Fields or User Fields, click the dropdown area to select a specific field to add to the subject line.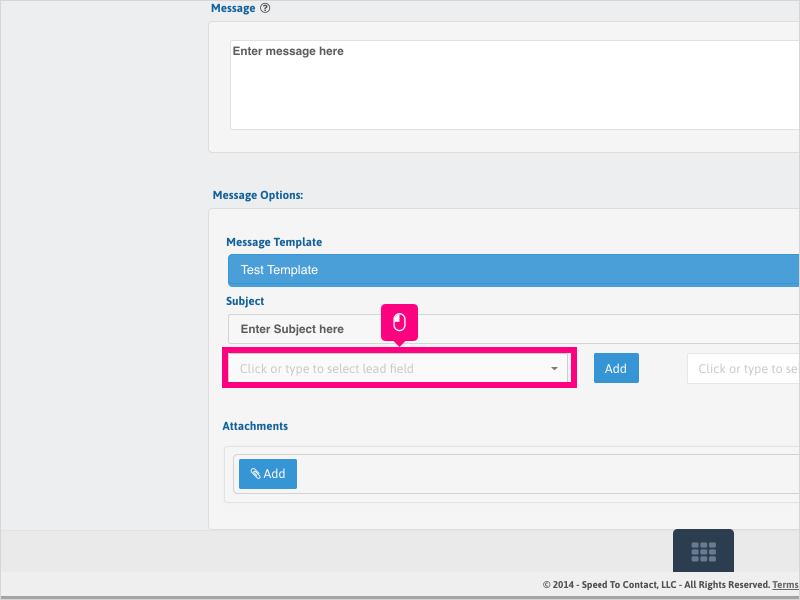
29. For this example, we will choose a Lead Field. Scroll down and click First Name
Note: Your field names may look different than this example.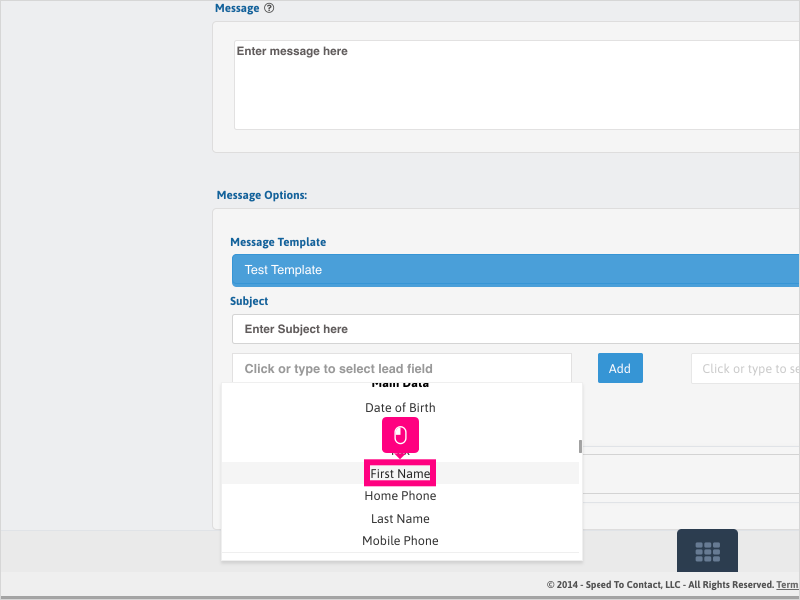
30. Click the Add button to add the First Name hook into the Subject line.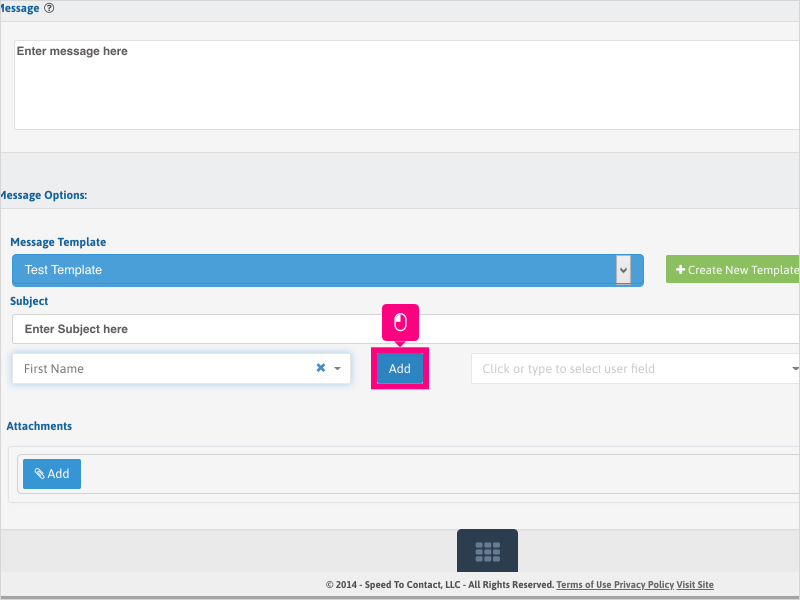
31. The field name will be added where you had your cursor within the Subject Line area. Do not edit this field name.
This unique coding will pull the data in from the lead record.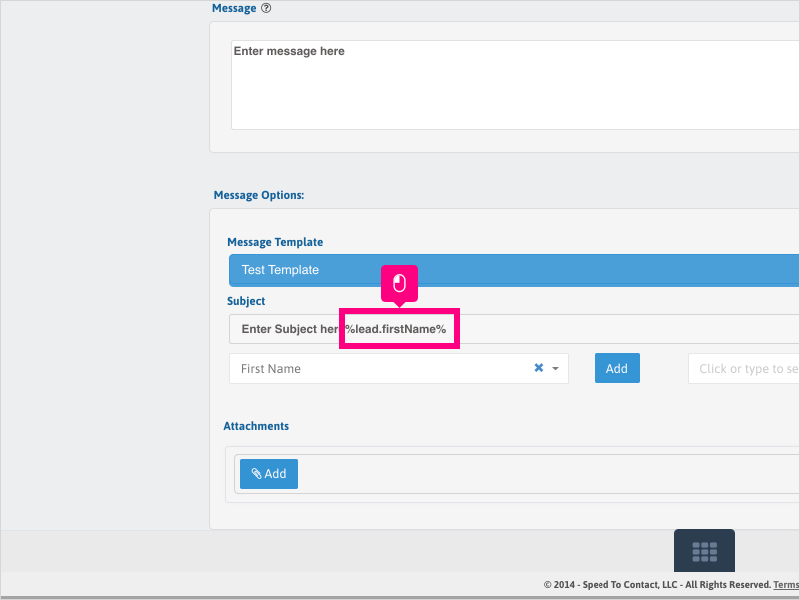
32. If you have attachments to add, you can add them by clicking on Add button under Attachments
33. Click Select File and add your attachment to the email message.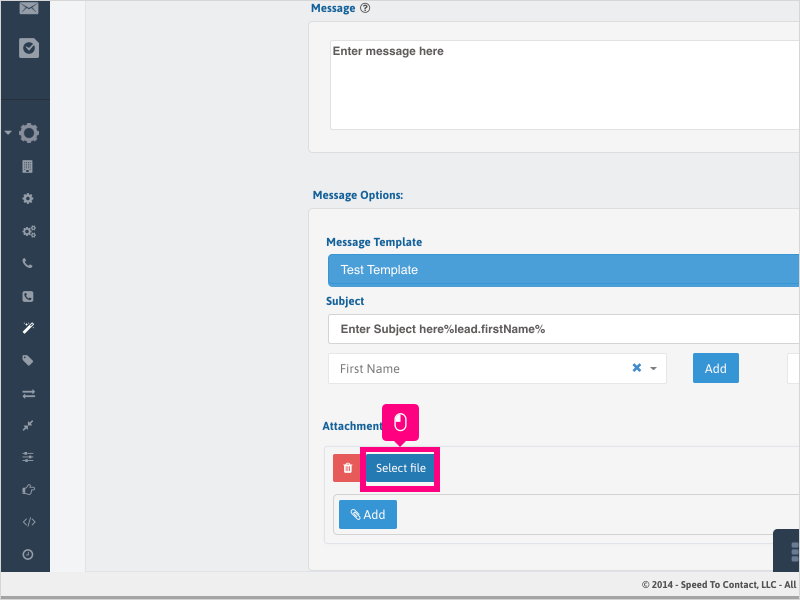
34. Click Next to review your campaign setup.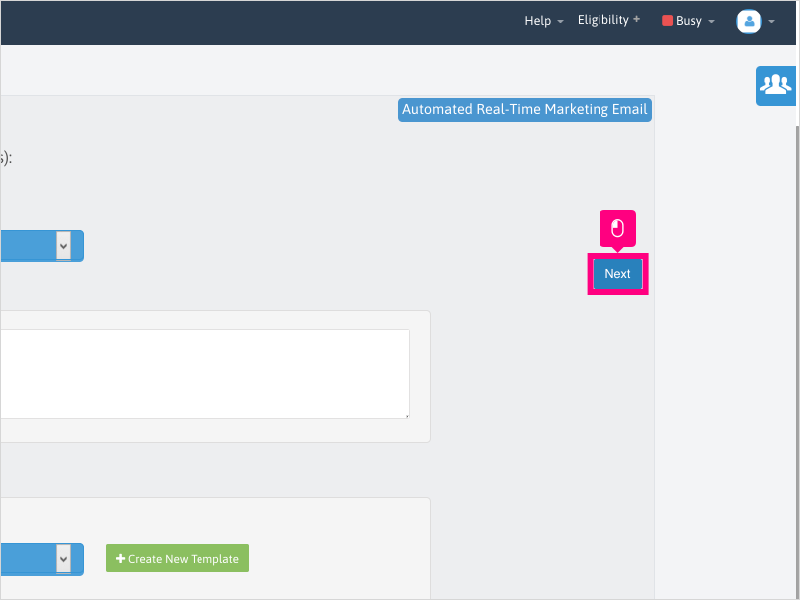
35. If you have your SMTP settings configured correctly, and the campaign is set to use a Message Sender / SMTP, you can test sending the email campaign to an email address.
Click into the "Send test email" area and enter an email address to send a test.
36. Click the send button to send the test email.
37. Scroll down and click inside the Name Of Campaign area and type the name of the campaign.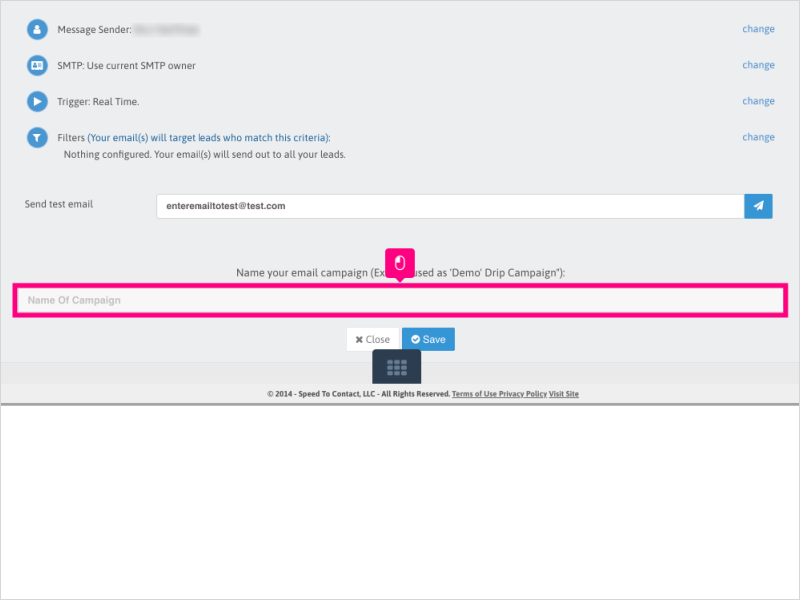
38. Click Save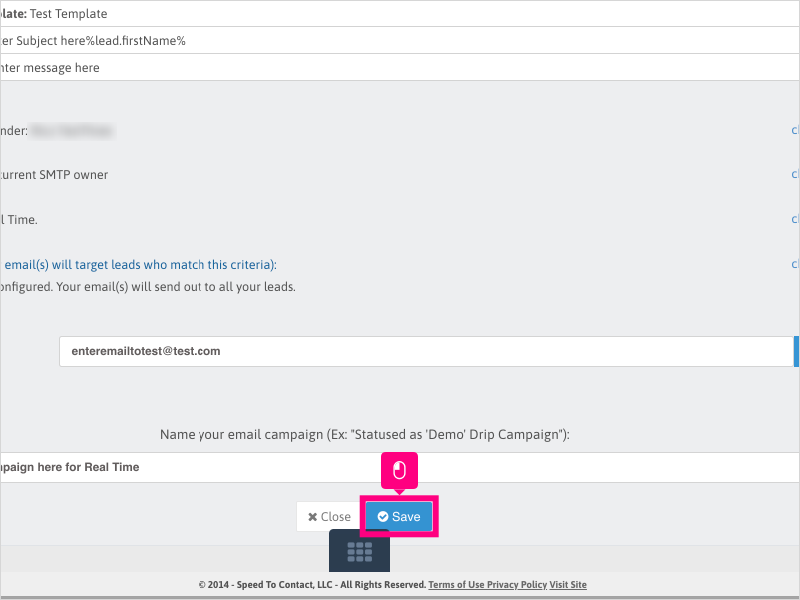
39. The email campaign will be inactive by default after creation.
To check and enable the campaign, click the Emails tab.
40. Scroll to the campaign you just created and click the gray/white icon to make the campaign active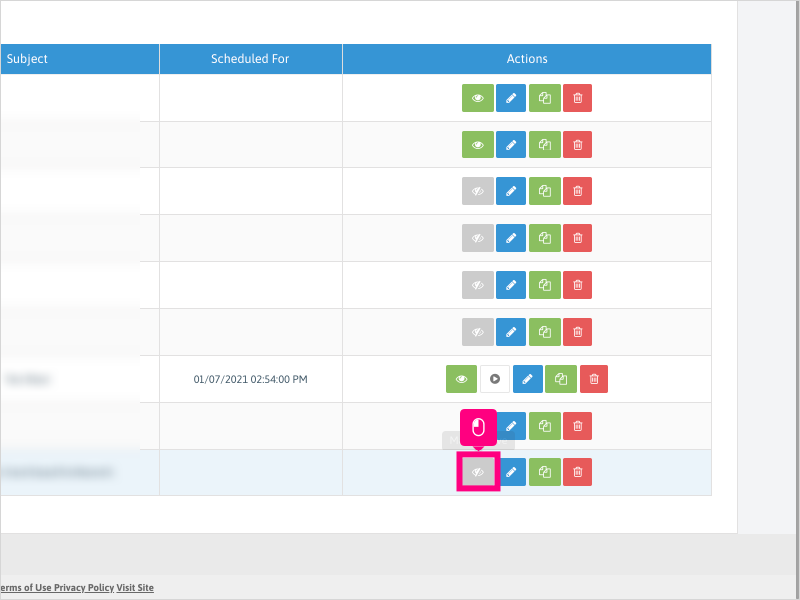
41. Click Ok to confirm making the email campaign active.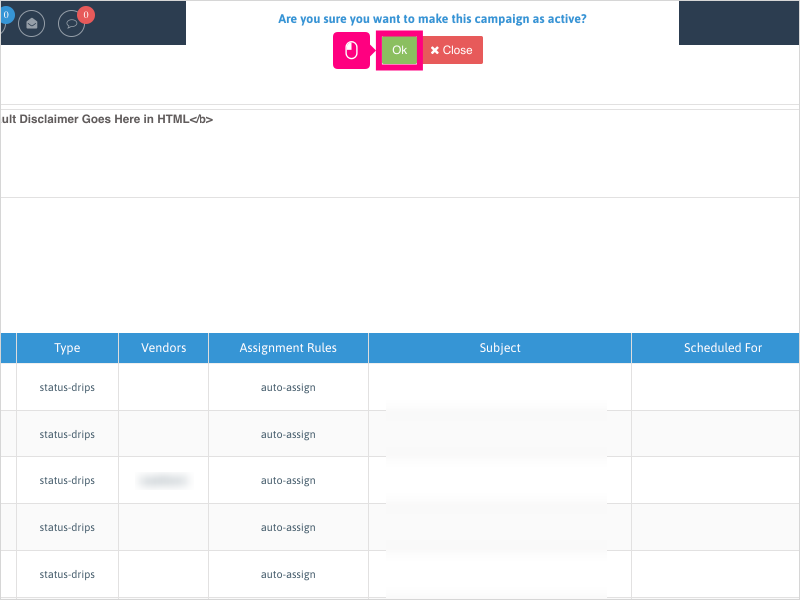
Was this article helpful?
That’s Great!
Thank you for your feedback
Sorry! We couldn't be helpful
Thank you for your feedback
Feedback sent
We appreciate your effort and will try to fix the article