Subject
Applies to: Admin
Purpose: Creating Email Templates
Location in Ricochet: Configuration > Marketing Automation
Description
The instructions in this article require Administrator permission
These instructions describe how to create and customize an Email Template in Marketing Automation. The process includes naming the template, composing the message using the WYSIWYG editor or HTML, inserting images via URLs, and using default tokens (Company Name, Legal Disclaimer, Signature, and Message) to personalize the email. Users can also add dynamic fields from Leads, Users, SMTP users, or Branches. Once completed, the template is saved and can be reviewed or previewed using the Email Templates section.
Resolution
Optional: View the interactive tutorial for this process:
Click here to open the step-by-step tutorial in a new tab
Non-Administrators do not have the access to follow these instructions and should open a ticket.1. To create an email template, click Configuration

2. Click Marketing Automation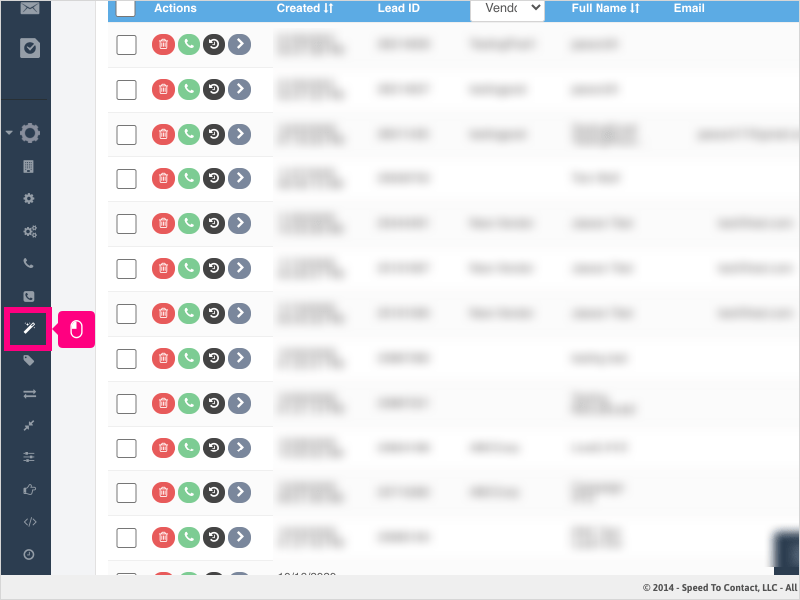
3. Click Email Templates
4. Click Create New Email Template
5. Scroll down and with your mouse, click and drag to resize the message area to fit to your liking.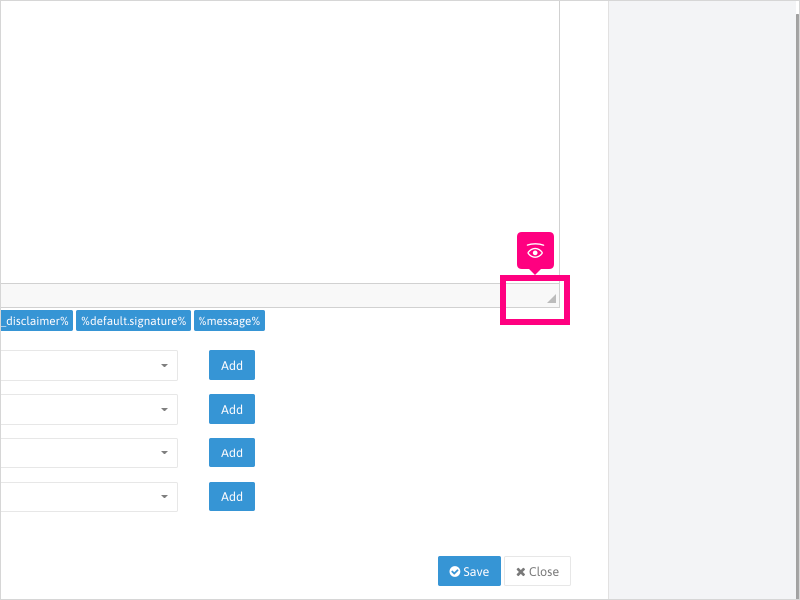
6. Click in the Name Of Template area and type the name of your email template.
7. Click in the message area.
The default message area is a WYSIWYG editor. You can make the text formatted as needed using the formatting options above.
8. If you need to use HTML editing, click Source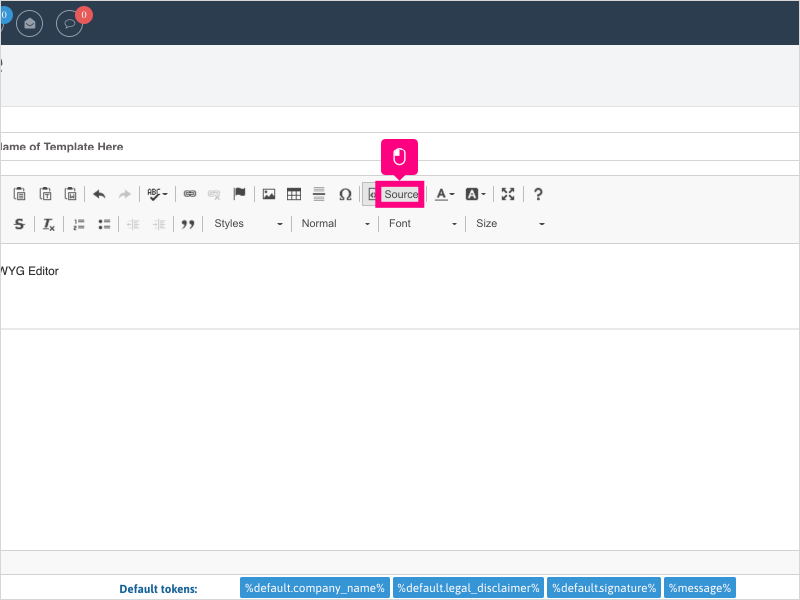
9. Click inside the HTML editor area and type your HTML code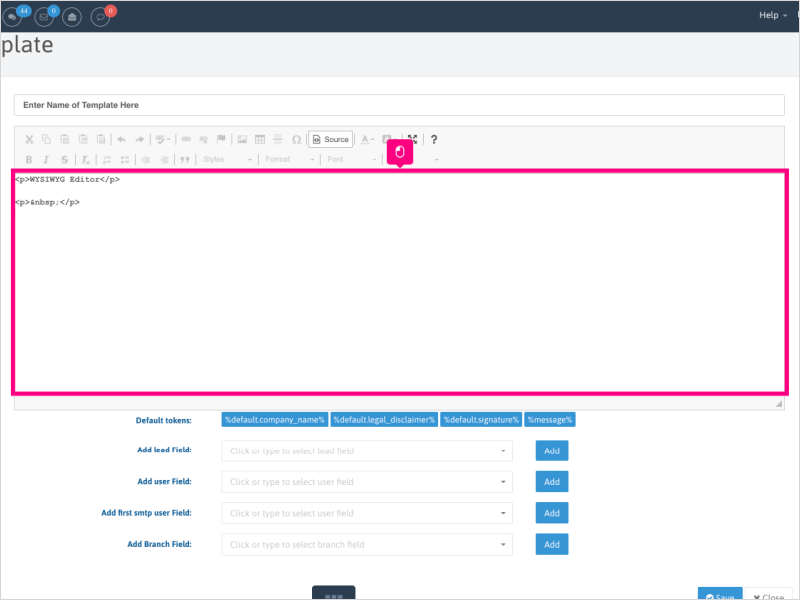
10. Click Source to return to the WYSIWYG editor (and also see the results of your HTML coded entry.
11. If you need to add an image to your email template, click the image icon.
NOTE: Images must be hosted in a location that can be accessed via a URL.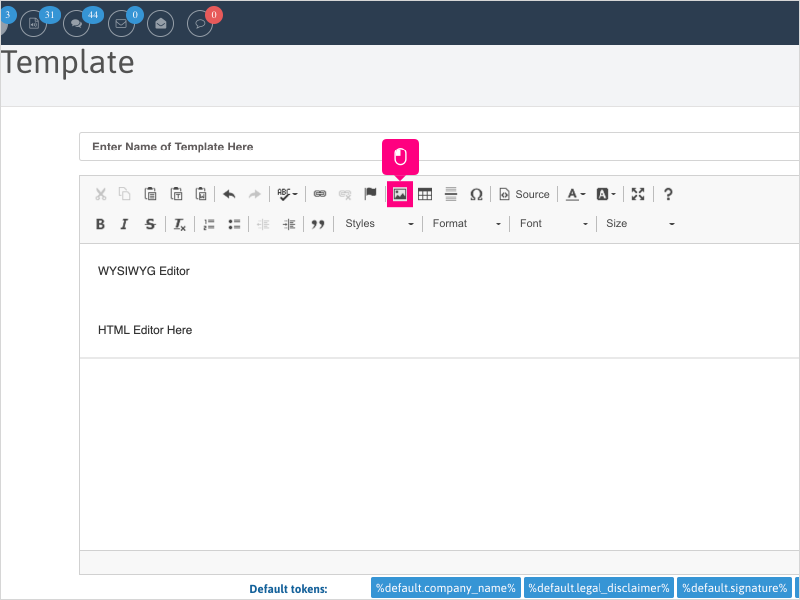
12. Click into the URL area and type the URL of the location of your image.
A preview of the image will appear below once the URL is entered.
13. You can adjust the size of the image using the Width, Height, Border options.
You can also set the alignment of the image.
When completed - click Ok.
14. The default token %default.company_name% will embed the Company Name found in Configuration --> Company Info.
15. The default token %default.legal_disclaimer% will insert the Default Legal Disclaimer (for unassigned leads) listed on the Emails tab of the Marketing Automation section.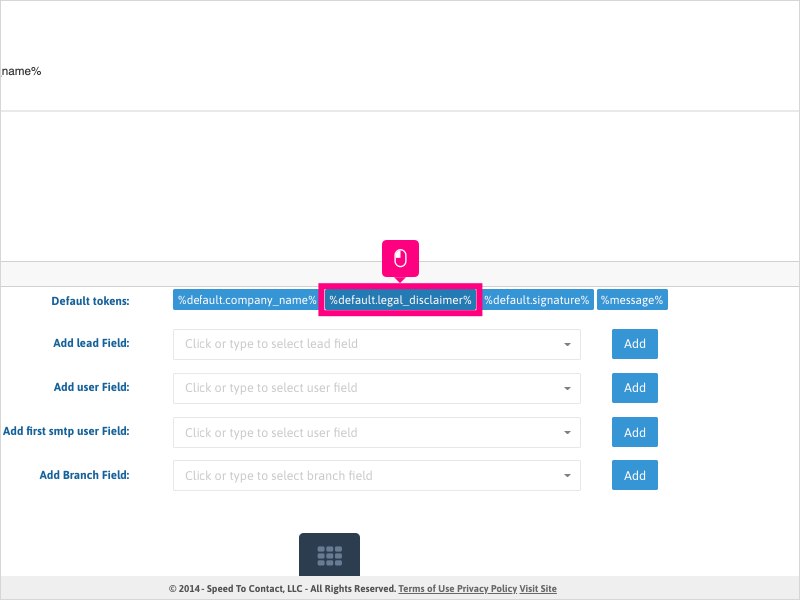
16. The default token %default.signature% will insert the Default Signature (for unassigned leads) listed on the Emails tab of the Marketing Automation section.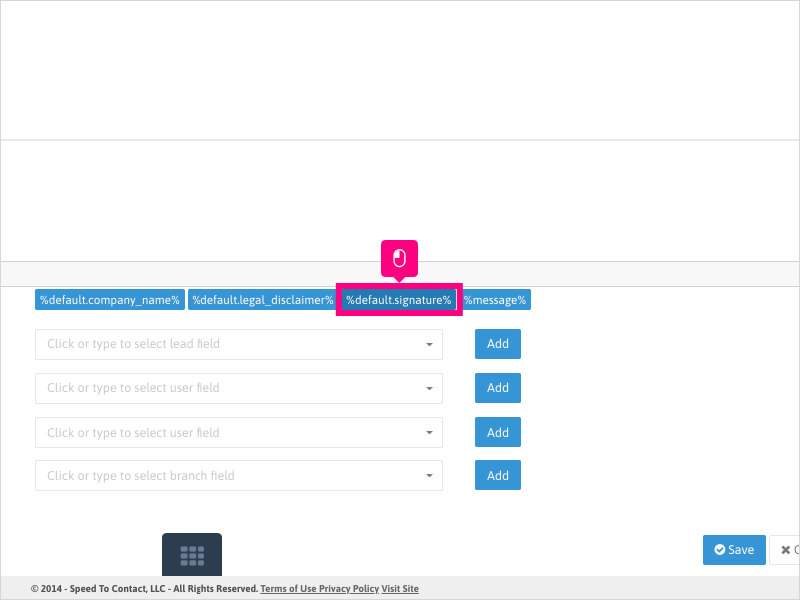
17. The default token %message% can be inserted into an email template and will allow you to enter customized content on the "Message" section inside the Email Send & Message Options area.
18. You can add Lead Fields, User Fields, First SMTP User Fields, and/or Branch Fields into the email template.
Select the option you wish to insert into the email template and click the Add button.
19. Once your template is completed, click Save
20. To review the email template, click Email Templates.
21. Click the green/white view icon to preview your email template.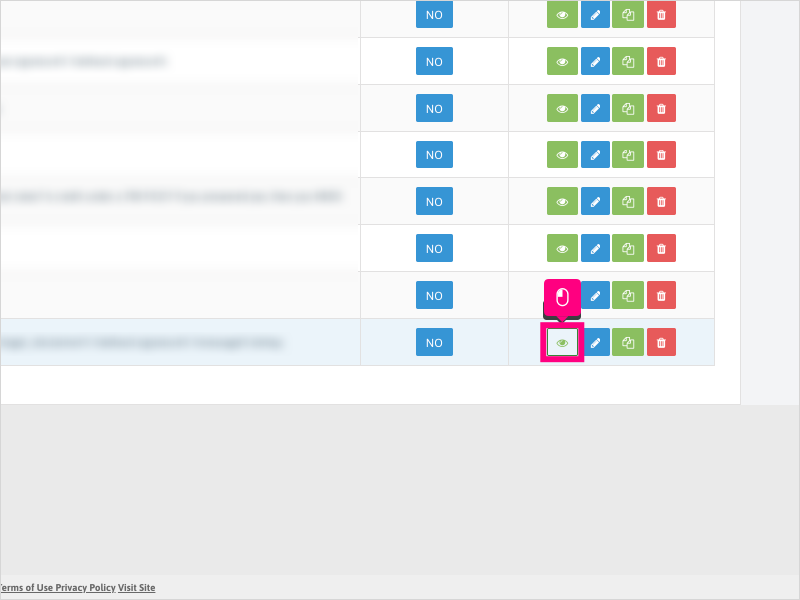
Was this article helpful?
That’s Great!
Thank you for your feedback
Sorry! We couldn't be helpful
Thank you for your feedback
Feedback sent
We appreciate your effort and will try to fix the article