Subject
Applies to: Admin
Purpose: Adding a New Status
Location in Ricochet: Configuration > Status Management Page
Description
The instructions in this article require Administrator permission
These instructions describe how to add and configure a new lead status in by navigating to Configuration > Status Management, creating the status, and defining how it behaves and appears throughout the platform.
Resolution
Optional: View the interactive tutorial for this process:
Click here to open the step-by-step tutorial in a new tab
Non-Administrators do not have the access to follow these instructions and should open a ticket.1. To add a new status to Ricochet, click Configuration

2. Click Status Management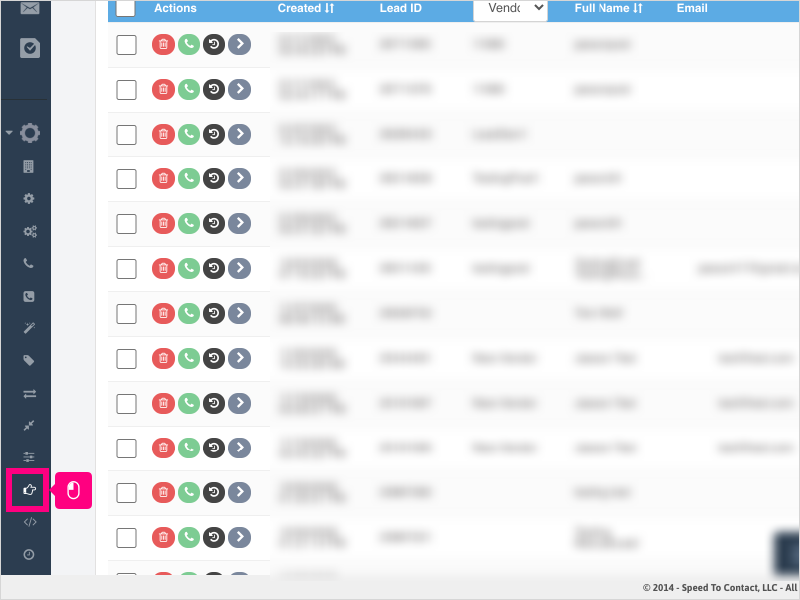
3. Click Add Status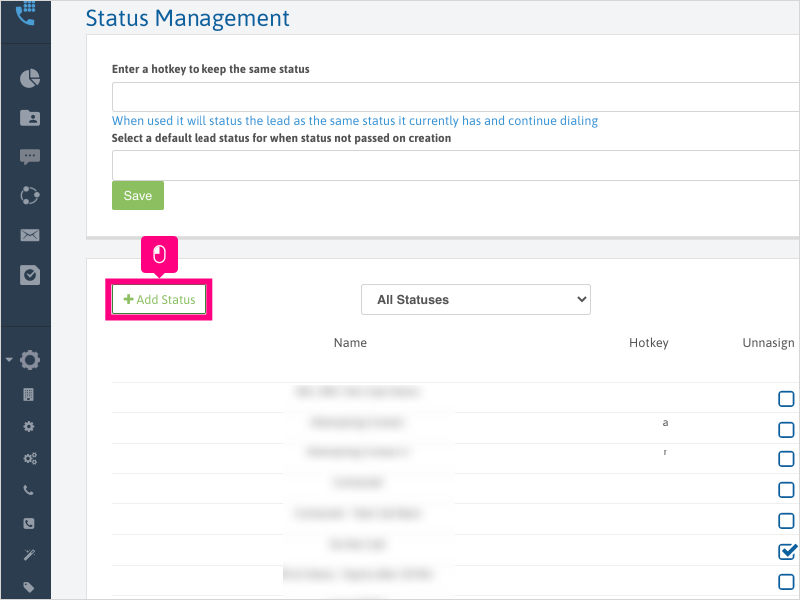
4. Click in the text area and type the name of your new status.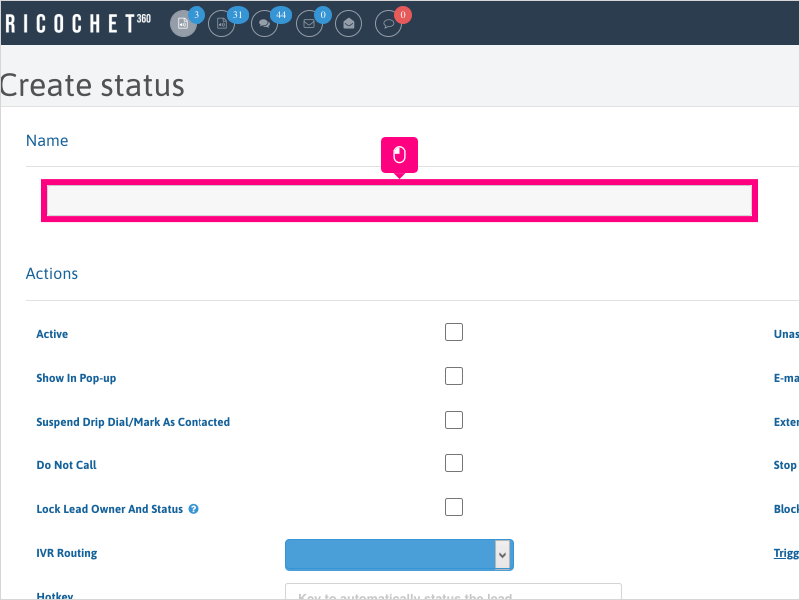
5. Click this checkbox to make the status Active.
NOTE: Leaving this checkbox blank will not allow you to utilize it inside the Ricochet platform.
6. Click this checkbox to allow the status to be seen in the dropdown areas inside Ricochet.
NOTE: You can leave this blank if the status is an expiration rule status.
NOTE: Areas the status will be visible: Lead pop-up, Lead management, Lead details.
7. Click this checkbox if the status is going to be used as a Contacted-type status.
NOTE: Ignore the "Drip Dial" terminology, as that is referring to a feature that has been depreciated in the platform.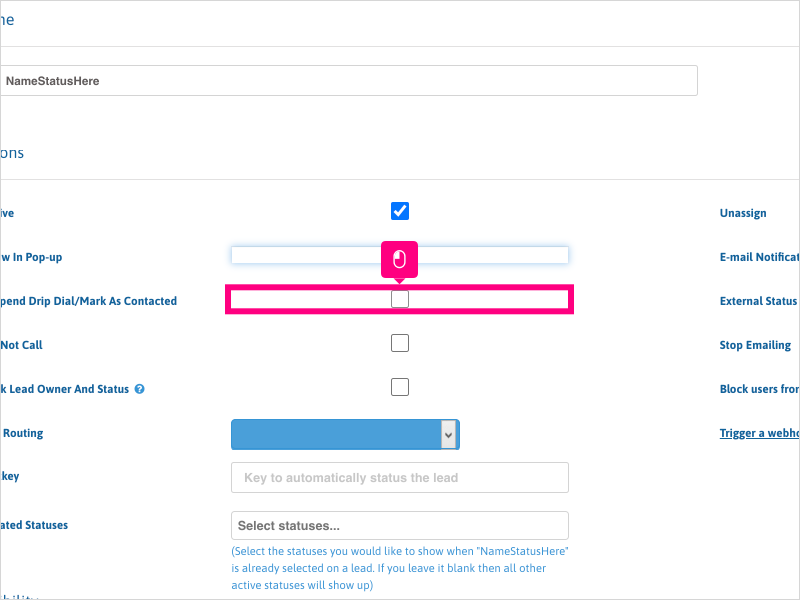
8. Click this checkbox if you intend for this status to mark the lead with the Do Not Call tag.
NOTE: Use this sparingly as this will make the lead and any other leads with the same phone number ineligible to be called once the status is applied.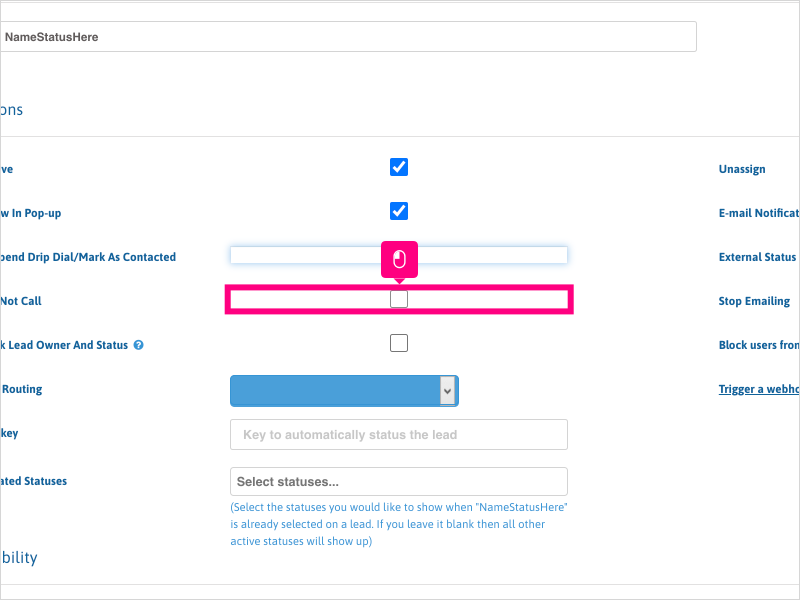
9. Click this checkbox if you want to, upon applying this status to the lead, keep the Lead Owner & Status the same.
NOTE: The status can be changed by status expiration rules or by user types listed in Company Settings --> Lock Lead by Status Exemptions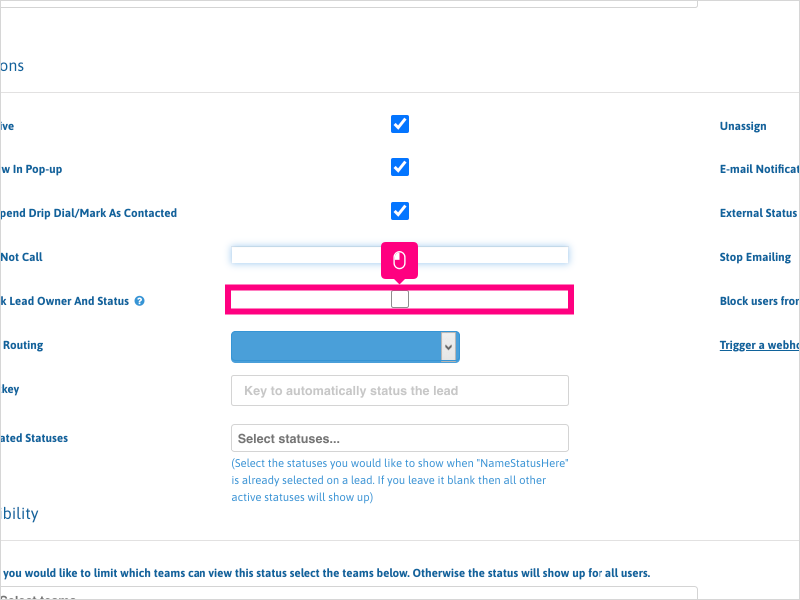
10. Click this checkbox if you want to, upon the status being applied, unassign the lead owner from the lead.
NOTE: This is best used for statuses where there are no further contact attempts to be made to the lead (via calling or Marketing Automation).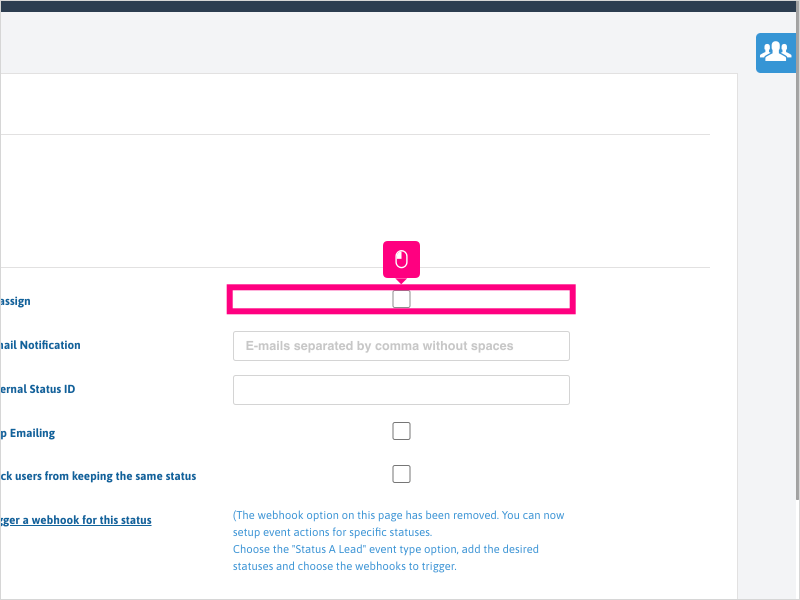
11. Click inside the E-mail Notification area and type an email address or addresses (separated by a comma, no spaces between the address & comma) if you wish to have an email notification sent when this status is applied to a lead.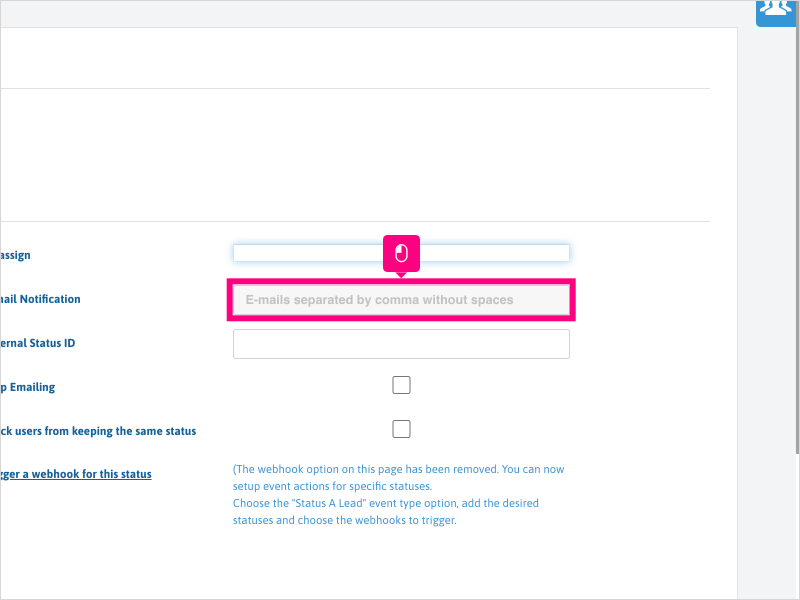
12. The External Status ID has been depreciated and is no longer in use and will be removed from the Status Management section at a later time.
13. Click this checkbox if you wish to stop all email functionality to the lead, upon applying this status.
NOTE: This will prevent sending any emails to the email address on the database. If you need an unsubscribe tag reversed, contact Support.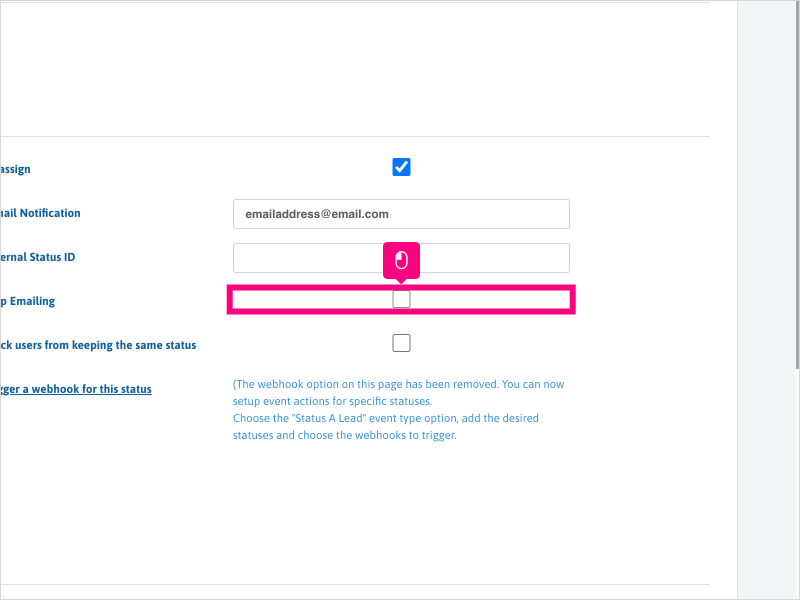
14. Click this checkbox to block your users from applying this status as the same status on a lead.
NOTE: This is a good option to use to keep the progression of your statuses moving forward and prevent leads remaining in the same status too long.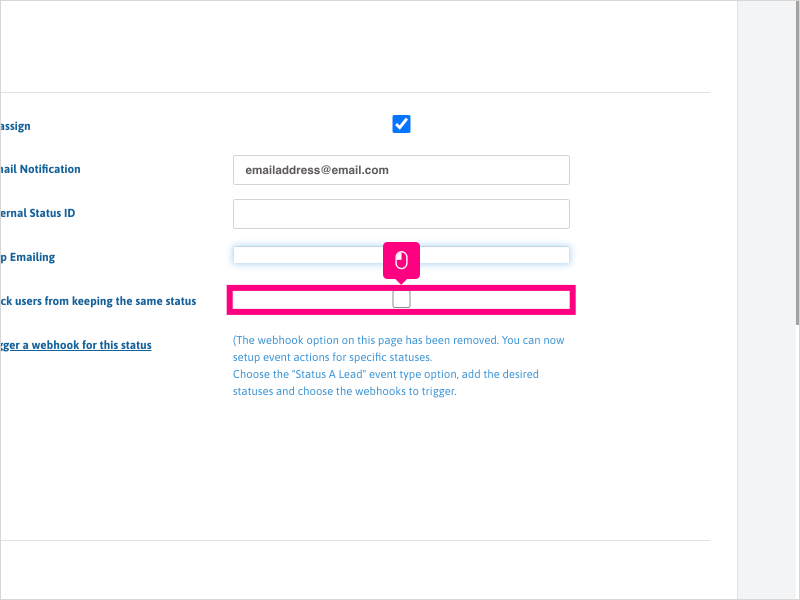
15. Click this dropdown to choose an Inbound IVR Template to use for special IVR Routing.
NOTE: Refer to our Advanced Phone Routing & IVR Template tutorials for creating a template and configuring your IVR line(s) to follow the IVR template routing.
16. Click in the Hotkey area to add a hotkey to the status. Use letters or numbers.
NOTE: Hotkeys allow you to quickly perform 3 steps in one click: Hang up a call, apply a status to the lead, change your status back to Online to make more calls.
17. Click inside the Related Statuses area if you wish to display certain status(es) when this status is applied to a lead.
NOTE: Please keep track of your Related Statuses across all statuses to ensure the proper flow of your status progression.
18. Scroll down and click in the "Select Teams" area. This will allow you to display this status to a certain team or teams.
NOTE: Leave blank to allow the status to be visible to all users.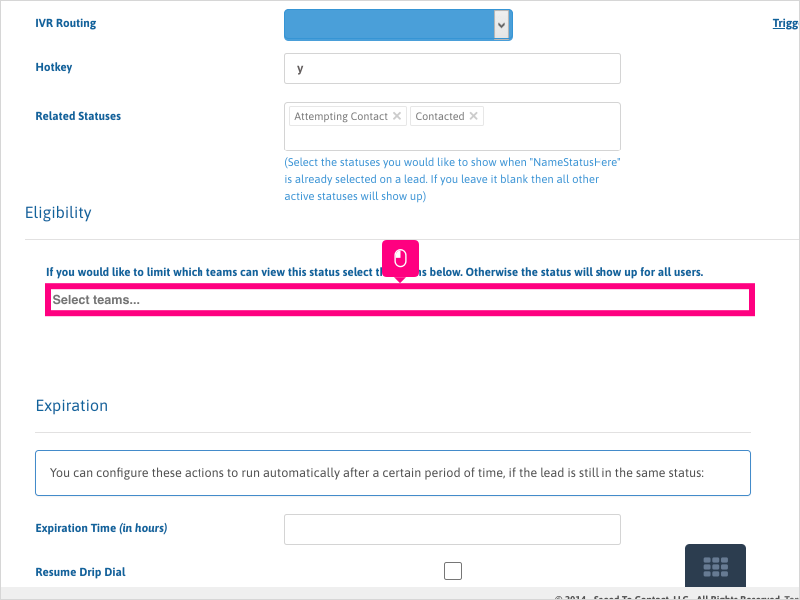
19. Scroll down and click in the Expiration Time (in hours) area. Enter a time, in hours, if you wish to have this status expire into another status.
NOTE: Use this with caution so you do not change statuses too often or inadvertently.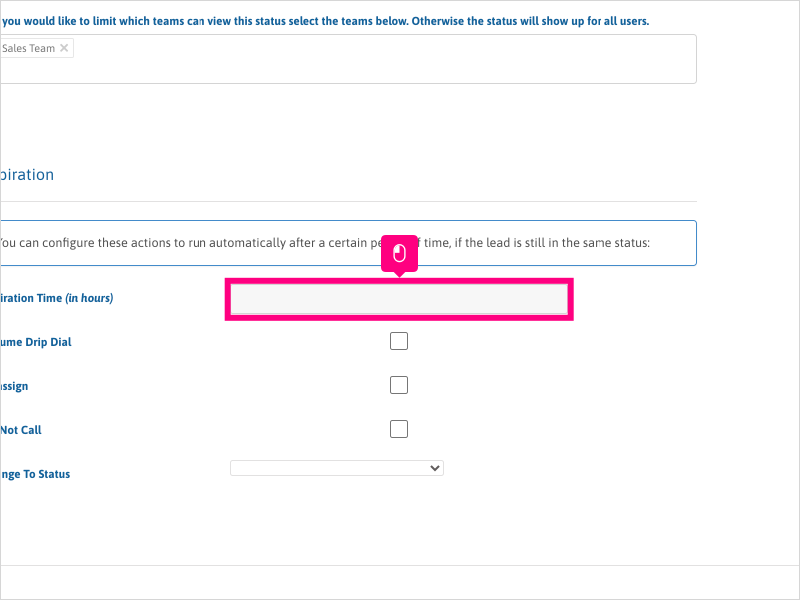
20. You can bypass this checkbox as Drip Dial has been depreciated in the Ricochet platform.
This checkbox will be removed at a later time from the section.
21. Click this checkbox if you wish to unassign the lead owner when the Expiration Time has elapsed.
22. Click this checkbox if you want to mark the lead as Do Not Call when the Expiration Time has elapsed.
23. Click this dropdown to choose the status you want to change the status to once the Expiration Time has elapsed.
NOTE: It is suggested to create a unique status just for expiration rules such as "RECYCLED - XYZ Status" or "EXPIRED - XYZ Status".
24. Click this checkbox if you wish to start/restart any Text Marketing Automation campaigns that are created for the status selected in the dropdown.
25. Click this checkbox if you wish to start/restart any Email Marketing Automation campaigns that are created for the status selected in the dropdown.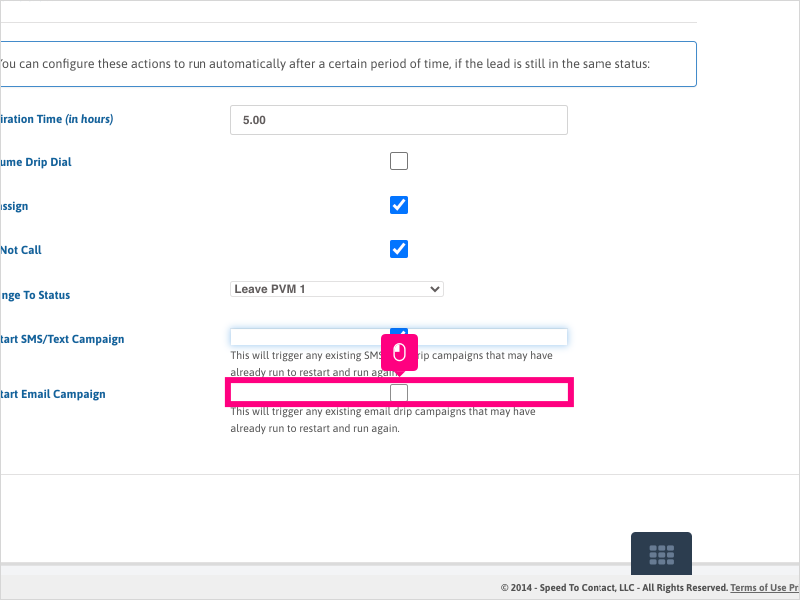
26. Click Save and refresh your browser (and ask all users to refresh their browser as well) so the changes will populate through the platform.
Was this article helpful?
That’s Great!
Thank you for your feedback
Sorry! We couldn't be helpful
Thank you for your feedback
Feedback sent
We appreciate your effort and will try to fix the article