Subject
Applies to: Admin
Purpose: How to add a new branch
Location in Ricochet: Management > Branches
Description
The instructions in this article require Administrator permission
These instructions explain how to create a new Branch in Ricochet by navigating to Manage > Branches, naming the branch, and completing required fields, while noting which legacy fields are no longer used. They cover optional configuration such as enabling IP restrictions, assigning agents (with the requirement that users belong to only one branch at a time), and adding HTML-based legal disclaimers or email signatures for outbound emails.
Resolution
Optional: View the interactive tutorial for this process:
Click here to open the step-by-step tutorial in a new tab
Non-Administrators do not have the access to follow these instructions and should open a ticket.1. To add a new Branch to your Ricochet platform, click Manage.
NOTE: Users can only be added to one Branch at a time. You must first remove the user from one Branch and refresh before adding to a new Branch.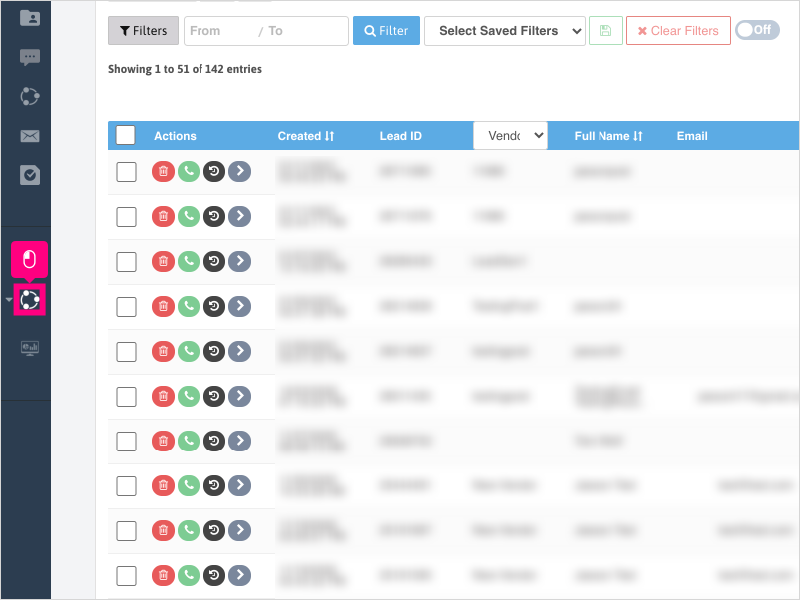
2. Click Branches
3. Click Create branch
4. Click in the Name area and give the Branch a name.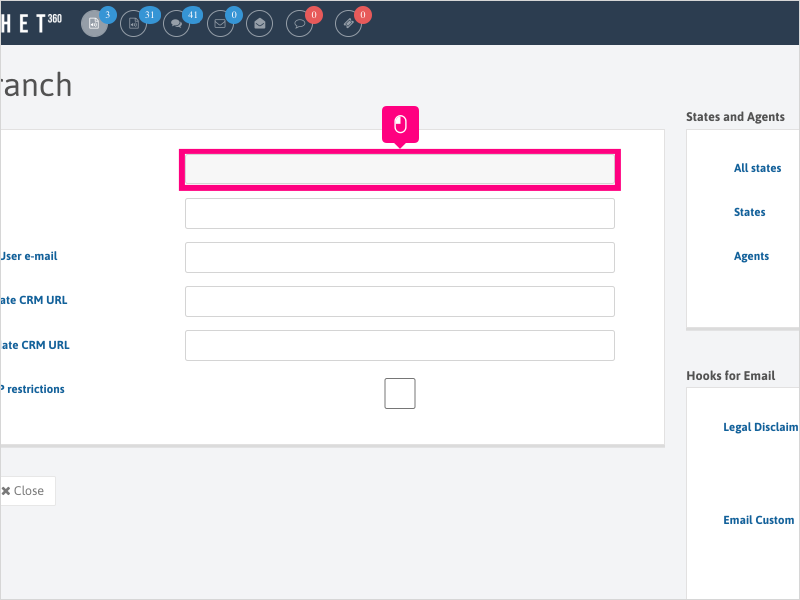
5. The Caller ID area is not utilized and can be omitted / left blank.
6. Click in the Default User e-mail area and type any email address in this section.
This email address is not utilized anymore but some email address has to be input into this field to save the Branch settings.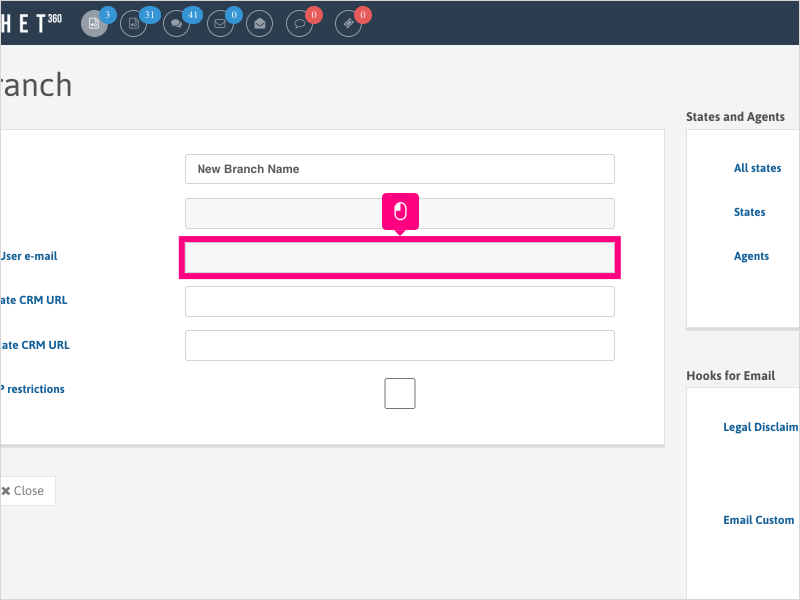
7. The Post-Create CRM URL area is not utilized in Ricochet anymore and can be omitted / left blank.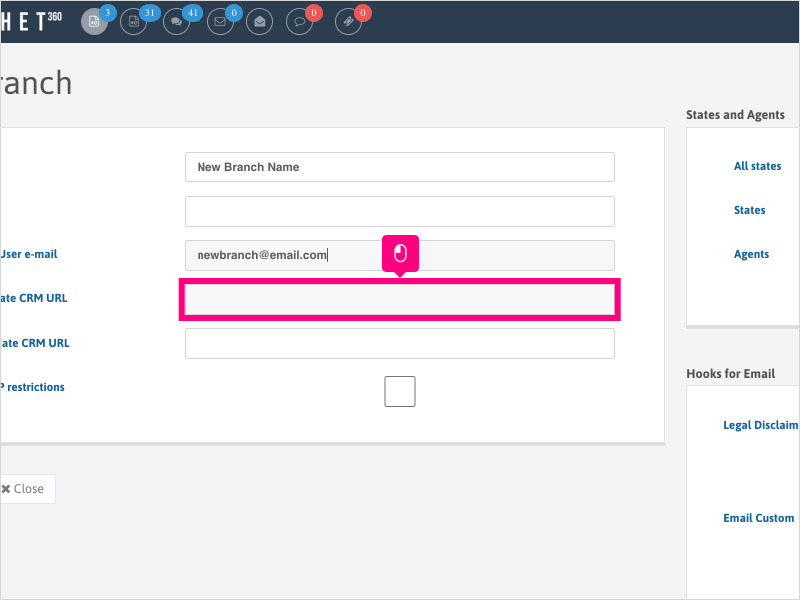
8. The Post-update CRM URL area is not utilized in Ricochet anymore and can be omitted / left blank.
9. Click this checkbox if you want to enable IP Restrictions for this branch.
IP Restrictions allow you to prevent non-Admins from accessing Ricochet outside of the office network.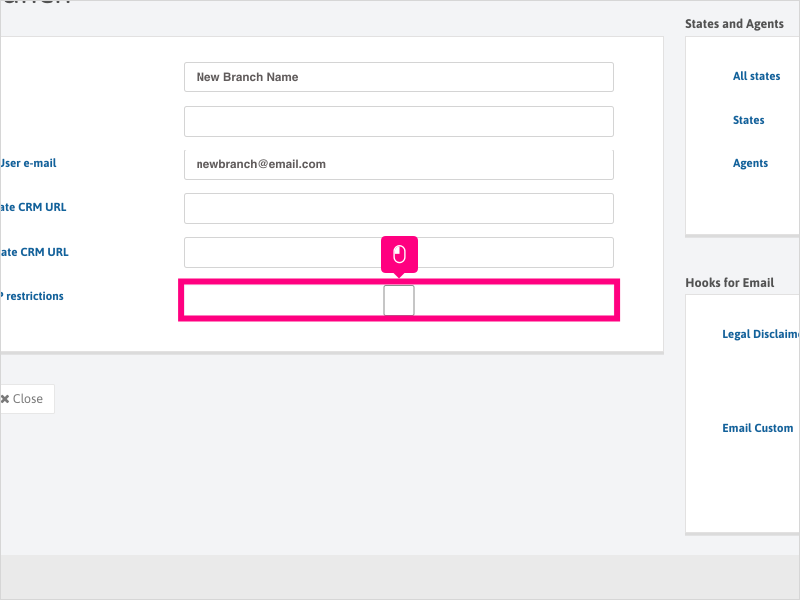
10. If IP Restrictions is checked, click in the Allowed IP Addresses area and type, one line at a time, the real-world IP Address(es) associated with your office network.
You can obtain your office IP Address by typing "Whats My IP" in Google.
11. This this checkbox in the States and Agents section is not utilized anymore and can be omitted / left blank or checked.
Agent permissions are driven by the information found in their Agent Profile.
12. Click in the Agents area and choose the agent(s) to be added to this new Branch.
NOTE: The user, if in another Branch, must be removed from the other Branch first, refresh the browser, then added to the new Branch.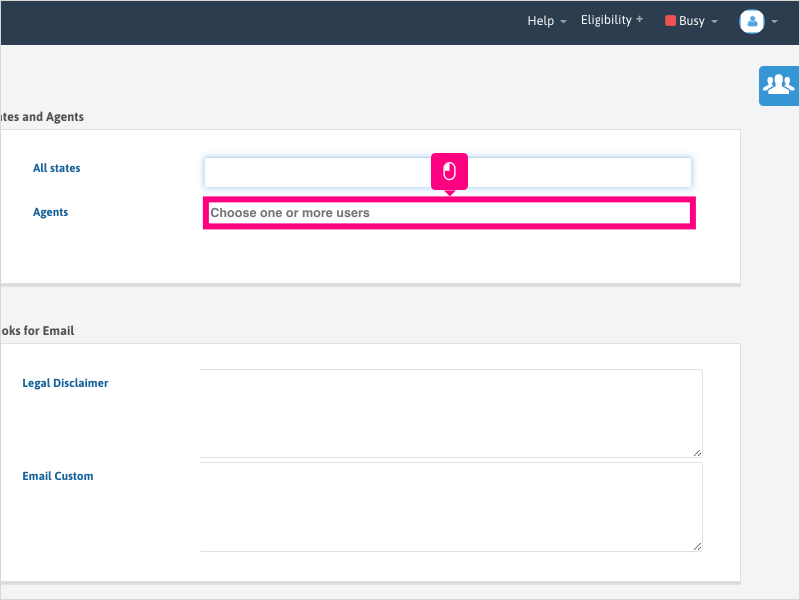
13. Click in the Legal Disclaimer area if you wish to add an HTML-based Legal Disclaimer to be used for outbound emails from Ricochet.
You can use a site like https://wordtohtml.net to create your HTML-based Legal Disclaimer.
14. Click in the Email Custom area if you wish to add an HTML-based Branch-specific email signature to be used for outbound emails from Ricochet.
You can use a site like https://wordtohtml.net to create your HTML-based email signature.
15. Click Save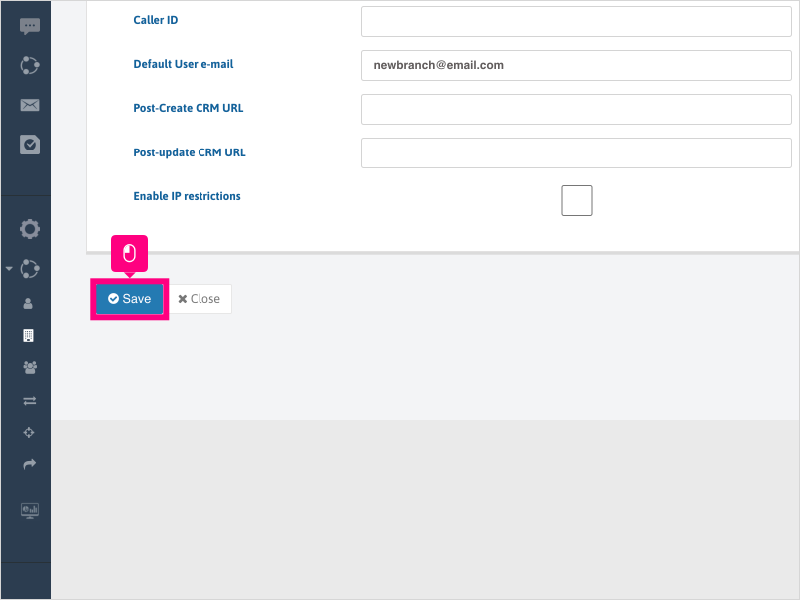
16. Click Close to return to the main Branches page.
17. Confirm your new Branch has been created.
NOTE: Refresh the Ricochet browser once completed.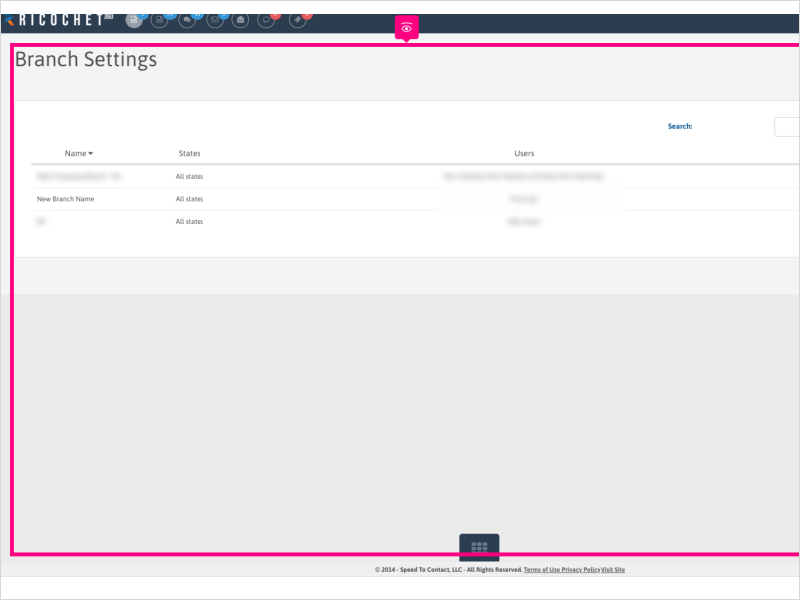
Was this article helpful?
That’s Great!
Thank you for your feedback
Sorry! We couldn't be helpful
Thank you for your feedback
Feedback sent
We appreciate your effort and will try to fix the article