Subject
Applies to: Admin
Purpose: This article explains how Admin/Branch Manager users can customize which fields appear in the Add Lead section by editing field visibility from the Lead Details page.
Location in Ricochet: Lead Management -> Lead Details page
Description
The instructions in this article require Administrator permission
This guide walks Admin/Branch Manager users through the process of enabling or disabling fields on the Add Lead form. By adjusting field visibility from an existing lead’s details page, users can control which fields are displayed when creating new leads, ensuring the Add Lead form matches their workflow and data requirements.
Resolution
Optional: View the interactive tutorial for this process:
Click here to open the step-by-step tutorial in a new tab
Non-Administrators do not have the access to follow these instructions and should open a ticket.1. To customize the fields visible in the Add Lead section, click into any lead record from the Lead Management page to view the lead details page.

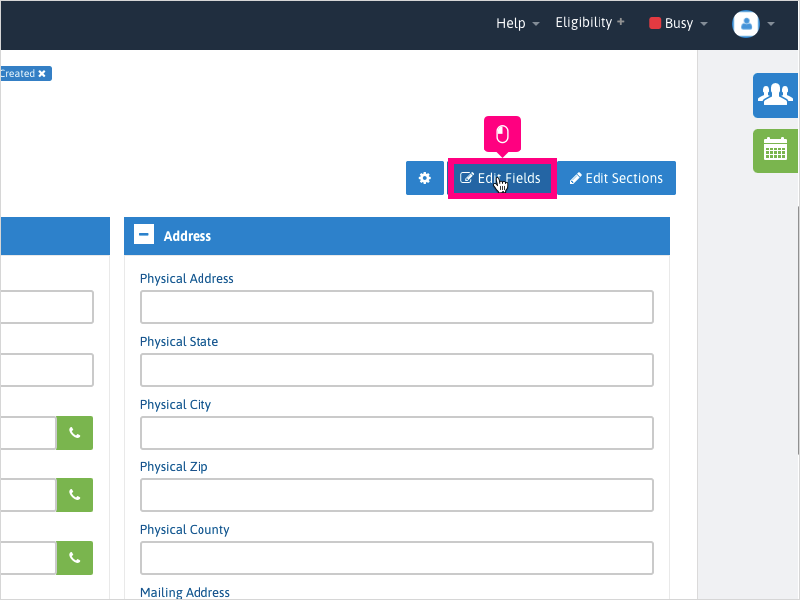
2. Scroll down and click Edit Fields
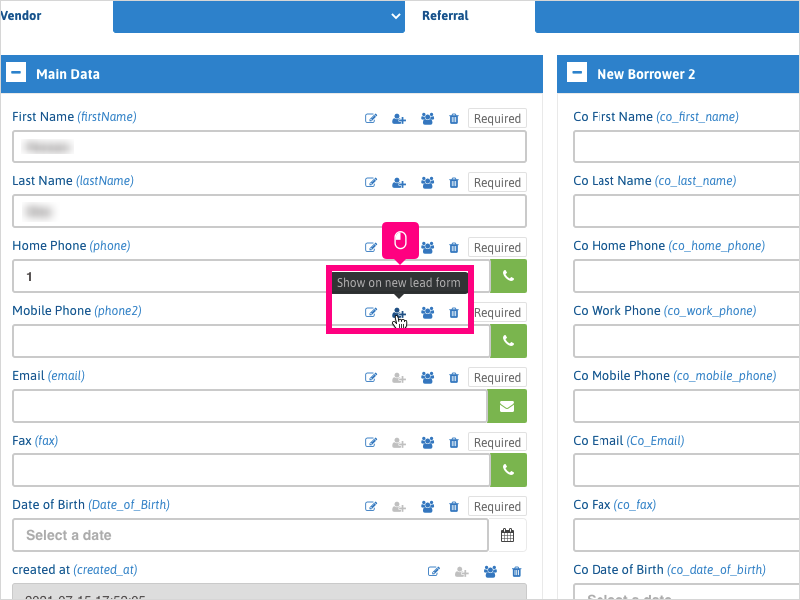
3. To add a field to the Add Lead form, click the 2nd icon to show the field on the new Add Lead form (icon will turn blue).
To remove a field from the Add Lead form, click the 2nd icon to remove it from the Add Lead form (icon will turn grey).
4. Once you've completed selecting the fields you want to show on the Add Lead section, click Done.

5. Click Lead Management.
6. Click Add Lead.

7. The fields enabled in Step 3 will appear on the Add New Lead section.
The Add Lead section is ordered by Section and each field listed is in the order they are listed on the Lead Details page.

8. Proceed to fill in all necessary fields on the Add New Lead section.
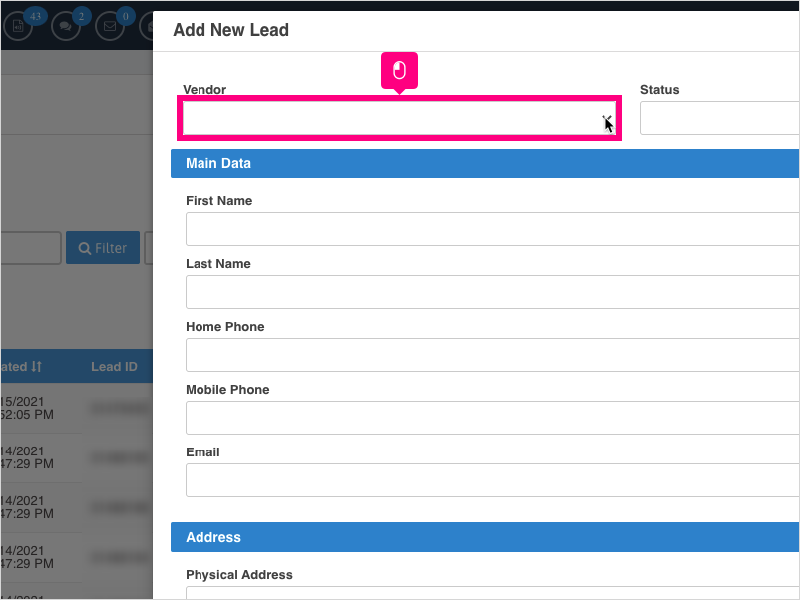
9. If no status is selected in the dropdown, the default status that is set in Company Settings -> Status Management will be applied.

10. Once you have all the fields added with data, click the green "Add" button.
NOTE: You can still add more information to the lead after creating the lead - see the next step on how to view the lead once it's created.

11. There will be a green notification at the bottom right of Ricochet that displays for a few seconds. Click that green notification to view the lead that was just created.

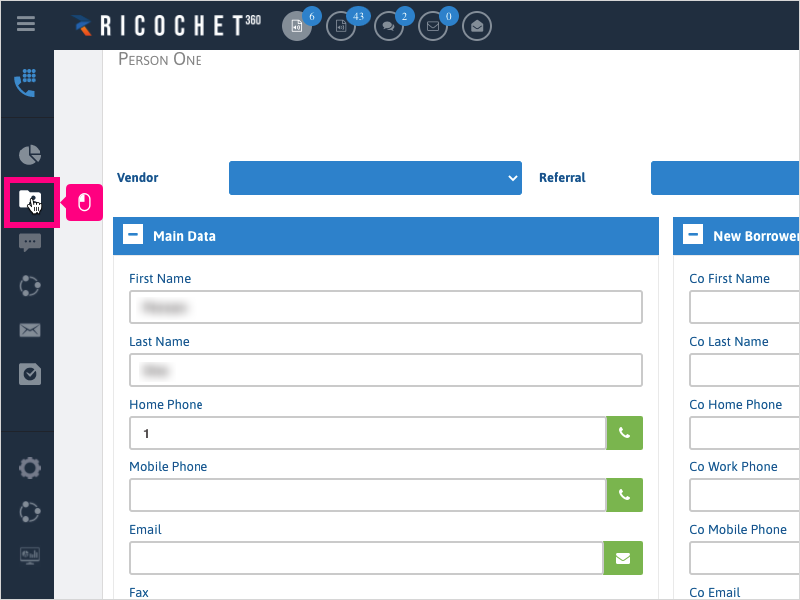
12. If the green notification disappears before you can click it, click the "Lead Management - Call, Plan, & Track" button to refresh the leads table below (ensuring that you have no filters selected).
The new lead should appear for you at the top.

Was this article helpful?
That’s Great!
Thank you for your feedback
Sorry! We couldn't be helpful
Thank you for your feedback
Feedback sent
We appreciate your effort and will try to fix the article