Subject
Applies to: Admin/Branch Manager
Purpose: Update and manage the pricing paid per lead for each vendor and associated campaign in Ricochet.
Location in Ricochet: Dashboard -> Performance Dashboard -> Vendor tab
Description
The instructions in this article require Branch Manager permission or above
Admin/branch managers can adjust the price paid per lead for vendors and their campaigns using the Vendor Performance Dashboard. This is typically used to maintain accurate financial reporting, update vendor costs over time, and ensure performance metrics and revenue calculations reflect current pricing.
Resolution
Optional: View the interactive tutorial for this process:
Click here to open the step-by-step tutorial in a new tab
Non-Administrators do not have the access to follow these instructions and should open a ticket.
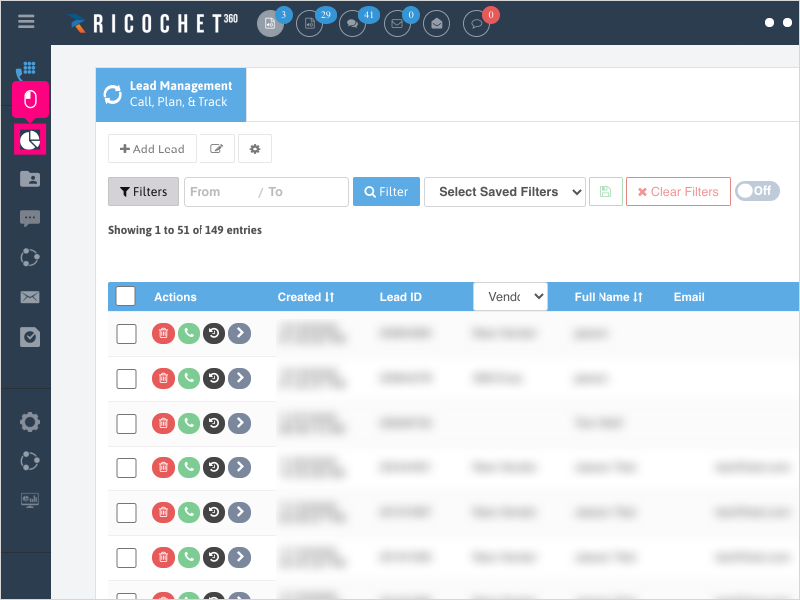
1. To change or update the pricing for your vendor leads, click on Dashboard
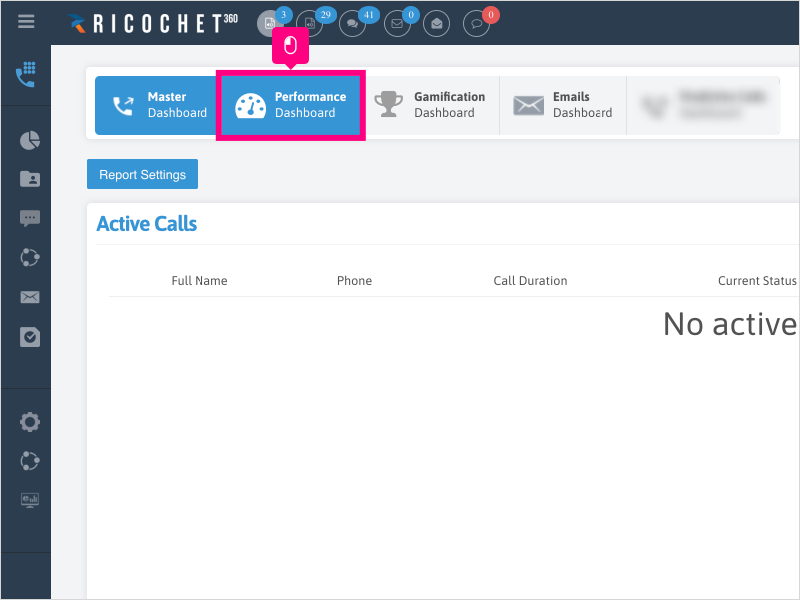
2. Click Performance Dashboard
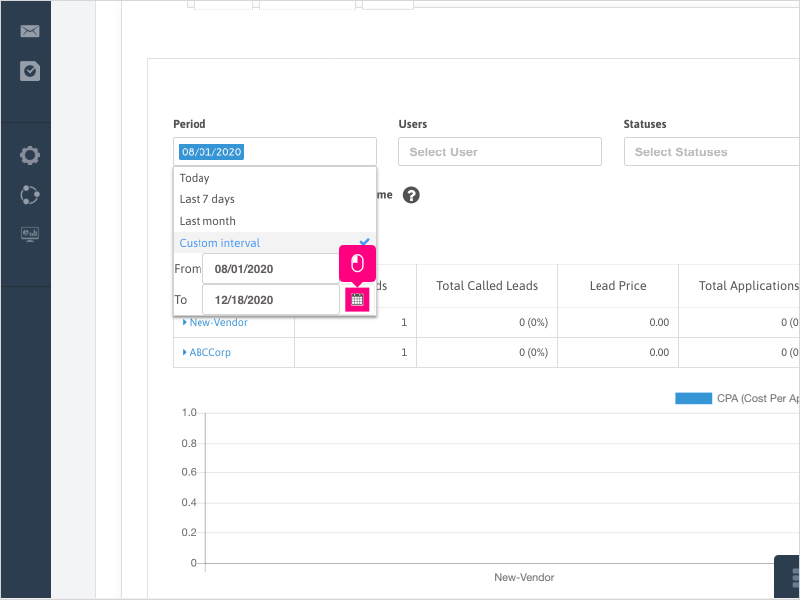
3. In the "Period" section, click Select date

4. Click Custom interval

5. Click Custom interval again to bring up the calendar options

6. Click the calendar icon to choose your "From" date.
Go back as far as possible for when you started receiving / importing leads and select that date

7. Click Previous button until you reach your desired "From" month.

8. Select the date on the calendar for your "From" date

9. Click the calendar icon to choose your "To" date.
Typically you will want to pick the current date or close to the current date as possible in the "To" date section
10. Select the date on the calendar for your "To" date

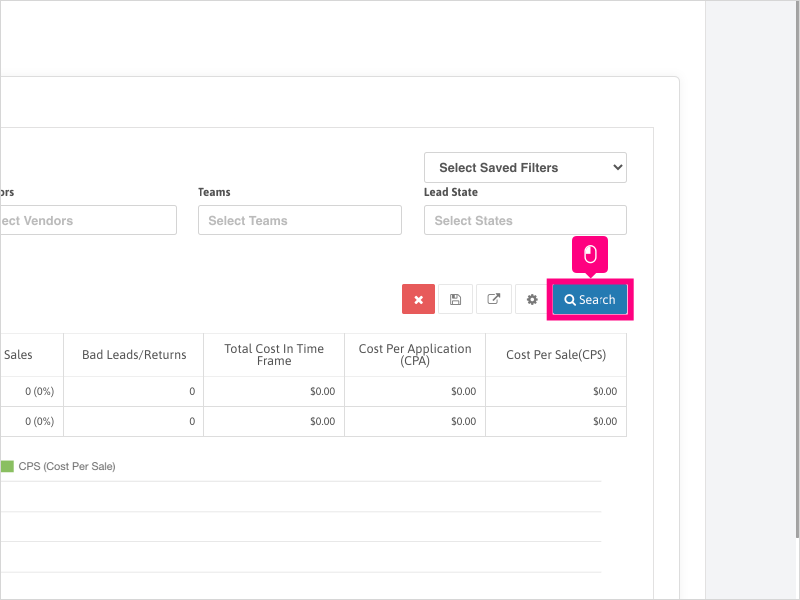
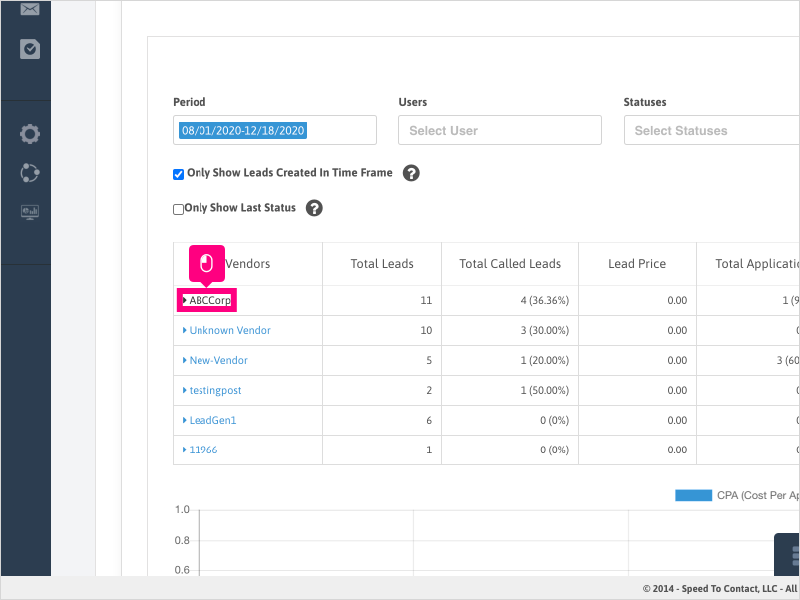
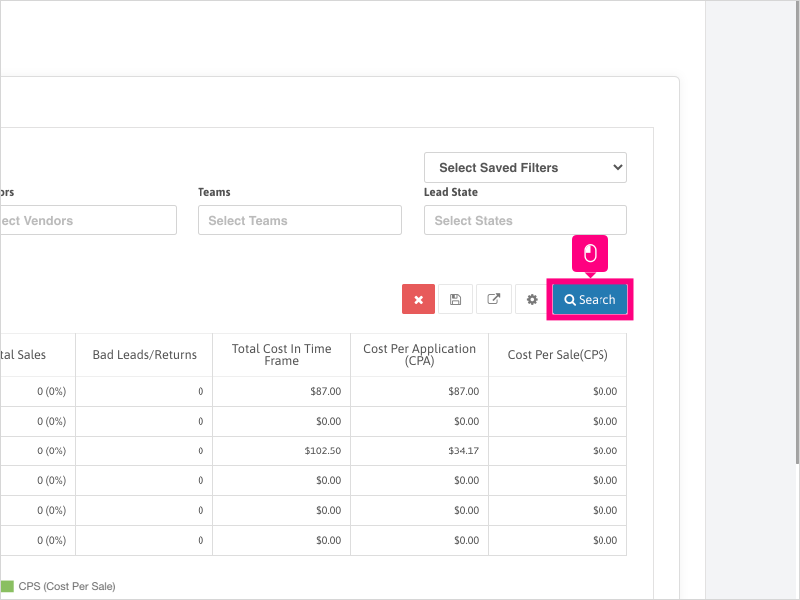
11. Click Search to display any available vendors that were created in the timeframe selected.
12. Click the vendor name to display any Campaigns under the vendor.
In some cases there may not be any Campaigns and will display "No Campaign". This is normal and expected. The leads that posted in or were imported did not have a Campaign associated.
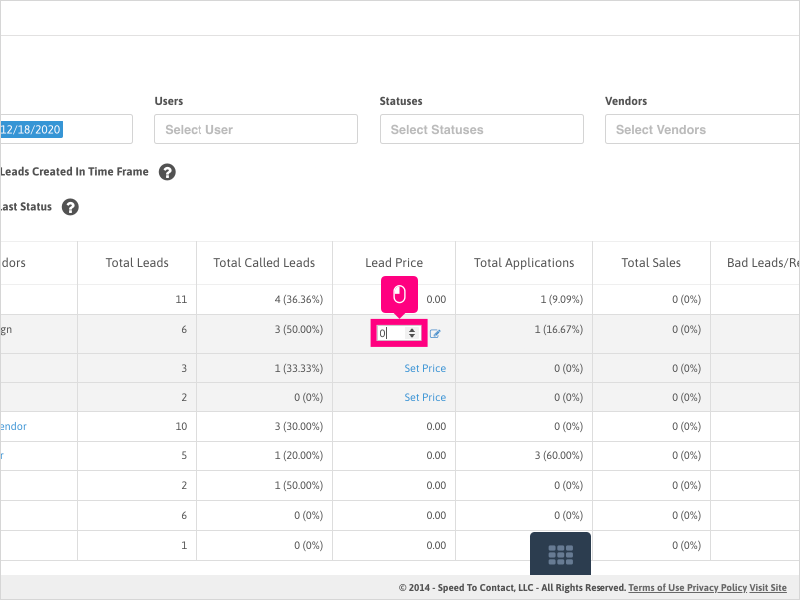
13. Click Set Price for the campaign you want to edit

14. Click in the text area and enter you price you pay per lead
15. Click the edit button to save your changes
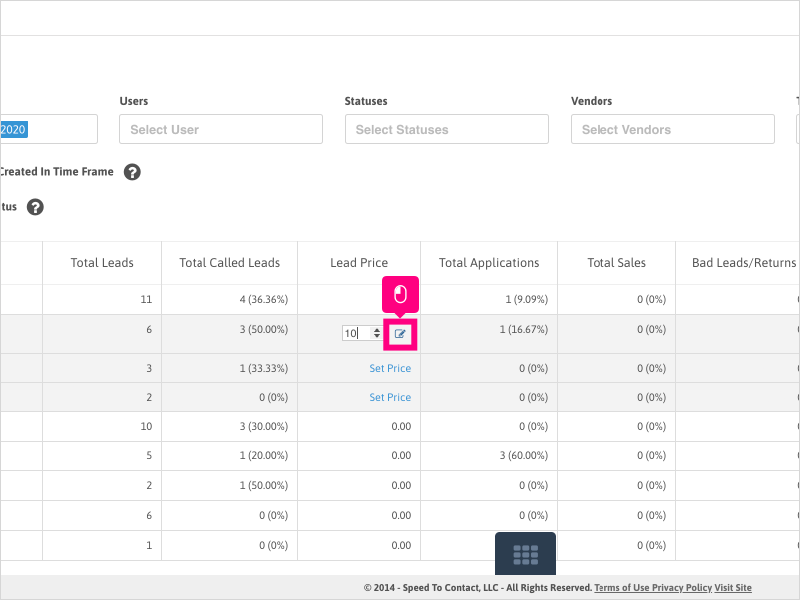
16. The financial columns will adjust accordingly to the price you entered.
The Lead Price will also perform a group average based on all the campaign lead pricing. If you have more campaigns to edit, click the vendor name again to show all Campaigns

17. Proceed to edit the pricing for all remaining campaigns & vendors by repeating the previous steps of clicking on Set Price, entering the pricing and clicking the Edit Button to save your settings.

18. If you want to show all leads/vendors that had activity in the timeframe selected (not just leads/vendors created in the timeframe), you can uncheck the box for "Only Show Leads Created in Time Frame" option.
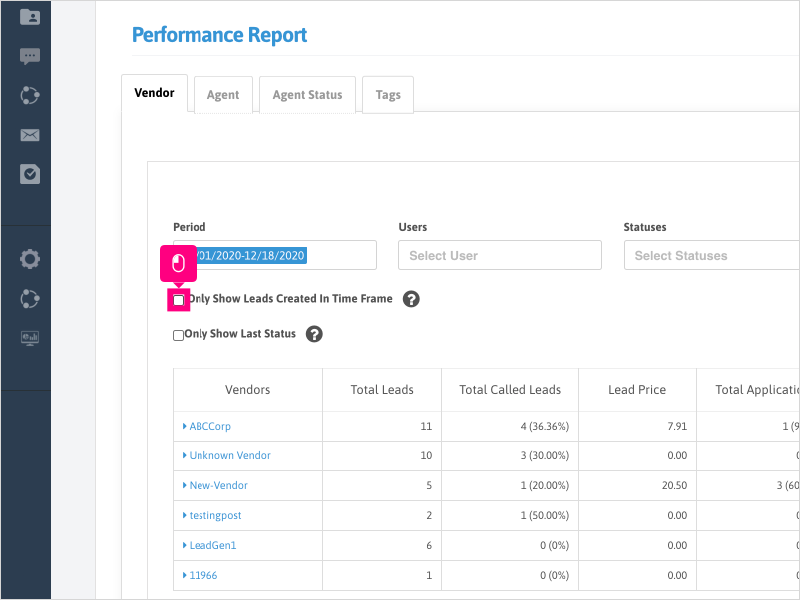
19. Click Search.
This may result in more vendors showing up in your list. Proceed to edit any additional pricing for any other vendors/campaigns that appear after clicking Search.
Was this article helpful?
That’s Great!
Thank you for your feedback
Sorry! We couldn't be helpful
Thank you for your feedback
Feedback sent
We appreciate your effort and will try to fix the article