Subject
Applies to: Admin/Branch Manager
Purpose: Explain how to create and apply Status Group Formulas in the Vendor Performance Report to calculate and display custom performance metrics using existing status groups.
Location in Ricochet: Dashboard -> Performance Dashboard -> Vendor tab
Description
The instructions in this article require Branch Manager permission or above
This article walks Admin/Branch Managers through adding Status Group Formulas to the Vendor Performance Report, allowing multiple custom status groups to be combined using mathematical operators (add, subtract, multiply, or divide) to generate new calculated columns for deeper vendor performance analysis.
Resolution
Optional: View the interactive tutorial for this process:
Click here to open the step-by-step tutorial in a new tab
Non-Administrators do not have the access to follow these instructions and should open a ticket.1. To add Status Group Formulas to the Vendor Performance Report, click Dashboard
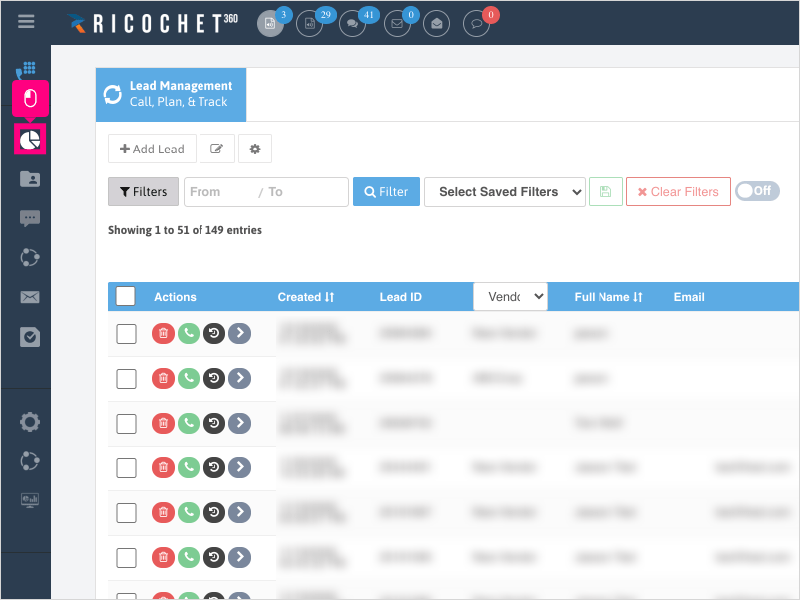
2. Click Performance Dashboard

3. Click the gear icon to edit the table settings.

4. Make sure that you have more than 1 group created in Custom Status Groups.
Please see our tutorial on how to create Custom Status Groups for more information.
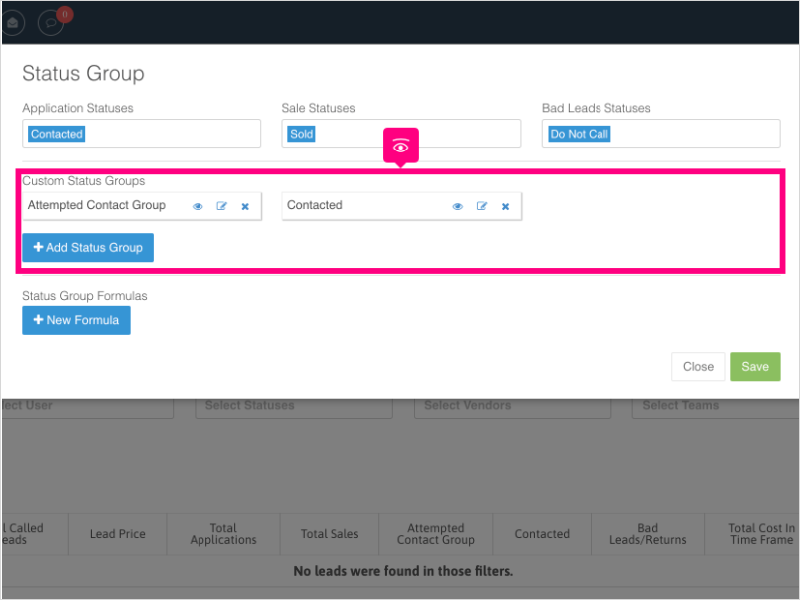
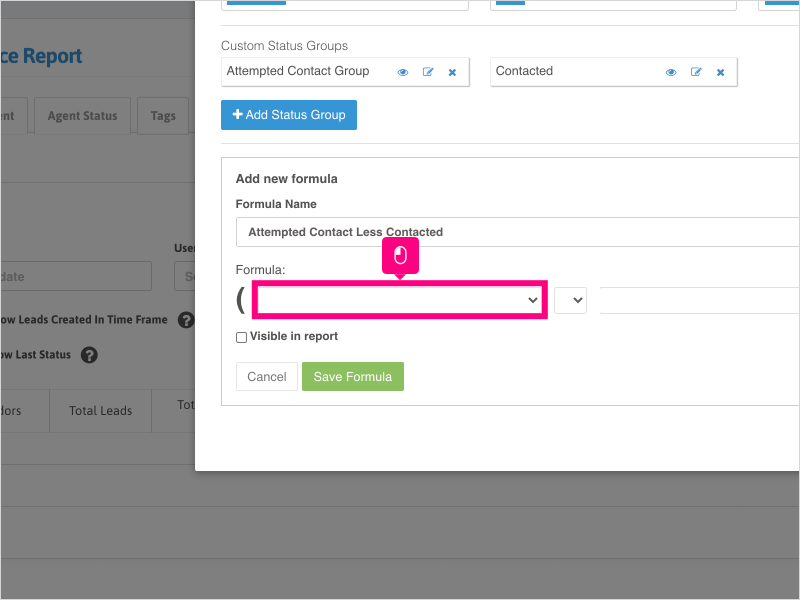
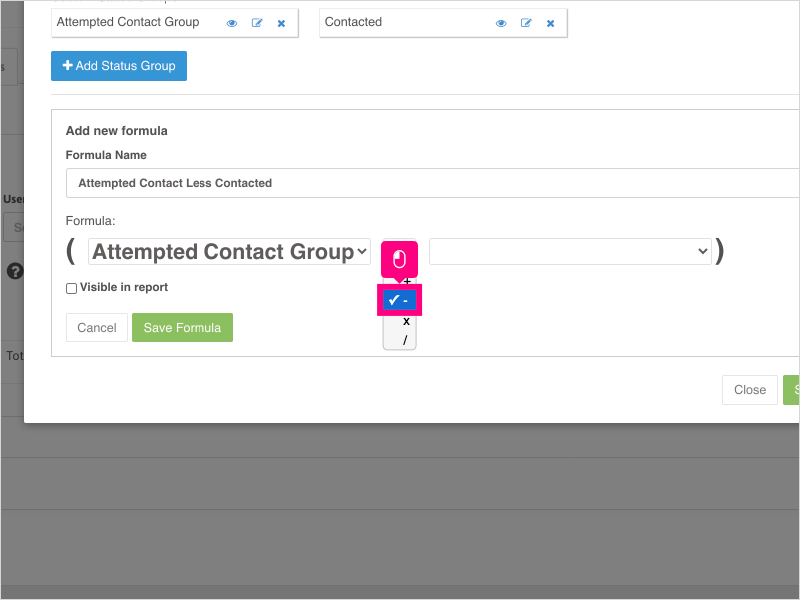
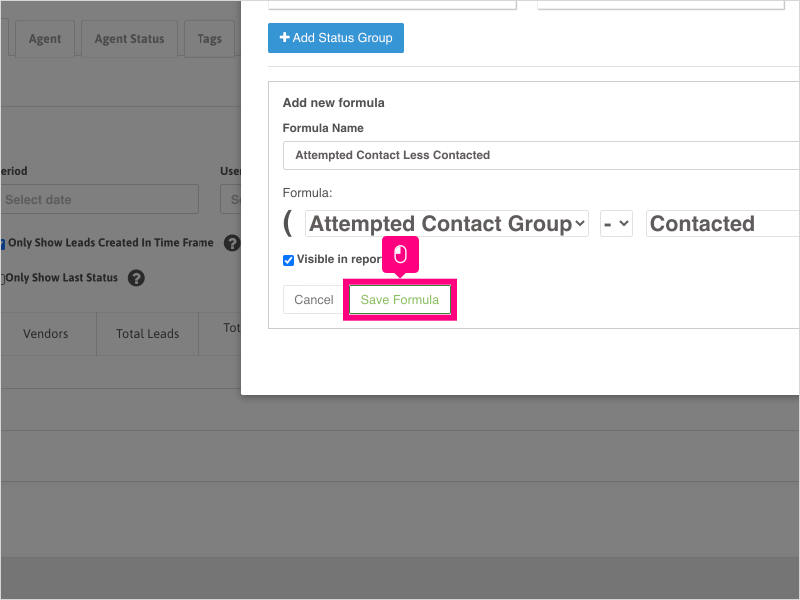
5. Click New Formula

6. Click Formula Name and begin typing the name of your custom group formula.

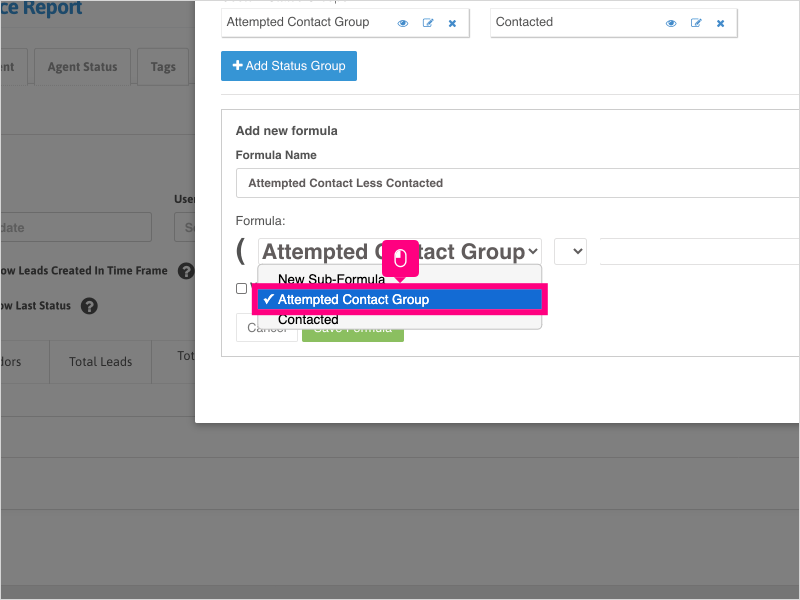
7. Click the dropdown menu to select your first Custom Status Group option
8. Select the desired custom status group from the dropdown.
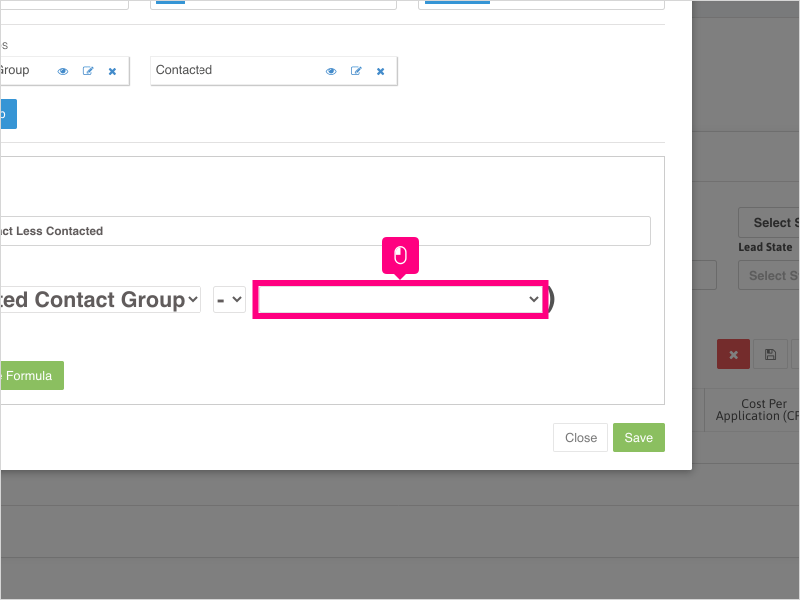
9. Click the middle dropdown option to select your operator (Add, Subtract, Multiply, Divide)

10. Select the operator you want to use
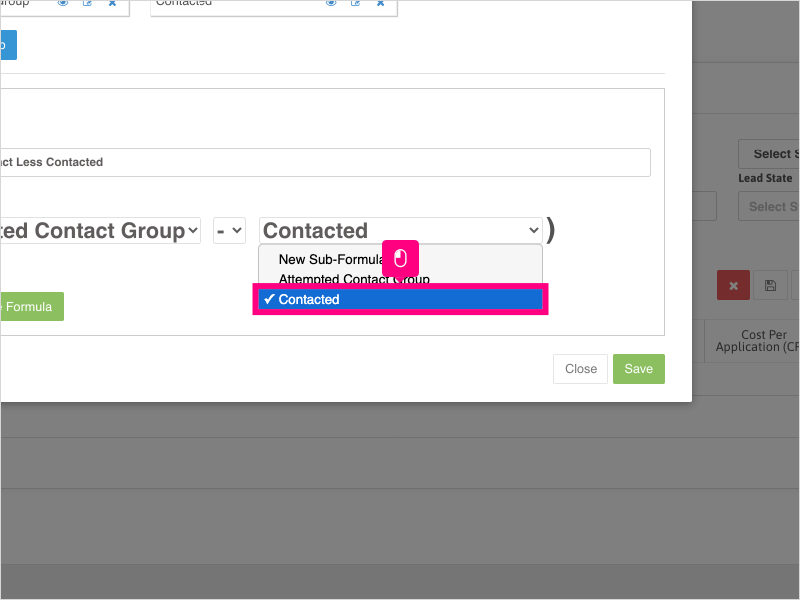
11. Click the next dropdown menu to select your second Custom Status Group option
12. Select the desired custom status group from the dropdown.
13. Click Visible in report to display the new column in your report.
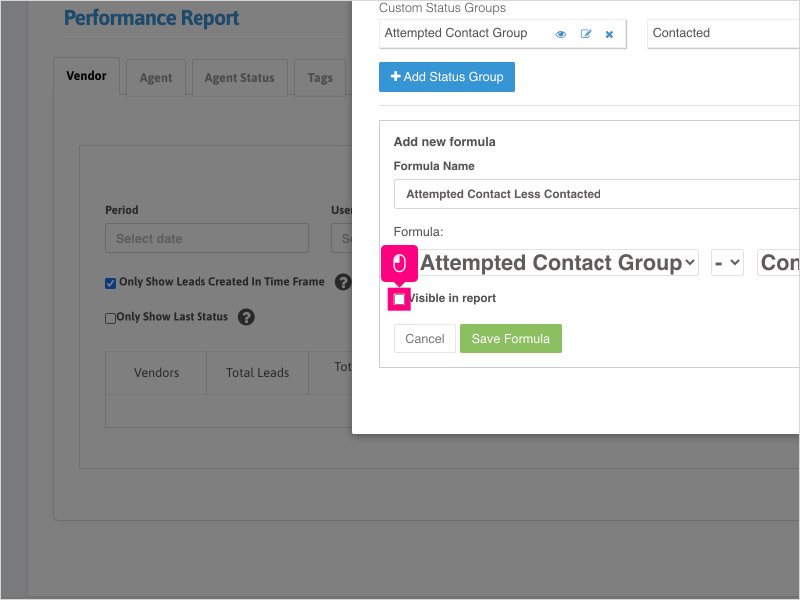
14. Click Save Formula
15. Click Save 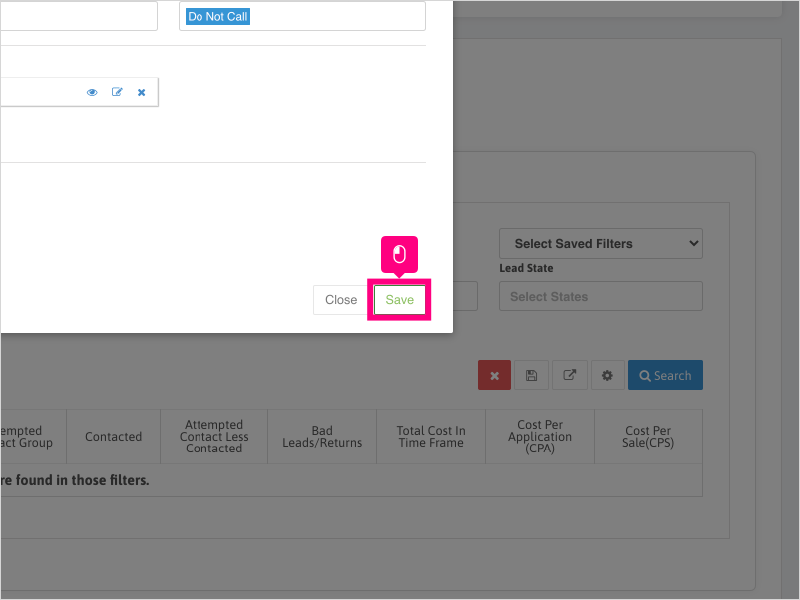
16. Click Close

17. The new column will appear in your report.
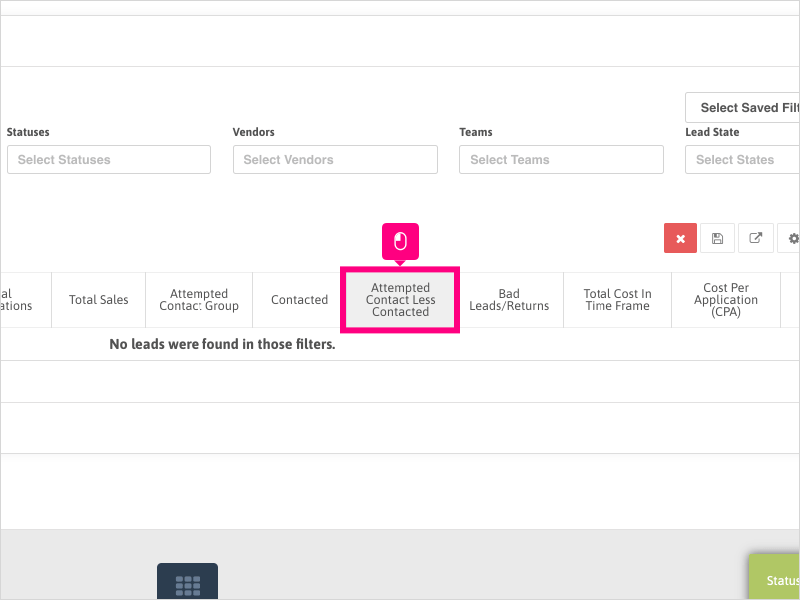
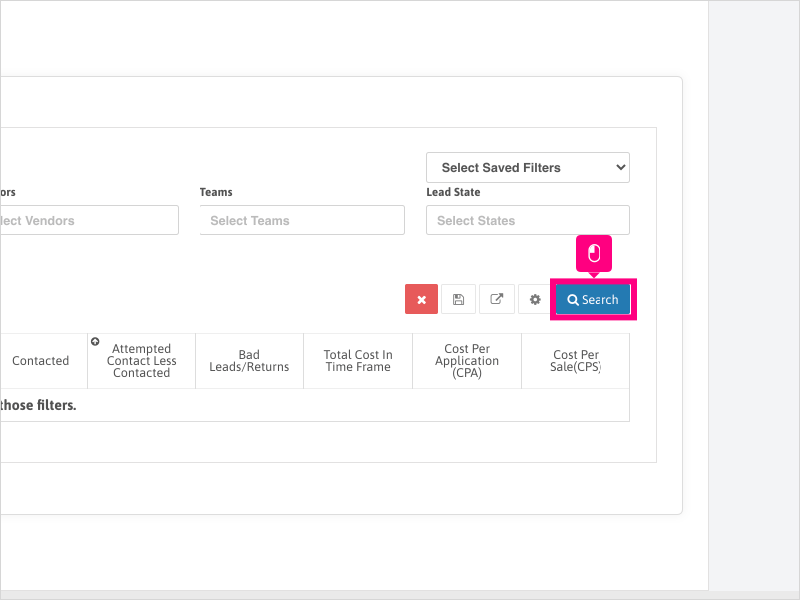
18. Proceed to run your report using the filters desired.
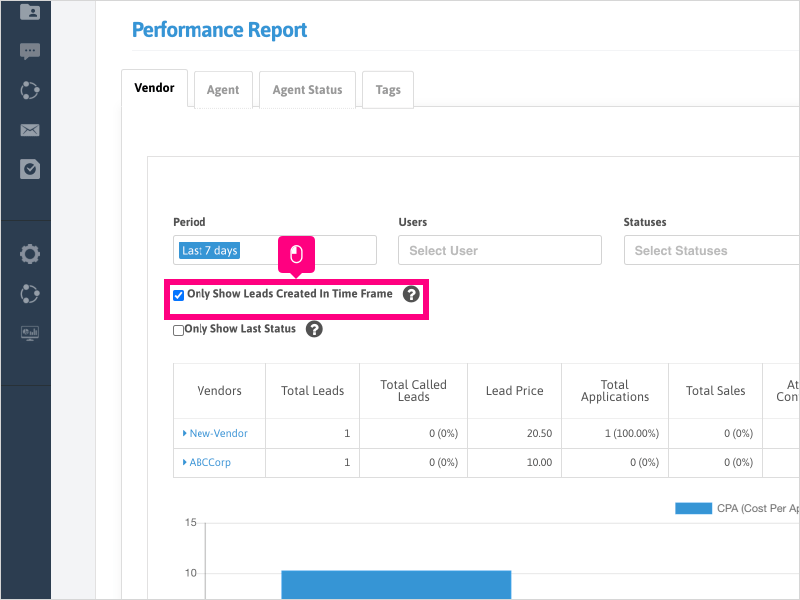
19. For this example, we will look at leads created in the period of the last 7 days. Click Last 7 days from the dropdown menu.

20. Click Search
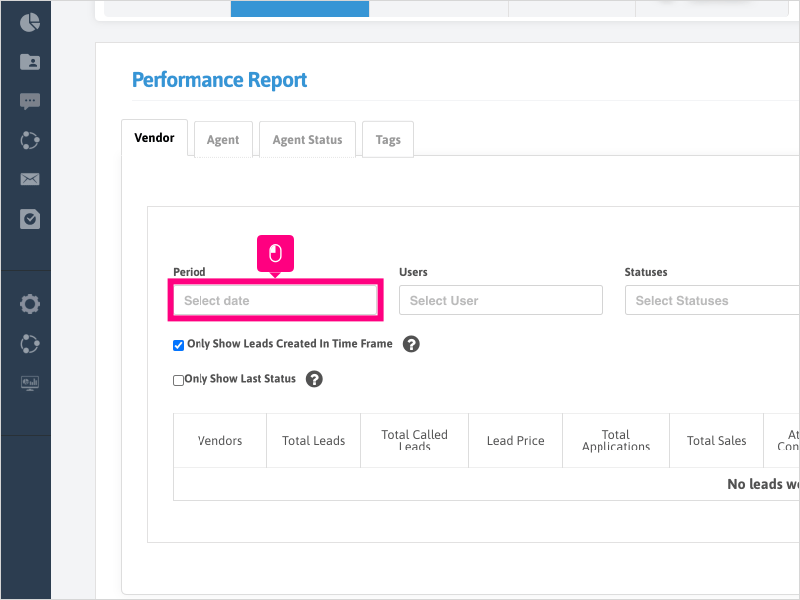
21. You may also want to toggle the "Only Show Leads Created in Time Frame" option to display different results.
Unchecking this box will show all leads with activity during the time period selected instead of just leads created in that time period.
Was this article helpful?
That’s Great!
Thank you for your feedback
Sorry! We couldn't be helpful
Thank you for your feedback
Feedback sent
We appreciate your effort and will try to fix the article