Subject
Applies to: Admin
Purpose: How to add new agents to Ricochet
Location in Ricochet: N/A
Description
The instructions in this article require Administrator permission
This article addresses how to add new agents to Ricochet by creating them first in Ahoy.
Resolution
Optional: View the interactive tutorial for this process:
Click here to open the step-by-step tutorial in a new tab
Non-Administrators do not have the access to follow these instructions and should open a ticket.1. To add a new user to Ricochet, log into the Ahoy Management Portal.
If you do not have enough seats for the User Service, click Buy Users.

2. Click inside the area that you want to add the number of new seats you want to add to your platform.
For this example, we will add one more Galaxy seat.
3. Click Add Users
4. The prorated price for the seats being added will show below. The pricing is prorated from the day you are adding the seats until the end of the current billing cycle.
Review the pricing and click Purchase
5. Click OK to confirm buying the new user(s) seat(s).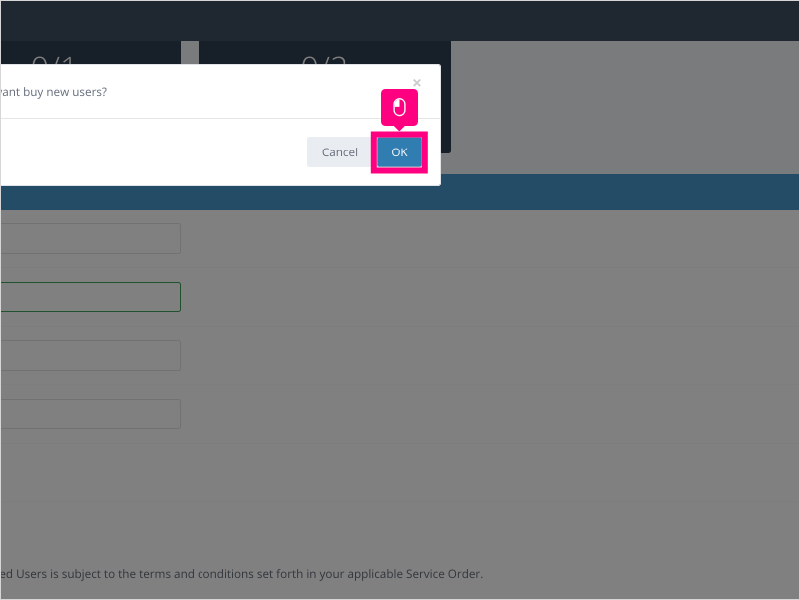
6. To create a new user, click Create User
7. Click the User Service dropdown to select the appropriate seat to assign to the user.
8. For this example, we will select GALAXY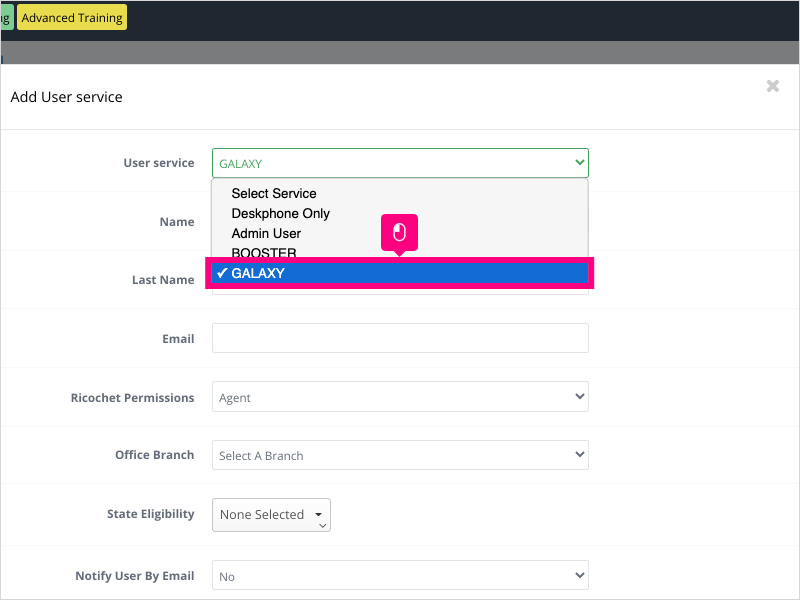
9. Click in the Name area and type the First Name of the user you are going to add.
10. Click in the Last Name area and type in the last name of the user you are adding.
11. Click in the Email area and type the email address for the user you are adding.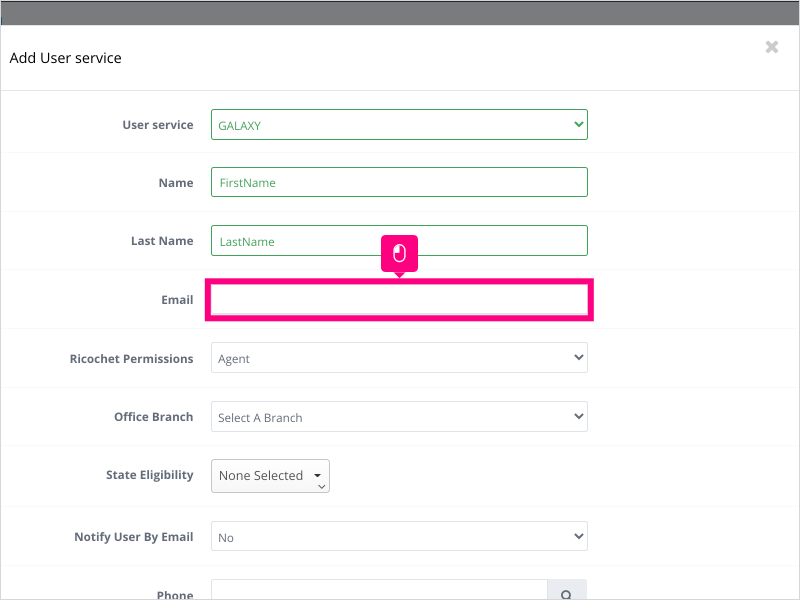
12. Click the dropdown for Ricochet Permissions and choose the permission you want to assign to the new user.
13. For this example, we will select Agent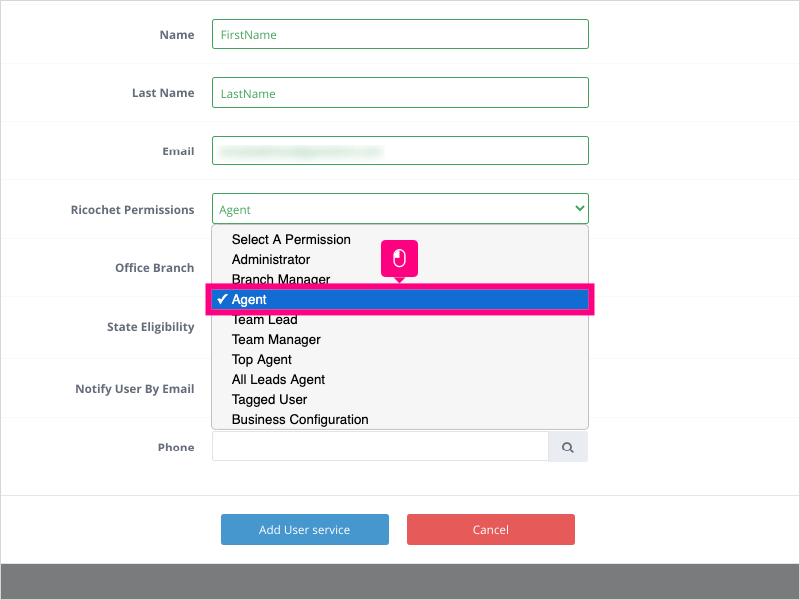
14. If you have more than one branch in your account, click the dropdown for Office Branch and choose the branch you want to add the user to.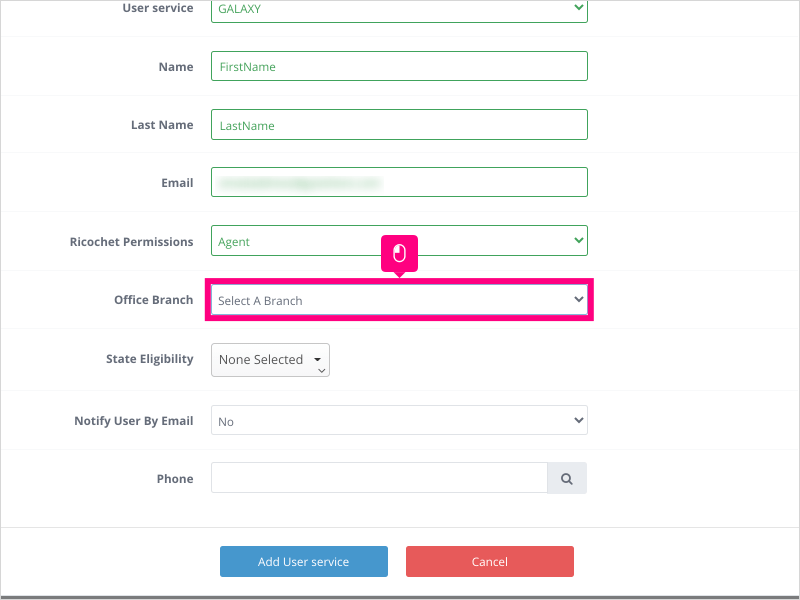
15. For this example, we will select Main Company Branch - PA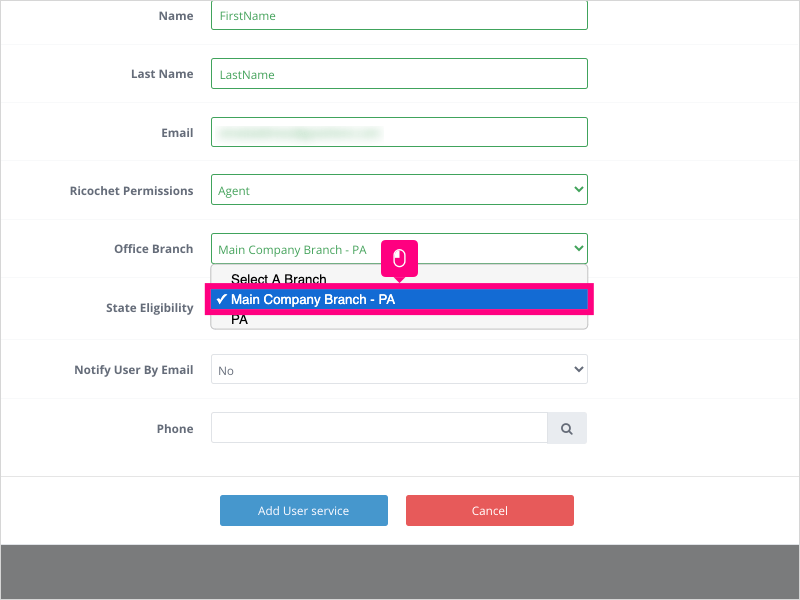
16. Each user will need to have at least one selection for State Eligibility.
To choose one or more states to be eligible to call leads, click the dropdown for State Eligibility.
17. For this example, we will click ✓ Select All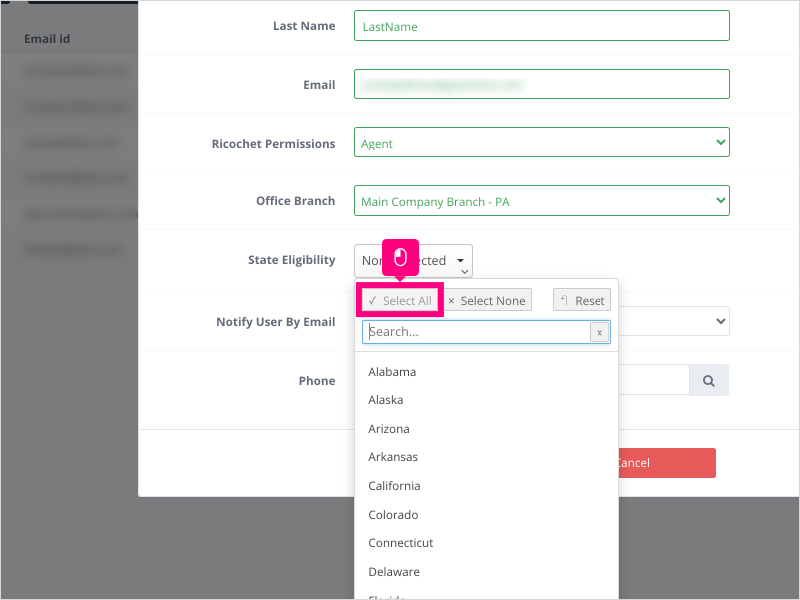
18. Click the dropdown for Notify User By Email.
Choose Yes to send the user an email with temporary login instructions.
Choose No to create the user without sending an email.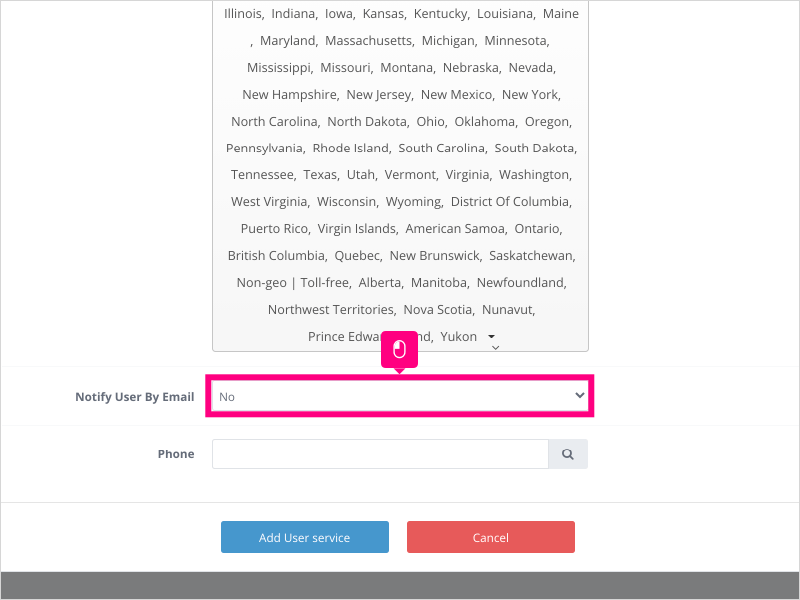
19. For this example, we will select No
20. Click in the Phone area and type the area code for the phone number you wish to add for the new user.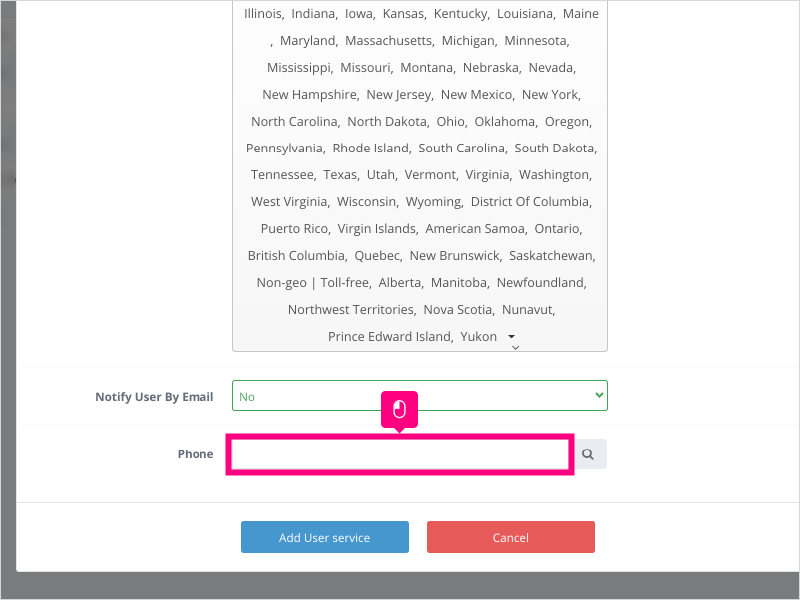
21. Click the Search icon to run a search of the area code with our carrier. Results will show up below.
NOTE: If there are no available numbers, please try a different area code.
22. Click the phone number you wish to add for the new user.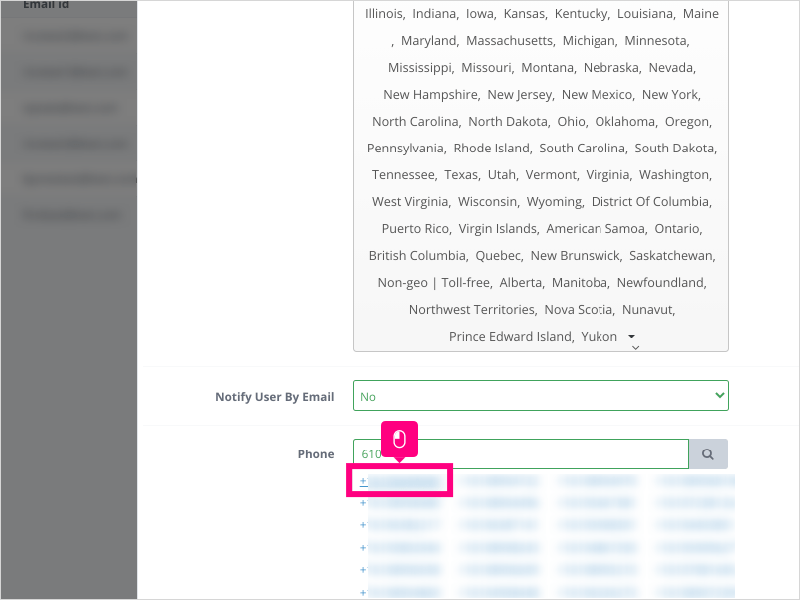
23. Scroll down and click Add User service to create the new user.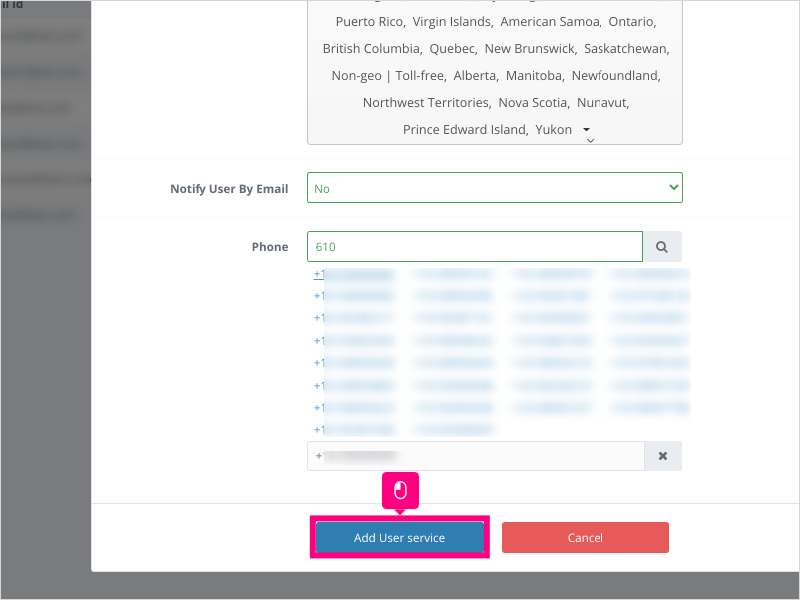
24. Once the new user is added, switch over to your Ricochet platform, refresh the browser if you're already logged in, and proceed to set up the new user with adding to any specific team(s), enabling the user for call queues, reset their password.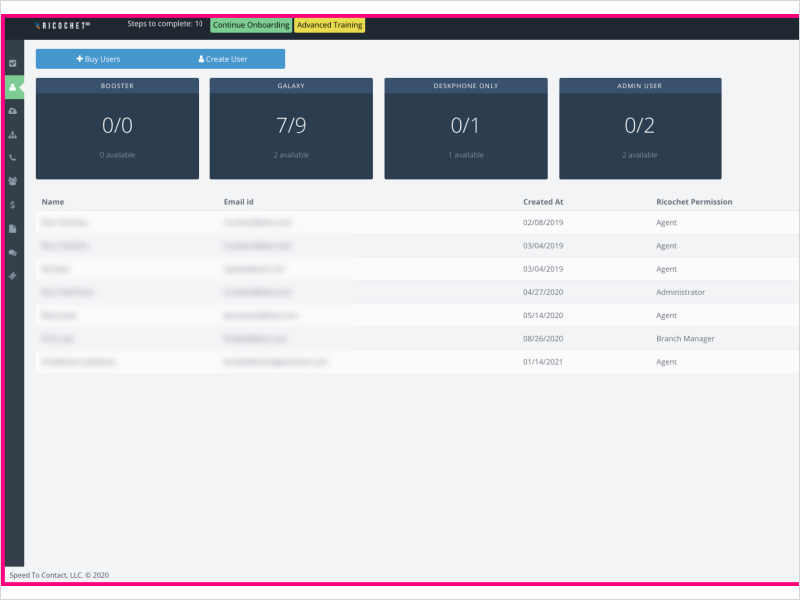
Was this article helpful?
That’s Great!
Thank you for your feedback
Sorry! We couldn't be helpful
Thank you for your feedback
Feedback sent
We appreciate your effort and will try to fix the article