Subject
Applies to: Admin/Branch Manager
Purpose: How to run a call history report
Location in Ricochet: Reports > Call History
Description
The instructions in this article require Branch Manager permission or above
These instructions explain how to run and analyze a Call History Report in Ricochet by selecting a date range (up to one year), and applying optional filters such as phone numbers, call types, lead statuses, vendors, users, branches, and teams. They describe how to run searches, isolate call transfers, display vendor names, export or schedule reports, and review summary statistics. The steps also cover listening to call recordings, viewing detailed call and lead information, accessing call IDs for troubleshooting, clearing filters, and rerunning reports with new criteria.
Resolution
Optional: View the interactive tutorial for this process:
Click here to open the step-by-step tutorial in a new tab
Non-Administrators do not have the access to follow these instructions and should open a ticket.1. To run a Call History Report, click Reports

2. Click Call History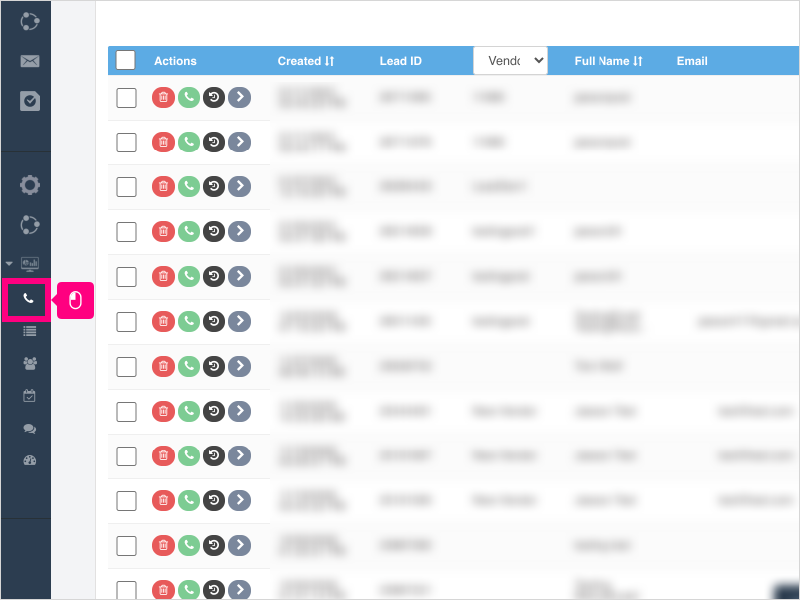
3. The From/To calendar option allows you to select a date range for the Call History Report for a maximum of 1 year timespan over any period of time.
Click the From/To calendar option to display your date selection options.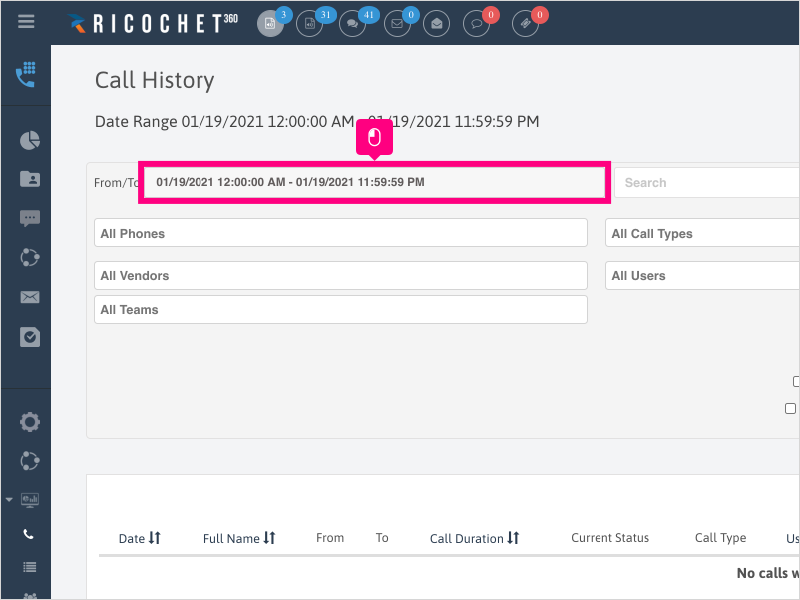
4. For this example, we will select a Custom Range.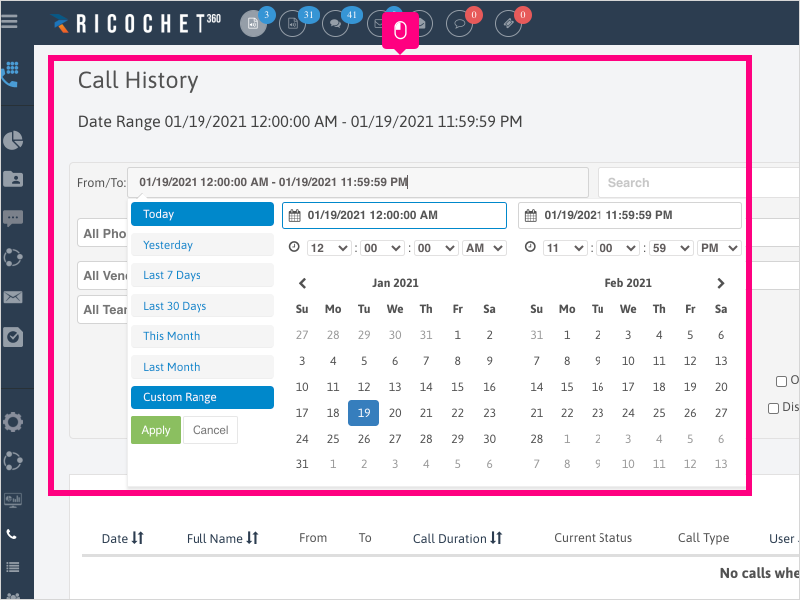
5. Click the left arrow to go back to the "From" date you wish to select.
6. Click the start date you want to run your report from.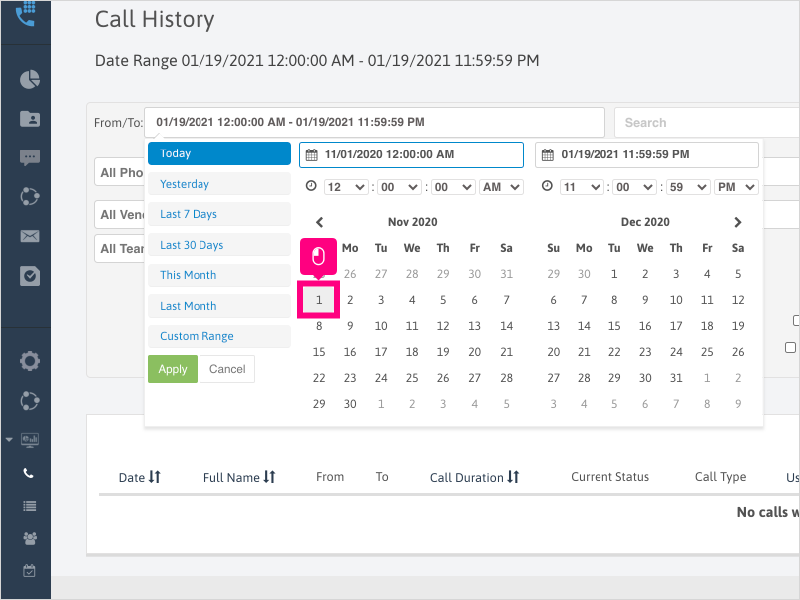
7. Click the right arrow or just simply select the date, if visible, for the "To" date. For this example, we will select 31.
NOTE: You can customize the actual time range as well by choosing the times below the dates selected.
8. Click Apply
9. Click the All Phones box if you want to filter by a specific phone number inside Ricochet.
NOTE: Some filters may not show for all users.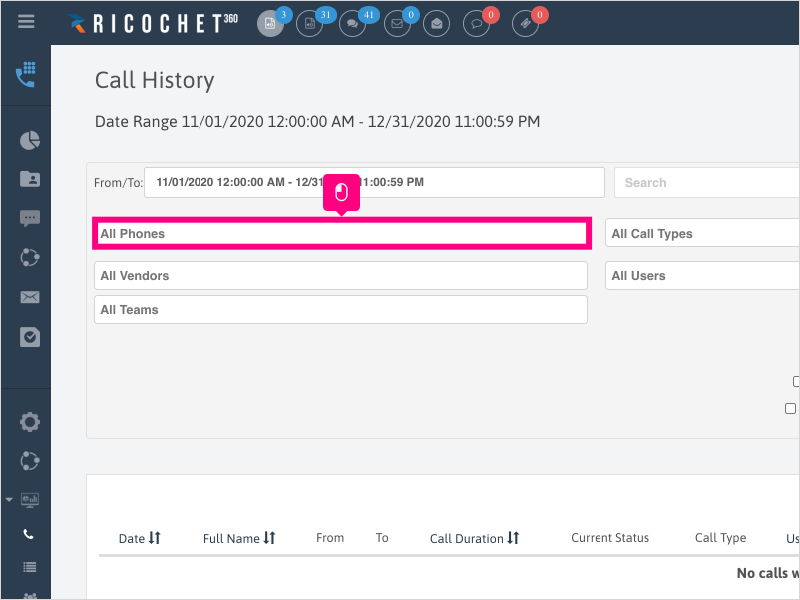
10. Click the All Call Types box if you want to filter by a specific Call Type.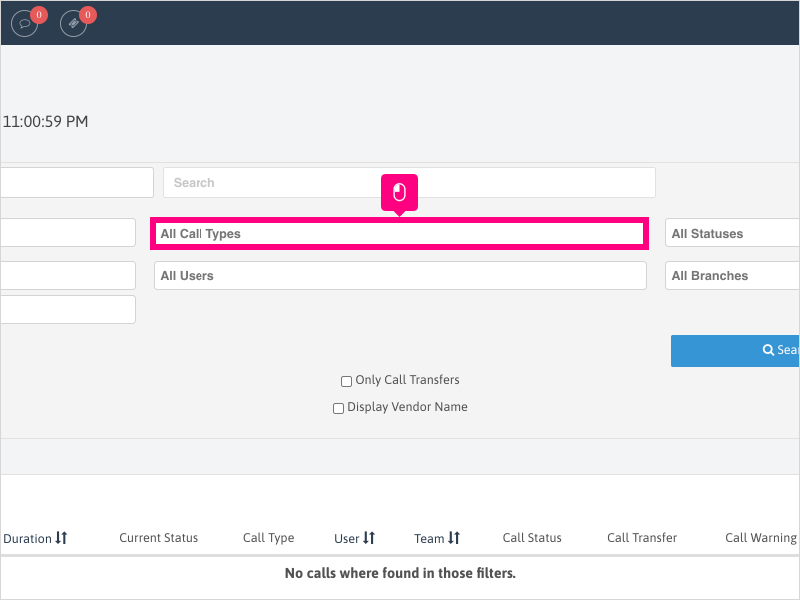
11. Click the All Statuses box if you want to filter by a specific Lead Status.
NOTE: The status on the lead at the start of the call is what shows up in the "Current Status" column.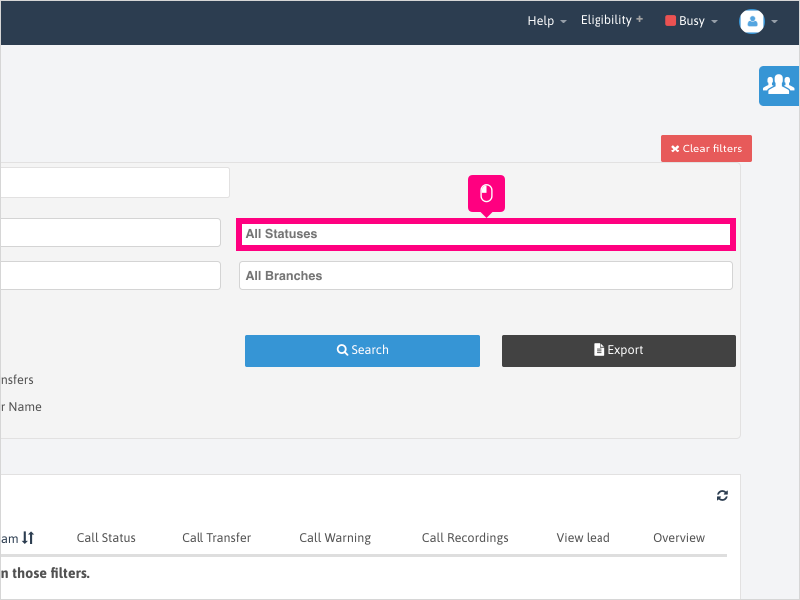
12. Click the All Vendors box if you want to filter by a specific Vendors.
13. Click the All Users box if you want to filter by a specific Users in Ricochet.
14. Click the All Branches box if you want to filter by a specific Branches in Ricochet.
15. Click the All Teams box if you want to filter by a specific Teams in Ricochet.
16. Click Search to run your Call History Report.
The results will display below.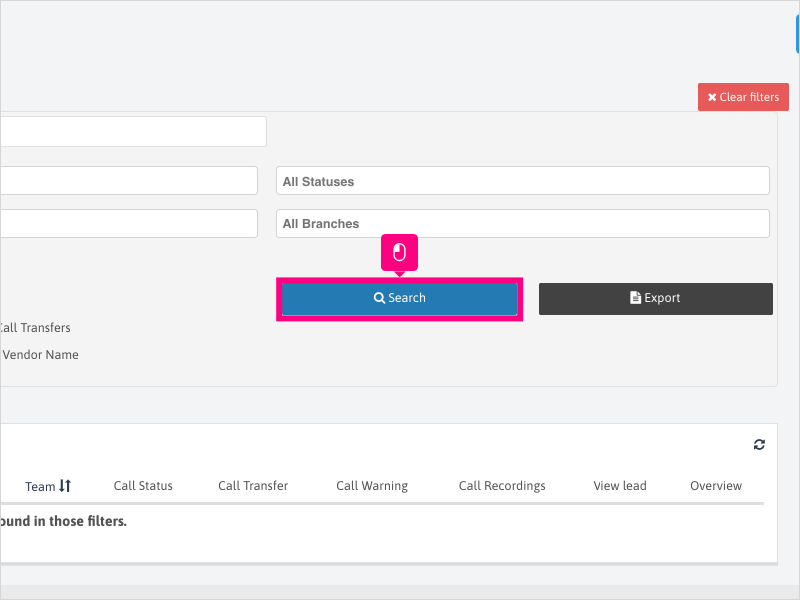
17. Click the checkbox for "Only Call Transfers" if you want to filter calls that were Call Transfers only (Warm, Cold, New Line Transfer).
18. Click Search to display the call results that were just call transfers.
19. The details for the Call Transfer will be listed in the Call Transfer column.
To return to all calls, uncheck the box for "Only Call Transfers"
20. Click Search to display the original search results.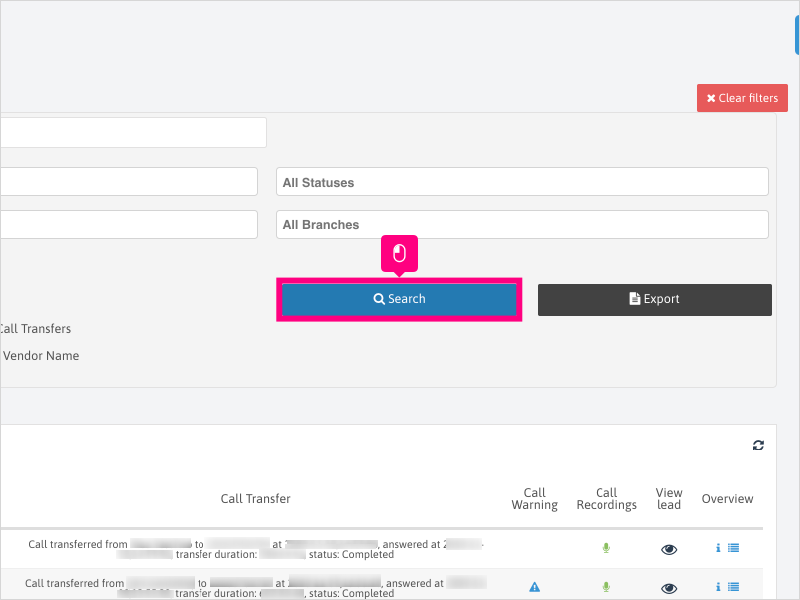
21. Click the checkbox for Display Vendor Name to add a column to the Call History Report to show the Vendor Name, if applicable, for each call.
22. If you want to export the Call History Report, click Export
23. If you want to set up a scheduled report, click the dropdown and choose your Delivery Timeframe, then click "Save Scheduled Report".
Otherwise, click Export Data Only to have a report emailed to you of the data in the Call History Report.
24. Scroll down to the bottom to review the stats for the report:
-Total Calls - all calls for the report
-Section Calls Duration - call duration for the page
-Total Calls Duration - call duration for all calls in report
25. To listen to a call recording, if you have call recording enabled, click the microphone icon next to a call you want to hear the recording for.
26. Click the microphone icon under the "Listen" column - a new tab will open and play the call recording.
27. When finished listening to the call recording, return to Ricochet and click Close on the pop-up.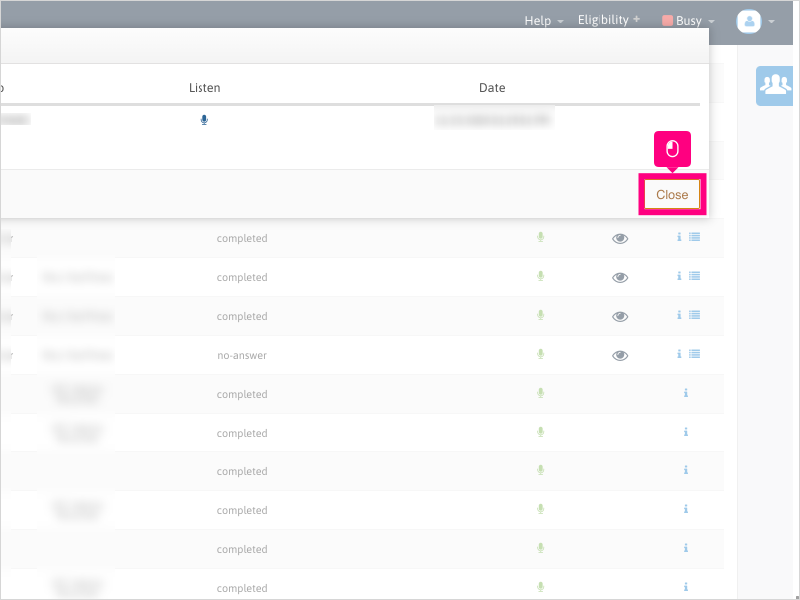
28. Click the eye icon to view the lead, if applicable.
NOTE: This will take you away from the Call History page and to the lead record.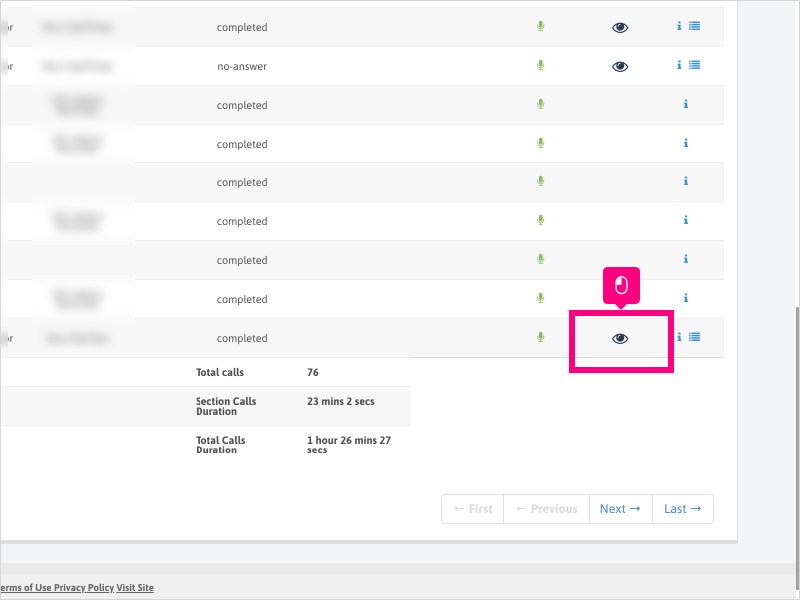
29. Click the tiny "i" to view the Call Details for the call.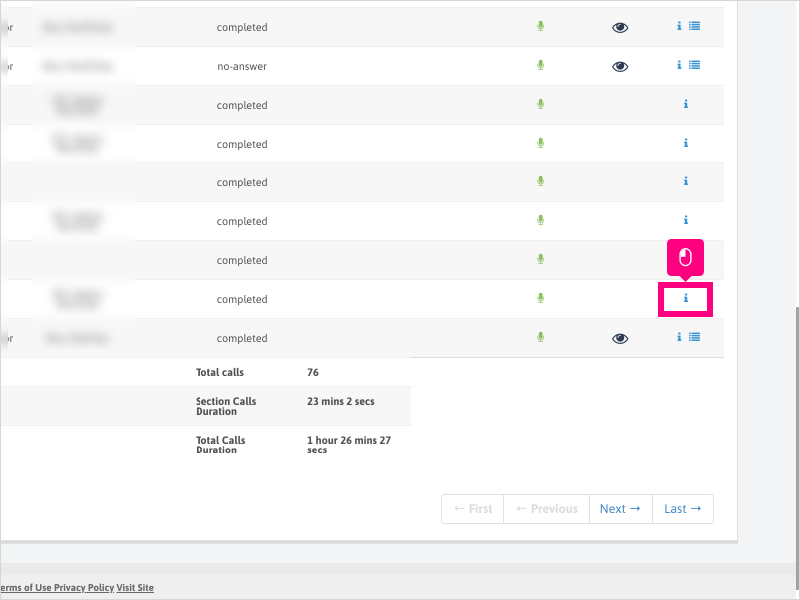
30. One of the most requested pieces of information for troubleshooting is the Call Id.
NOTE: This string of letters/numbers allows us to investigate issues reported to us.
31. Click the X to close out of the Call Details window.
32. Click the Lead Overview button to show Call, Status and other information about the lead.
33. The Call history tab shows all call history for all call types for the lead record.
34. The Status history tab shows the status history on the lead.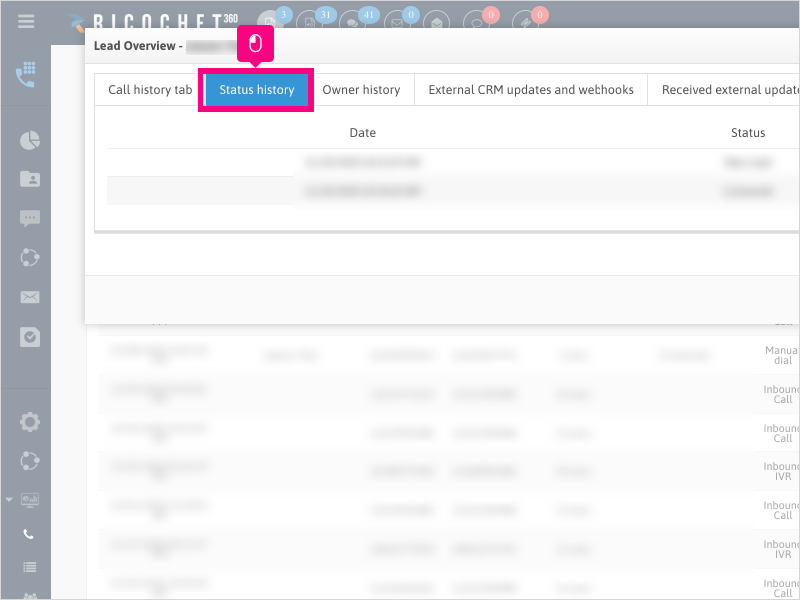
35. The Owner history tab shows the lead owner history on the lead.
36. The External CRM updates and webhooks tab shows all the updates on the lead sent out from Ricochet to other applications via webhooks.
37. The Received external updates tab shows any updates posted into the lead from an external source.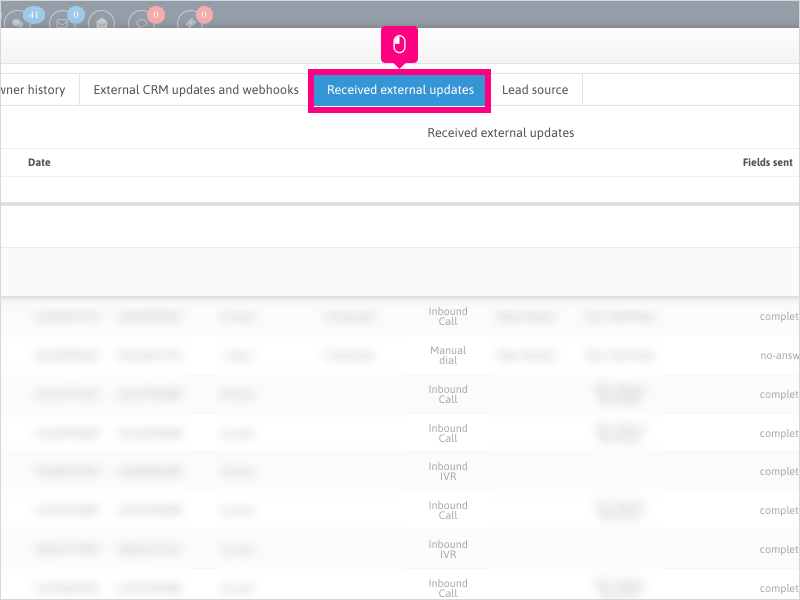
38. The Lead source tab shows the date the lead was created, the vendor and whether the lead was imported through a list import or not.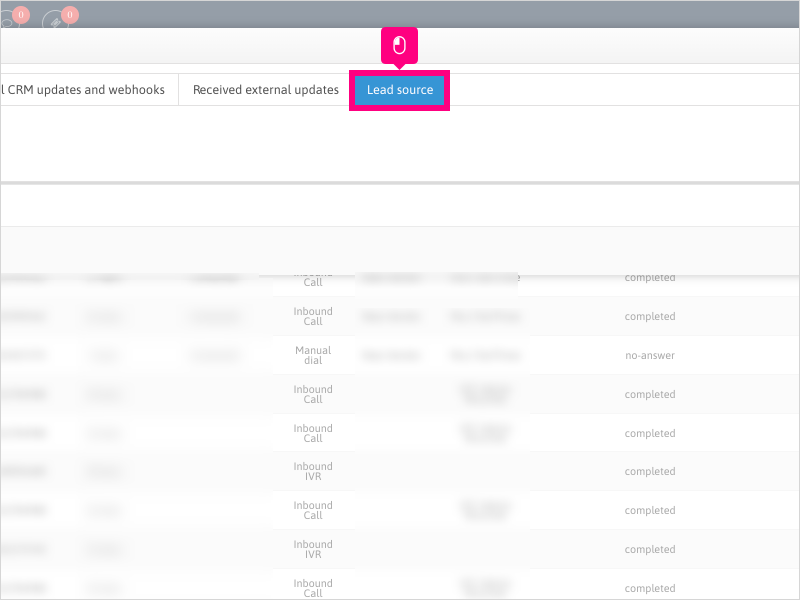
39. Click Close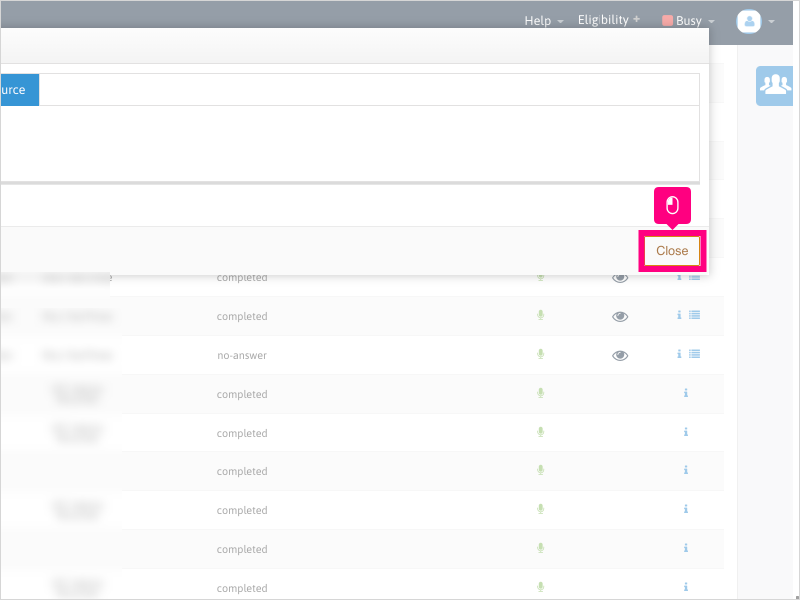
40. If you want to clear out all information and start over, click the red Clear filters button.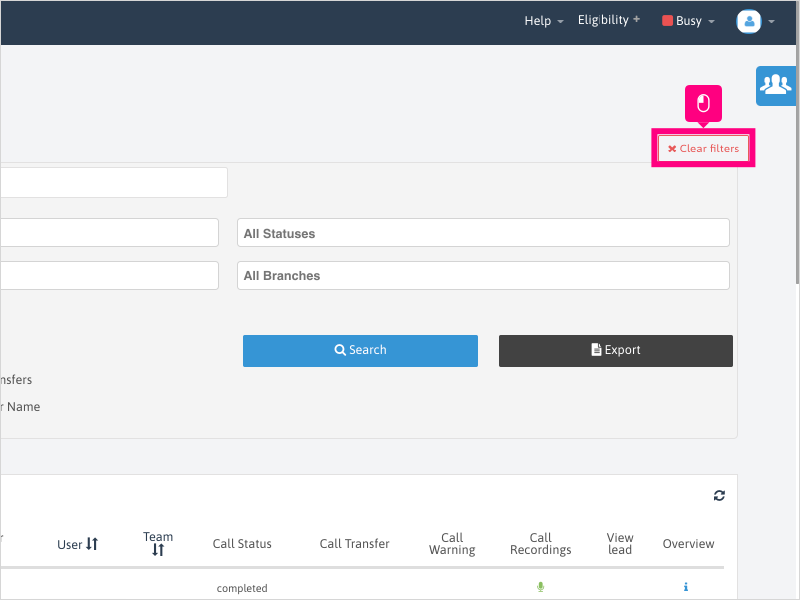
41. Proceed to run another report with new filtered criteria.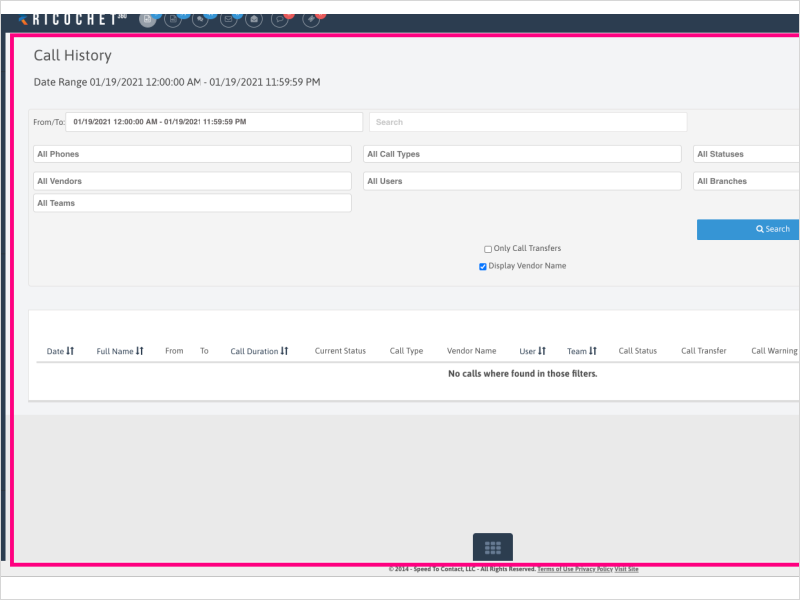
Was this article helpful?
That’s Great!
Thank you for your feedback
Sorry! We couldn't be helpful
Thank you for your feedback
Feedback sent
We appreciate your effort and will try to fix the article