Subject
Applies to: Admin
Purpose: How to edit agents seats in Ricochet
Location in Ricochet: N/A
Description
The instructions in this article require Administrator permission
This article addresses the step by step to edit agents seats in Ricochet.
Resolution
Optional: View the interactive tutorial for this process:
Click here to open the step-by-step tutorial in a new tab
Non-Administrators do not have the access to follow these instructions and should open a ticket.1. If you need to change a users' Service/Seat Type, and you do not have enough seats available to make the switch, you'll want to first log into the Ahoy Management portal and click Buy Users.
NOTE: If you have enough seats available, skip to Step 7.

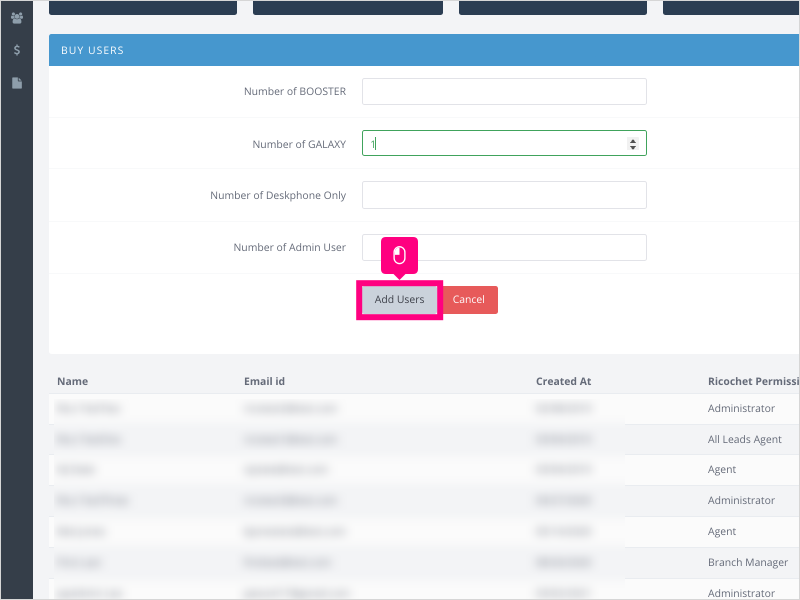
2. For this example, we are going to add 1 additional Galaxy seat.
NOTE: Although our example shows we have 3 available Galaxy seats, this is for demonstration purposes only.
Click the up arrow to determine how many additional seats you want to add.

3. Click Add Users
4. Pricing for new seats will be pro-rated from the time they are added until the end of your billing cycle. Full pricing for the seats will be on your next invoice.
After reviewing the invoice details, click Purchase

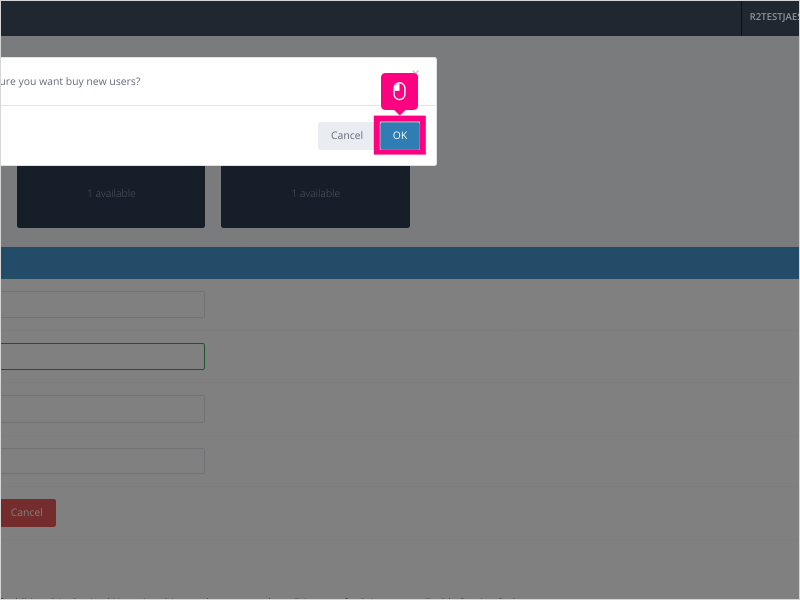
5. Click OK to confirm your purchase.
The invoice will be generated and charged to the card on file, typically within 24 hours.
6. A green alert will appear in the top right corner of Ahoy indicating the user(s) were bought with success.
Also note that the total available seats increased by the amount you just purchased.

7. For editing a users' Service/Seat Type (given you have enough available seats to make the switch), click the green Edit Info button under the Action column for the user you are going to modify.

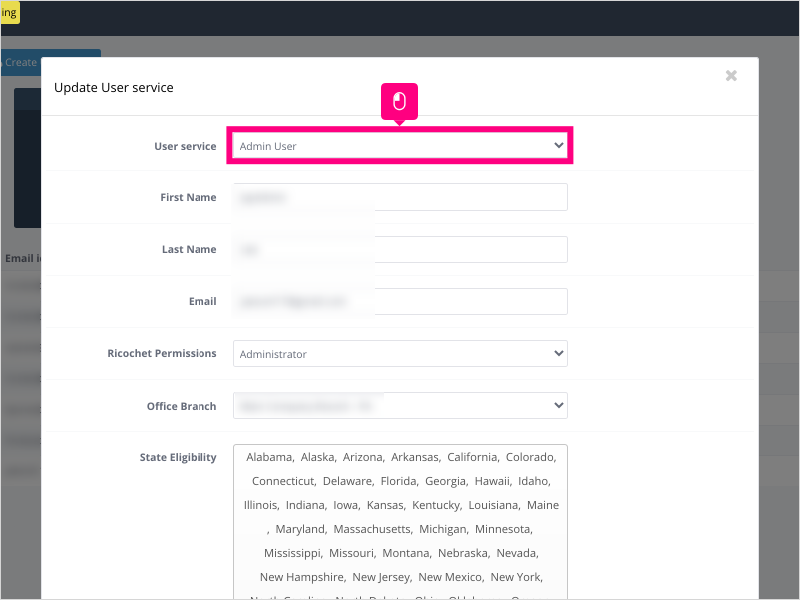
8. Click the dropdown for User Service
9. For this example, we are going to select GALAXY which will change the users' Service/Seat Type from Admin to Galaxy.
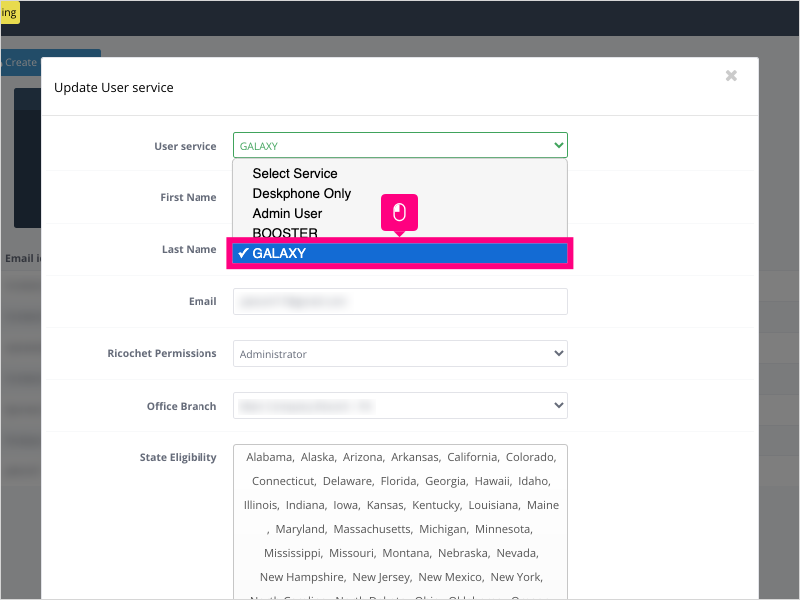
10. Once all desired changes have been made, click Update User service

11. Take note of two things:
1. The Agent's Service changed to the new Service/Seat Type.
2. The total number of available seats decreased by 1 after the change was made (but freed up the previous Admin seat)

12. You'll see a green confirmation at the top right of the Ahoy page indicating the Agent Info Has Been Updated.
Repeat Steps 7 through 10 if you need to update other agent service/seat types.

Was this article helpful?
That’s Great!
Thank you for your feedback
Sorry! We couldn't be helpful
Thank you for your feedback
Feedback sent
We appreciate your effort and will try to fix the article