Subject
Applies to: Admin/Branch Manager
Purpose: This article guides Admin/Branch Manager users on how to create and configure custom status groups within the Agent Performance Report in Ricochet360's Performance Dashboard for better lead and activity tracking.
Location in Ricochet: Dashboard -> Performance Dashboard -> Agent tab
Description
The instructions in this article require Branch Manager permission or above
Learn how to add custom status groups to your Agent Performance Reports in Ricochet360. This step-by-step guide explains how to navigate to the Performance Dashboard's Agent tab, configure status groups using the table settings editor, and filter results using custom status groups to analyze agent activity and lead data effectively.
Resolution
Optional: View the interactive tutorial for this process:
Click here to open the step-by-step tutorial in a new tab
Non-Administrators do not have the access to follow these instructions and should open a ticket.1. To add custom status groups to your Agent Performance Reports, click on Dashboard

2. Click Performance Dashboard
3. Click the Agent tab
4. Click the gear icon to edit the table settings
5. Click Add Status Group
6. Click inside the Name area and type name of your new status group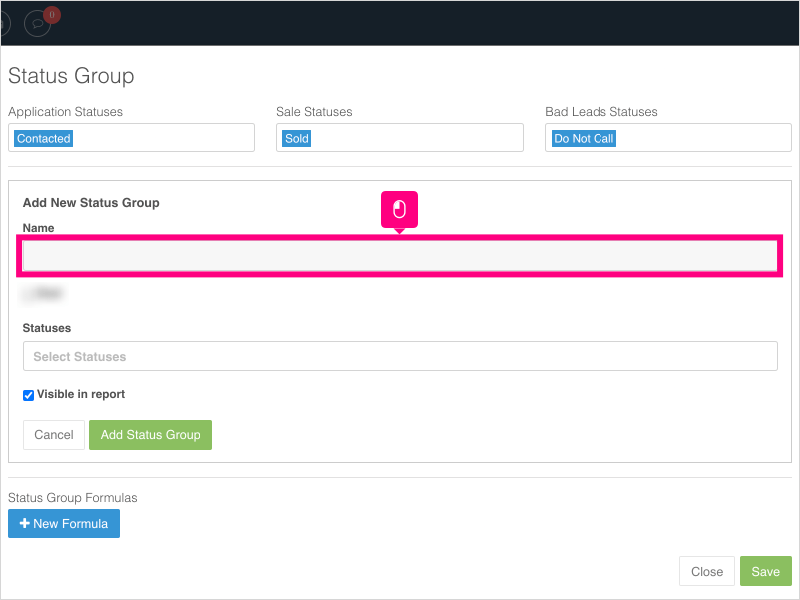
7. Click inside the Select Statuses area and select the statuses you want to include in the new status group.
8. Click Add Status Group to create the new group.
9. Click Add Status Group again if you want to create more status groups.
10. Otherwise, click Save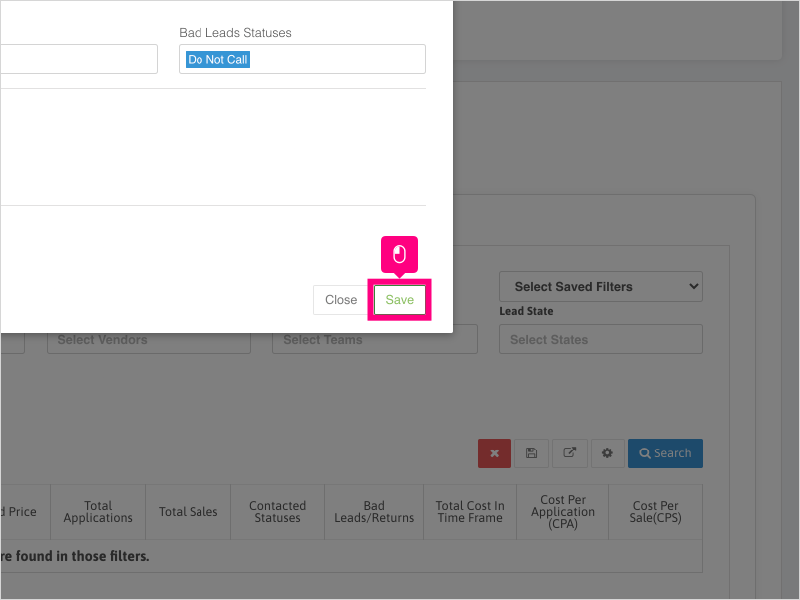
11. Click Close
12. To search for records that match your custom status group, click Select date and choose a date filter.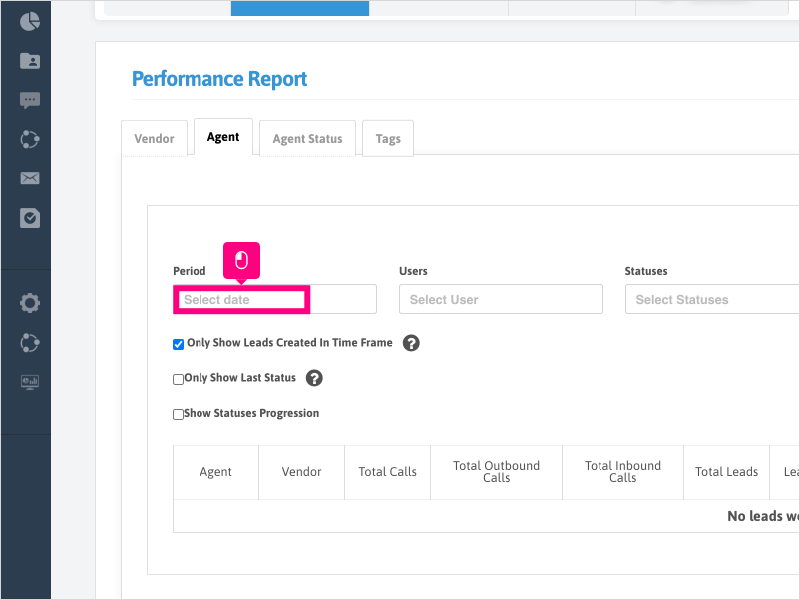
13. For this example, we will click Last 7 days
14. Click Search to generate your results.
15. Click the Agent name to see a list of Vendors the agent called
16. If you want to search for all leads that had call activity in the time frame selected (and not just leads that were created in the time frame), uncheck the box for "Only Show Leads Created in Time Frame" and click Search
Was this article helpful?
That’s Great!
Thank you for your feedback
Sorry! We couldn't be helpful
Thank you for your feedback
Feedback sent
We appreciate your effort and will try to fix the article