Subject
Applies to: Admin
Purpose: How to add a new dialer campaign
Location in Ricochet: Management > Dialer Campaign
Description
The instructions in this article require Administrator permission
These instructions explain how to create a new dialer campaign in Ricochet by naming and describing the campaign, and configuring call rules such as minimum delay between calls, maximum calls per lead, lead ownership, and task-based eligibility. They detail how to filter leads by lists, states, owners, statuses, vendors, tags, age, and last statused time, as well as how to exclude specific leads or owners. The steps also cover assigning eligible users, enabling a progressive scheduler for automatic start/stop times, activating the campaign, setting priority among campaigns, and reviewing all settings to ensure the campaign aligns with business requirements.
Resolution
Optional: View the interactive tutorial for this process:
Click here to open the step-by-step tutorial in a new tab
Non-Administrators do not have the access to follow these instructions and should open a ticket.1. To create a new Dialer Campaign, click Manage
2. Click Dialer Campaigns
3. Click Create campaign
4. Click inside the Name area and give the Dialer Campaign a unique, descriptive name
5. Click inside the Description area and type in a description of the Campaign (visible only to Admins inside Dialer Campaigns' edit screen)
6. Click inside the Minimum delay between calls on the same lead area and enter the time (in minutes) that you want to set the delay between calls on the same lead.
NOTE: This timer resets for any outbound call to an eligible lead (manual or automated)
7. Click inside the Maximum number of calls per lead area and type how many calls per lead you want this dialer campaign to make.
8. Click this checkbox to only include calls to leads made from this dialer campaign in the Max Number of Calls per Lead count.
NOTE: If left unchecked, the Max Number will count ALL calls across all dialer campaigns the lead is / was eligible for.
9. Click this checkbox to only call leads owned by Agents. This will only allow eligible agents to call leads they own in this campaign.
NOTE: If left unchecked, any agent in this campaign can call any lead, regardless of the lead owner, i.e. Shark Tank.
10. Click the dropdown for Only Call Leads to choose to only call leads with or without a pending or past due task.
11. Select without pending tasks if you want to include leads that do not have a pending task.
Note: A Pending task = a task that is due in the future and isn't marked as Completed on the lead or Task Dashboard.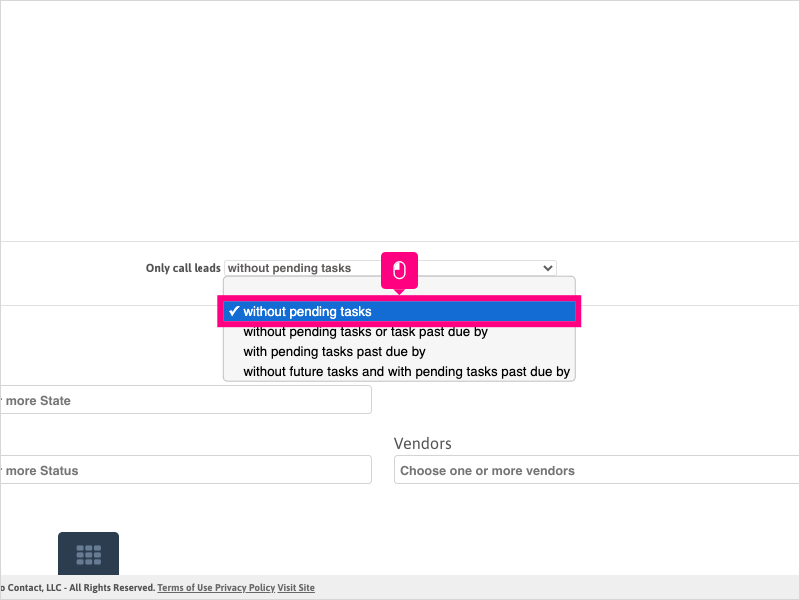
12. Click the dropdown to view the other choices
13. Select without pending tasks or task past due by to include leads that do not have a pending task OR have a task that is past due (not marked as completed) by a certain timeframe (in minutes).
14. Click inside the time setting and choose how many minutes you want the dialer campaign to wait after a task is past due (not marked as completed) before it becomes eligible for this dialer campaign.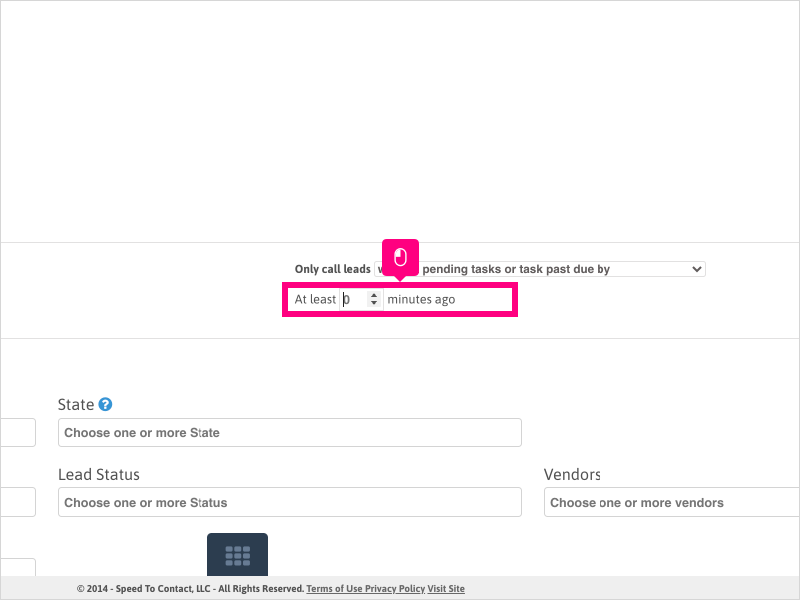
15. Click the dropdown to view the other choices
16. Select with pending tasks past due by which will only include leads that have a pending task (not marked as completed) that is past due by a certain amount of time (in minutes).
17. Click inside the time setting and choose how many minutes you want the dialer campaign to wait after a task is past due (not marked as completed) before it becomes eligible for this dialer campaign.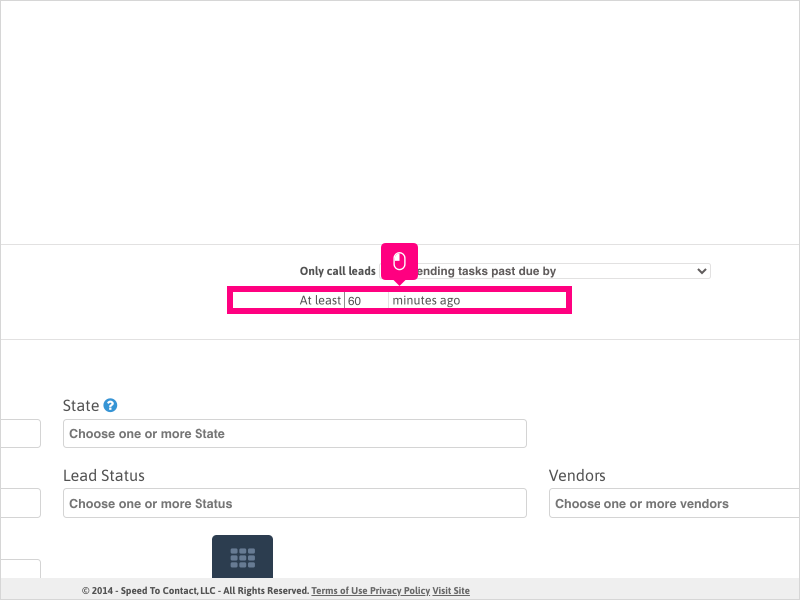
18. Click the dropdown to view the other choices
19. Select without future tasks and with pending tasks past due by if you want to call on leads that meet the following criteria:
Contains no future tasks (task marked as completed) AND has a pending task past due by a certain amount of time.
20. Click the dropdown to view the other choices
21. Select the blank area if you want to include all leads regardless of tasks.
22. Scroll down and click inside the List Upload filter in the "Include" section if you wish to include a list or lists to call on.
NOTE: In most cases, if you select a list or lists, you will NOT have to select a vendor filter if filtering by list(s).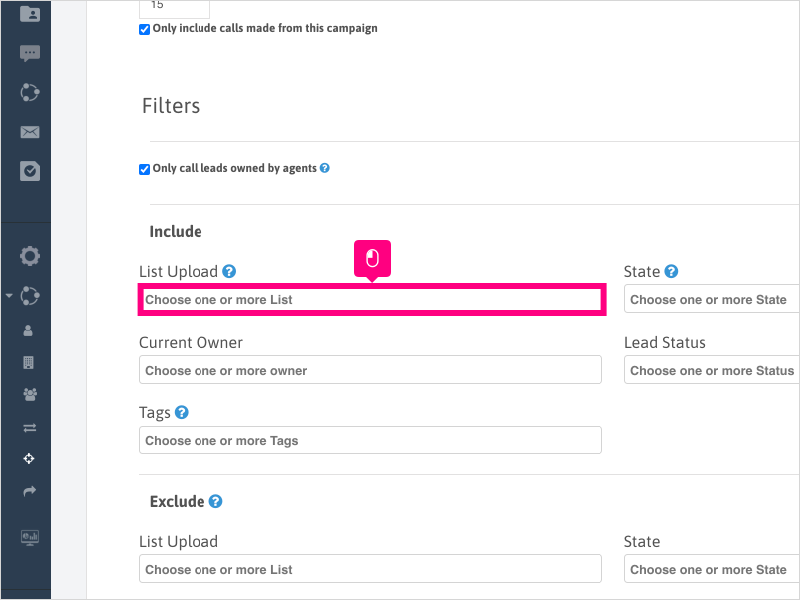
23. Click inside the State filter if you wish to filter leads for this campaign by one or more states.
NOTE: You can leave blank to include all states.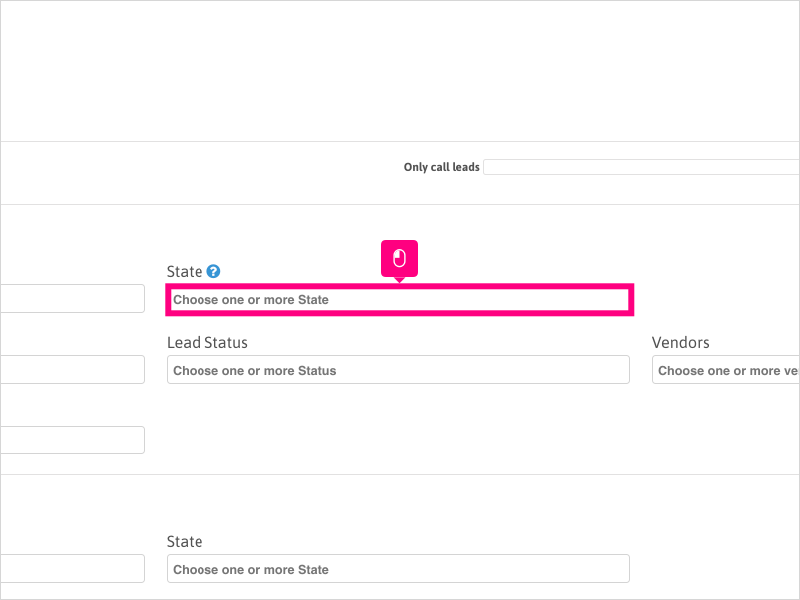
24. Click inside the Current Owner filter if you wish to filter leads for this campaign by one or more Lead Owner.
NOTE: You can leave blank to include all leads regardless of Lead Owner.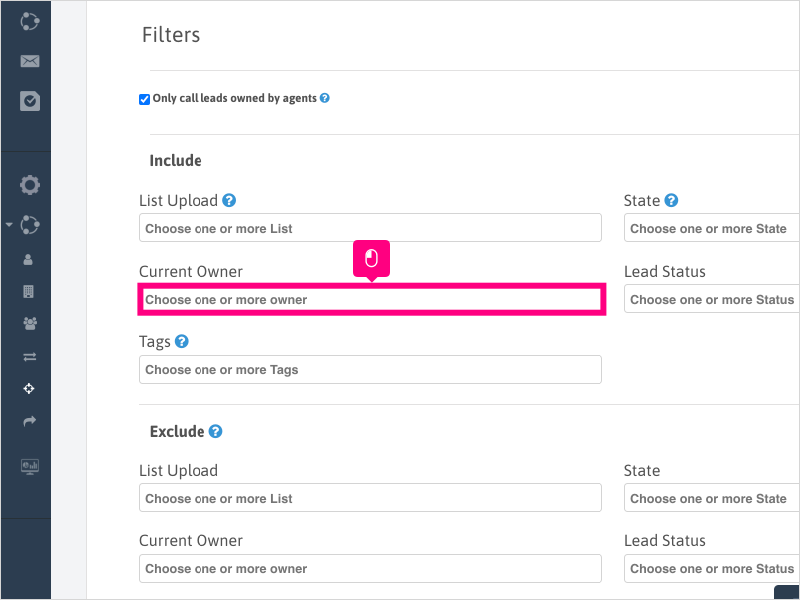
25. Click inside the Lead Status filter if you wish to filter leads for this campaign by one or more Statuses.
NOTE: It is strongly recommended to include at least 1 status to prevent the dialer campaign from calling leads that shouldn't be called.
26. Click inside the Vendors filter if you wish to filter leads for this campaign by one or more Vendors.
NOTE: You can leave blank to include all Vendors. Also, if filtering by List Upload, most likely you do not need to select a vendor filter.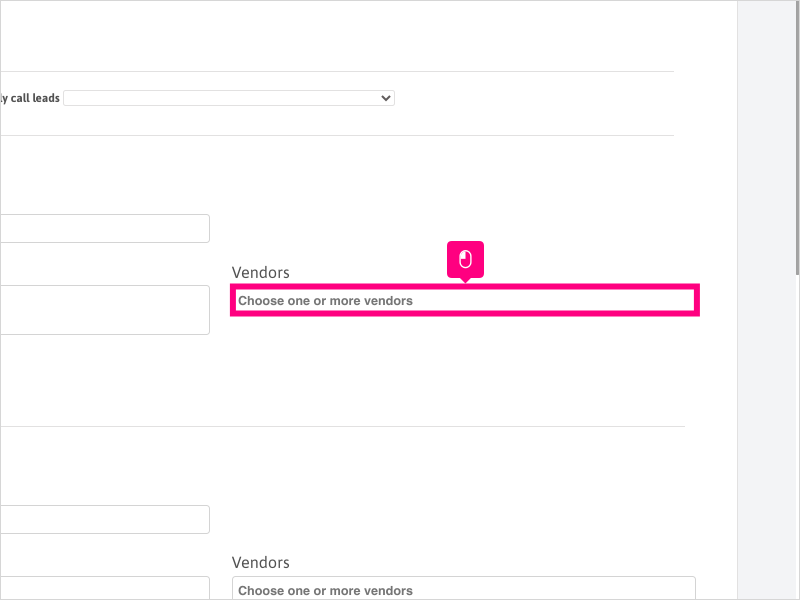
27. Click inside the Tags filter if you wish to filter leads for this campaign by one or more tags.
NOTE: You can leave blank to include all tags. Upon saving, you'll be prompted to enable agents for selected tags (applicable for restricted tags only).
28. You can exclude leads based on certain filter criteria by entering the information in the Exclude section.
It is not necessary to exclude certain filters if you are including the same in the Include section.
29. Example: If filtering for a certain status or statuses in the Include section, there is not a need to add other statuses to the Exclude section.
30. For this example, we will click in the Current Owner area in the Exclude section and choose 1 Current Owner to exclude from this campaign.
This will include all lead owners except the one chosen.
31. Scroll down and filter for leads based on the Lead Age (lead creation date).
You can leave at all zero's to include all leads regardless of lead age.
32. You can also filter for leads based on the Last Statused timeframe.
You can leave at all zero's to include leads regardless of the time the lead was last statused. Note that each time a status is applied to the lead, the timer resets.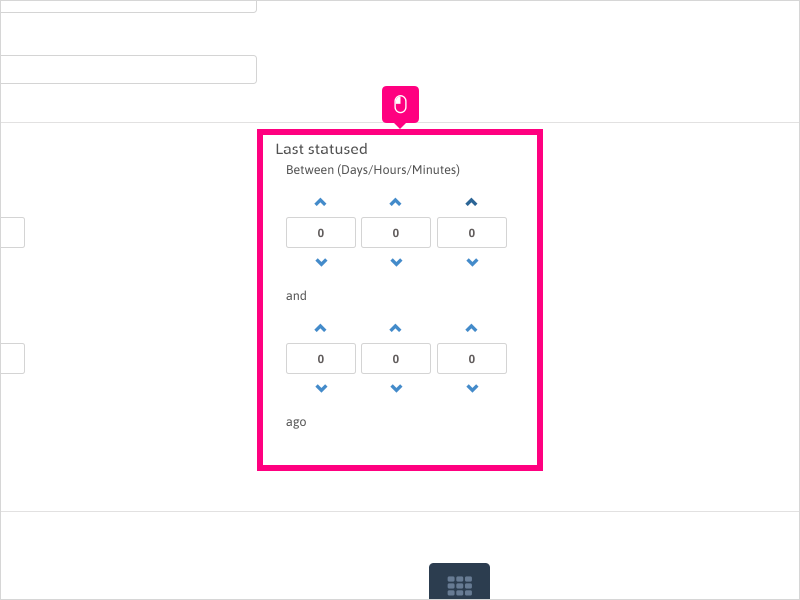
33. Scroll down and click the dropdown in the Users area and choose who you want to be eligible to call leads that meet the filters of this campaign.
34. You can choose users individually, Team(s), or Branch(es).
For this example, we will select to filter the campaign eligibility By Users
35. Click in the Add User(s) area and select the user(s) you wish to make eligible for this campaign.
36. If you want to schedule the campaign to turn on/off automatically each day, click Enable Progressive Scheduler.
NOTE: If you want to control the campaign On/Off functionality manually, leave this unchecked.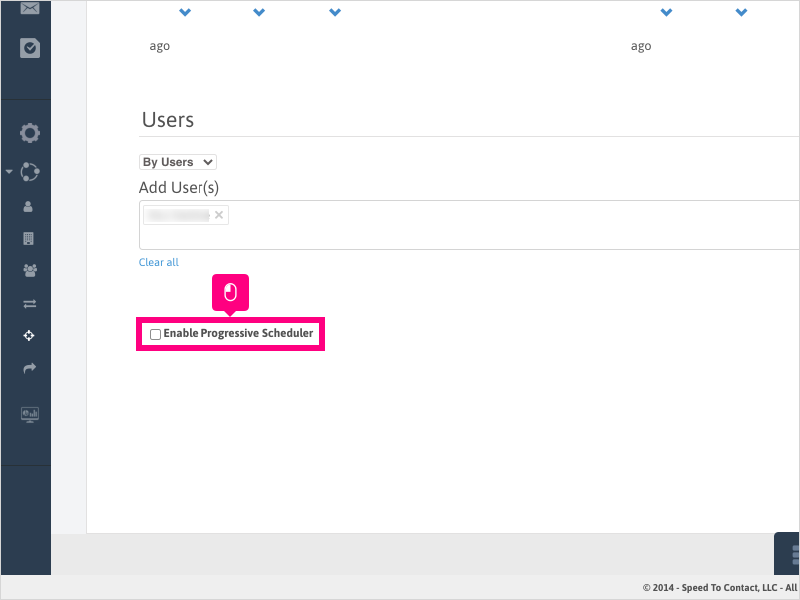
37. Adjust each day for the time you want the campaign to turn on (From time) and turn off (To time).
You can leave the campaign at 12:00am - 11:59pm if you want the campaign to be "On" all day.
38. Click Save when completed.
39. If you want to enable the dialer campaign - click the On/Off toggle to the "On" position in the "Progressive dialing (Cam-Q)" column.
40. To change the priority of the campaign against the other dialer campaigns, click the slider to give the campaign a priority value.
NOTE: Higher the priority = higher chance of a lead being pulled from that campaign over others when agents go Online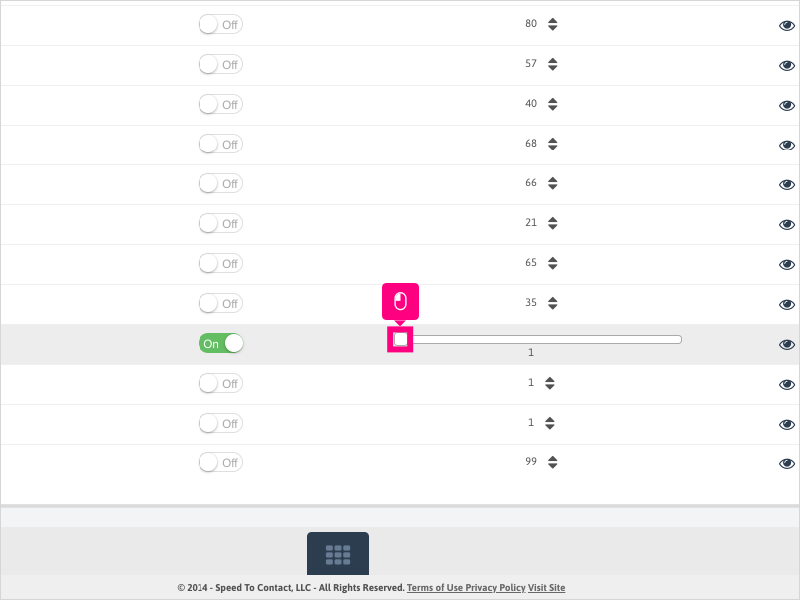
41. Review your campaign list and confirm all is set according your your business needs.
Was this article helpful?
That’s Great!
Thank you for your feedback
Sorry! We couldn't be helpful
Thank you for your feedback
Feedback sent
We appreciate your effort and will try to fix the article