Subject
Applies to: Admin
Purpose: Maintaining Agent's Assigned Phone Number
Location in Ricochet: Configuration > Phone Settings
Description
The instructions in this article require Administrator permission
These instructions explain how to change an agent’s assigned phone number by navigating to Phone Settings, locating and editing the desired phone number, assigning it to a specific agent through the User Routing tab, saving the changes, and choosing whether to replace an existing number if one is already assigned, followed by refreshing the agent’s browser.
Resolution
Optional: View the step-by-step tutorial for this process:
Click here to open the step-by-step tutorial in a new tab
Non-Administrators do not have the access to follow these instructions and should open a ticket.1. To change an Agent's phone number in Ricochet, first you'll want to click on Configuration.
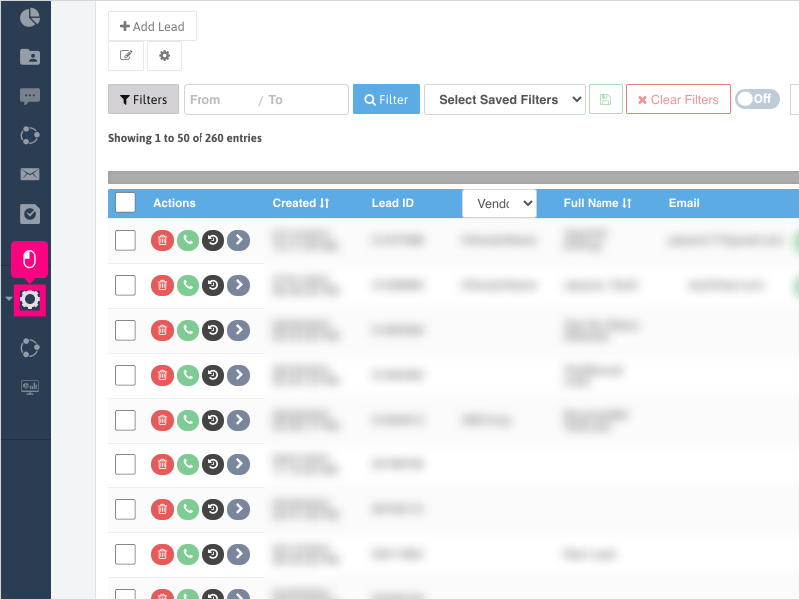
2. Click Phone Settings.
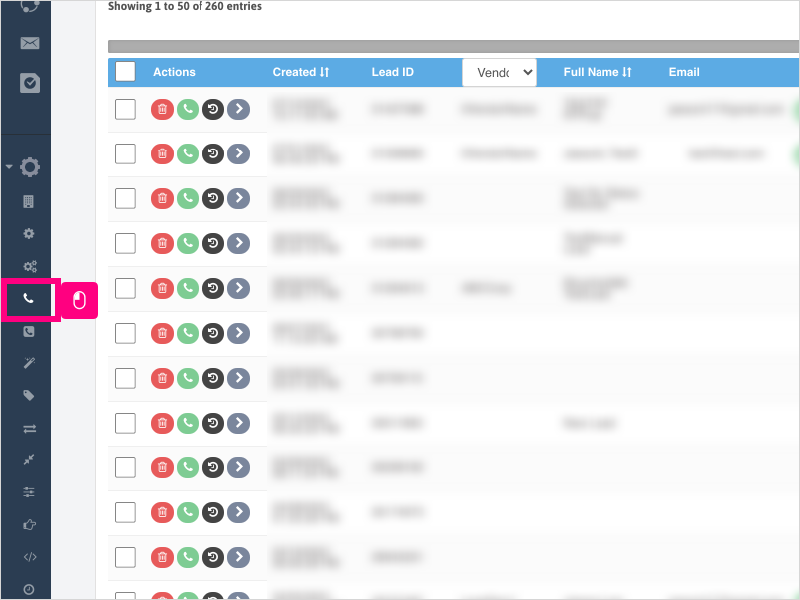
3. Ensure you are on the All Phones tab.

4. Locate the number you just purchased (or existing phone number) by scrolling to the number or typing it in the search box at the top. By default, the "Contact Type" for newly purchased numbers will be "Inbound IVR".
Once located, click Edit.

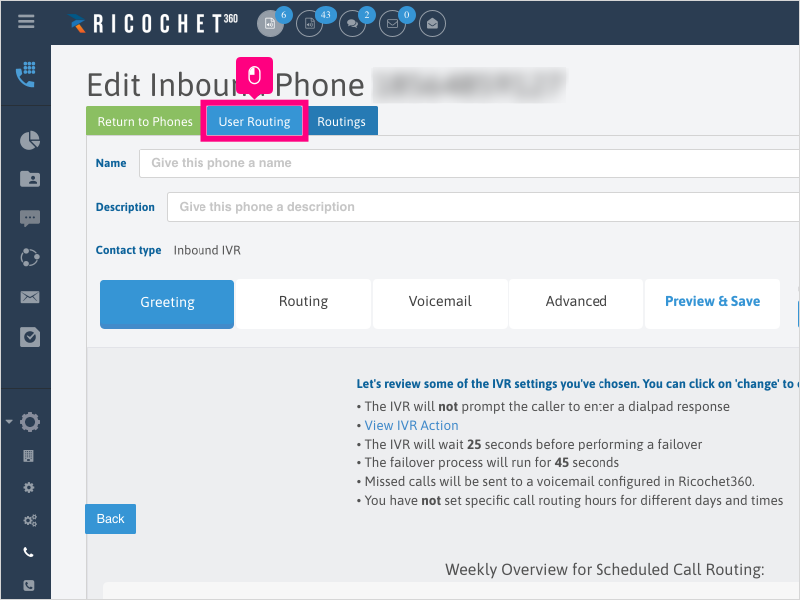
5. Click the User Routing tab.
6. Click inside the Name area and give a name/label to the phone number.
Note: This is not a required section, but usually if you're assigning the number to an Agent, you'll want to use the Agent's name as the label for the phone number.
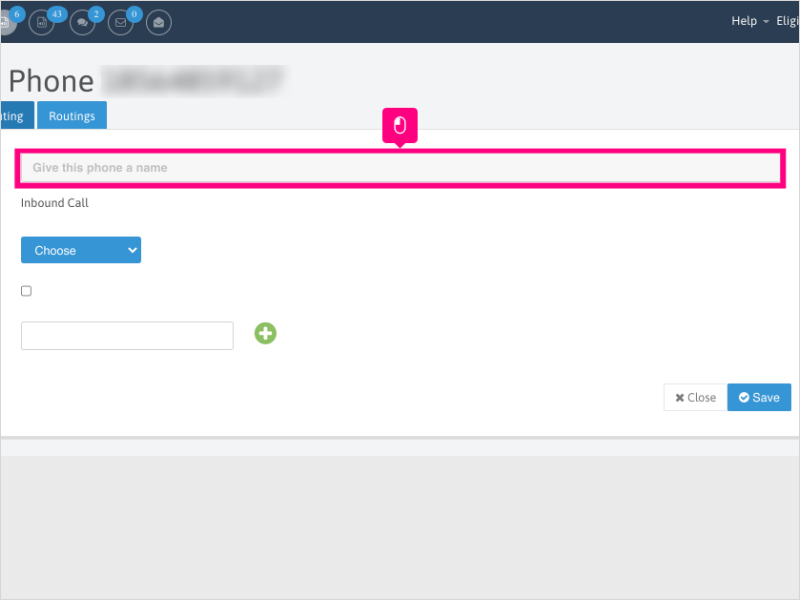
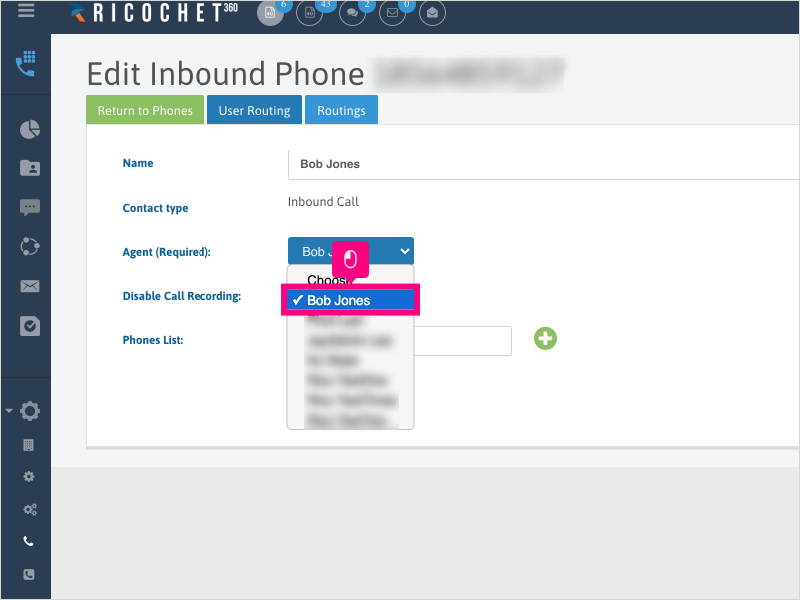
7. Click the dropdown for Agent (Required)

8. Select the Agent you want to assign the number to.
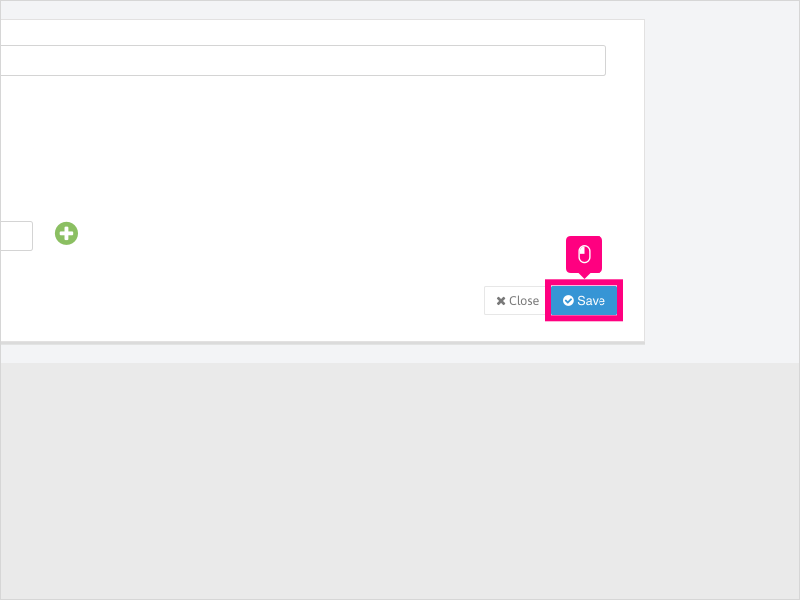
9. Click Save
10. If the Agent already has an assigned phone number, you'll be presented with an option to Keep or Replace the Agent's number.
To change the Agent's assigned number, click Replace.
Once the number is changed, ask the Agent to refresh their browser.

Was this article helpful?
That’s Great!
Thank you for your feedback
Sorry! We couldn't be helpful
Thank you for your feedback
Feedback sent
We appreciate your effort and will try to fix the article