Subject
Applies to: Admin
Purpose: Explain how Admin/Branch Manager users can create a transfer group for call routing.
Location in Ricochet: Configuration -> Transfer Settings
Description
The instructions in this article require Administrator permission
Admin/Branch Manager users can add a transfer group in Transfer Settings to route calls to one or more phone numbers.
Resolution
Optional: View the interactive tutorial for this process:
Click here to open the step-by-step tutorial in a new tab
Non-Administrators do not have the access to follow these instructions and should open a ticket.1. To add a transfer group, click Configuration

2. Click Transfer Settings
3. Click Add Transfer Group
4. Click inside the Name area and give the Transfer Group a name (this will be visible to your agents when they select it on the dial pad).
5. Click in the phone number area and type in the phone number to add to this Transfer Group.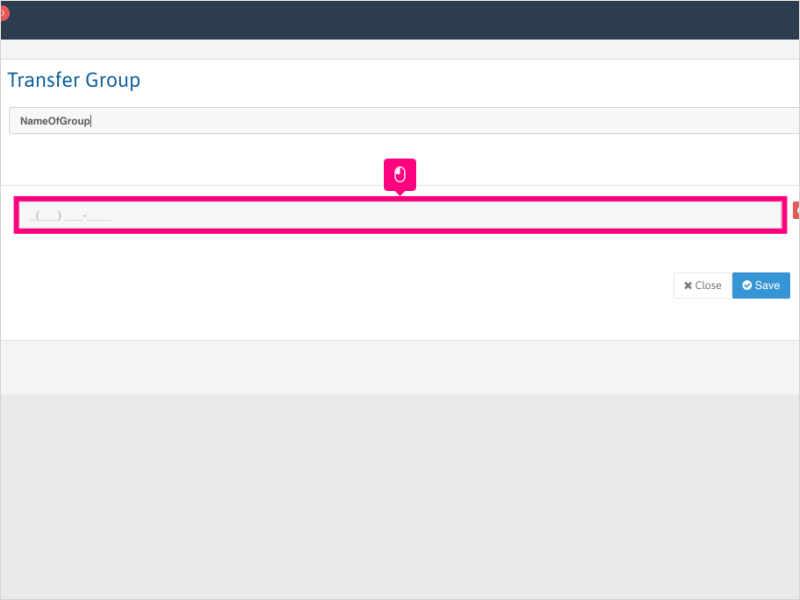
6. If you want to add multiple numbers, you can by clicking the Add new number button.
NOTE: if you add multiple phone numbers, when the transfer group is used, a separate call will be made to each number and connect to the first available pick-up.
7. Click in the phone number area and enter an additional number (if applicable).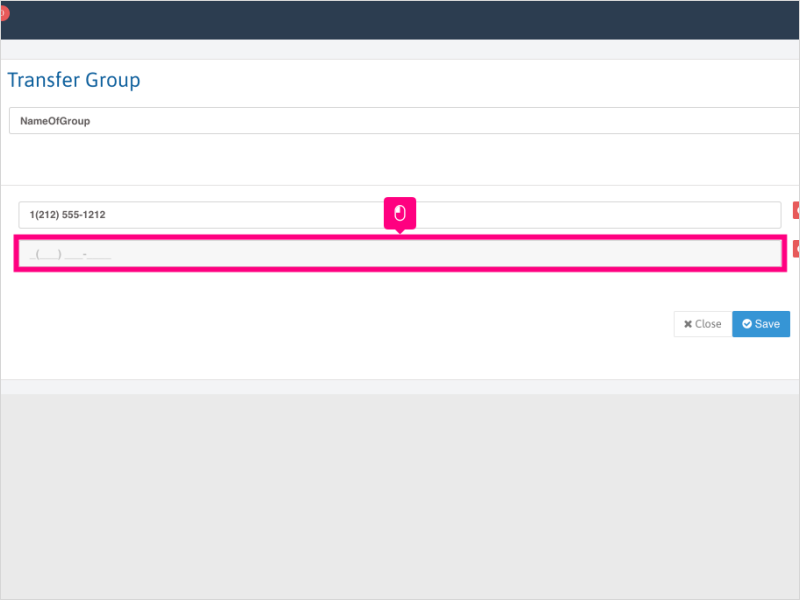
8. If you wish to add another phone number to the Transfer Group, click Add new number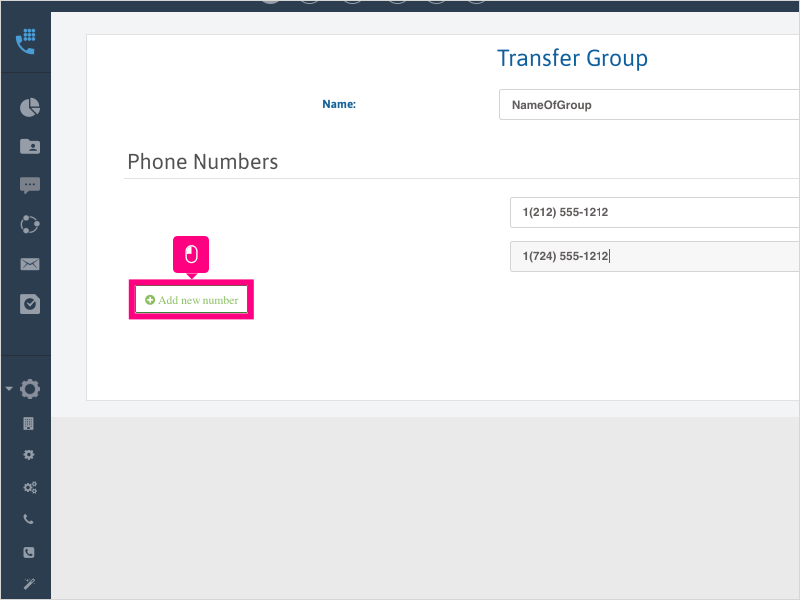
9. Click in the phone number area and enter an additional number (if applicable).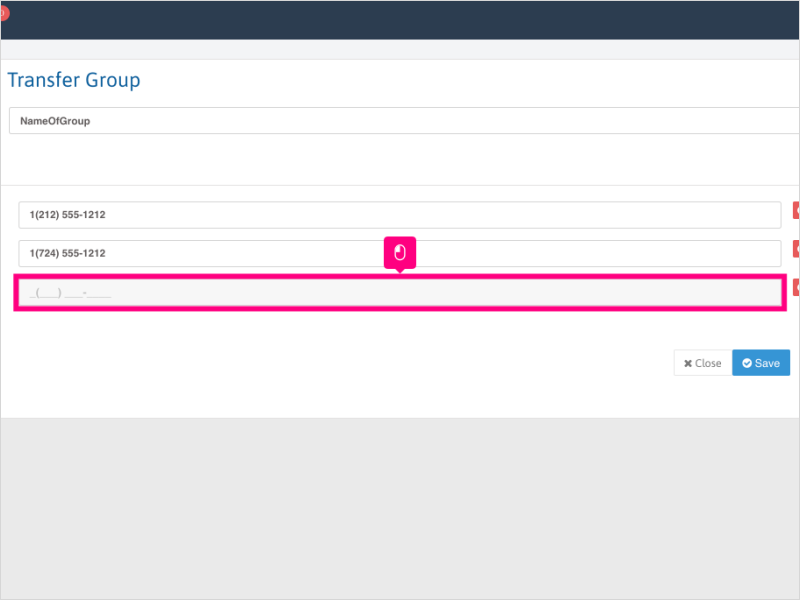
10. Once you've added all the numbers to the Transfer Group, click Save
11. Click Close and ask all users to refresh their Ricochet when able to do so.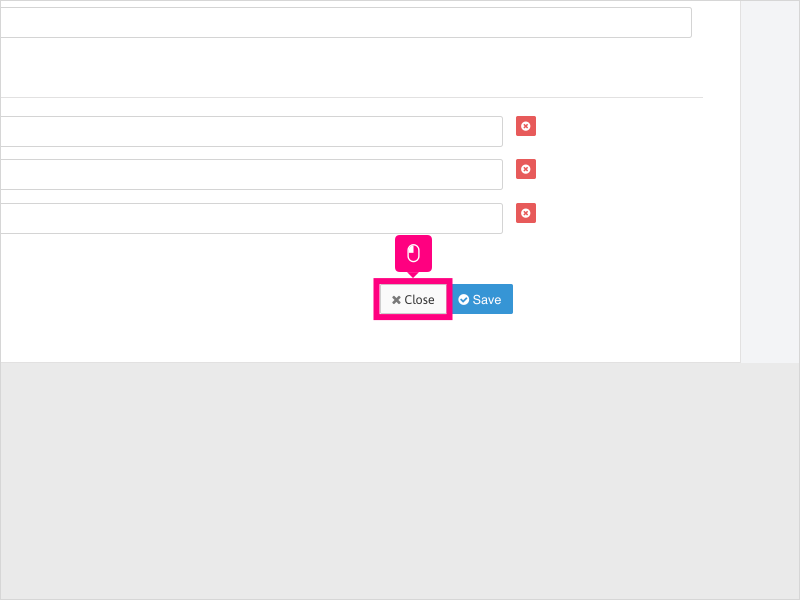
Was this article helpful?
That’s Great!
Thank you for your feedback
Sorry! We couldn't be helpful
Thank you for your feedback
Feedback sent
We appreciate your effort and will try to fix the article