Subject
Applies to: Admin
Purpose: How to add a new lead vendor
Location in Ricochet: Management > Vendors
Description
The instructions in this article require Administrator permission
These instructions explain how to create a new lead vendor posting URL in Ricochet by creating a vendor with a name and label, and optionally configuring role restrictions or live lead transfer behavior. They note best practices for lead visibility and distribution, then describe saving the vendor, copying the generated posting URL, and sharing it with the lead provider so leads can be sent into the Ricochet platform.
Resolution
Optional: View the interactive tutorial for this process:
Click here to open the step-by-step tutorial in a new tab
Non-Administrators do not have the access to follow these instructions and should open a ticket.1. To create a new Lead Vendor Posting URL, click Manage

2. Click Vendors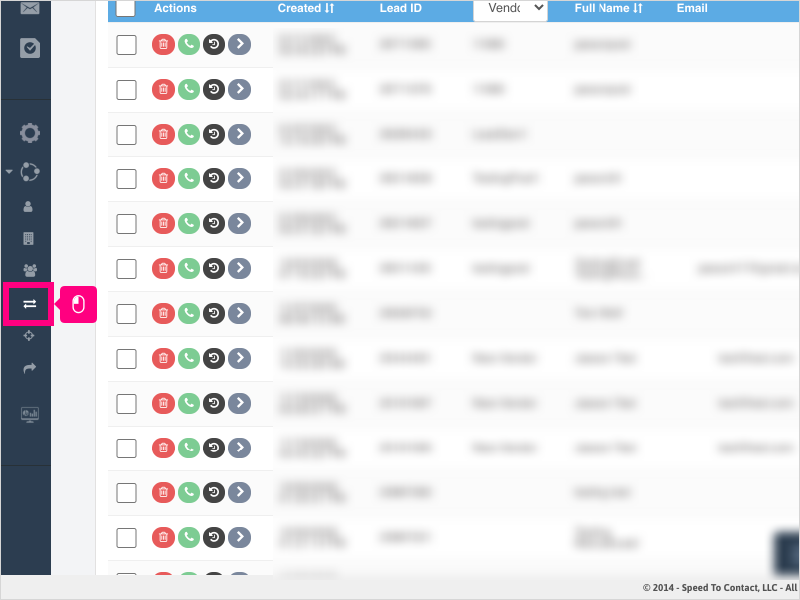
3. Click Create Vendor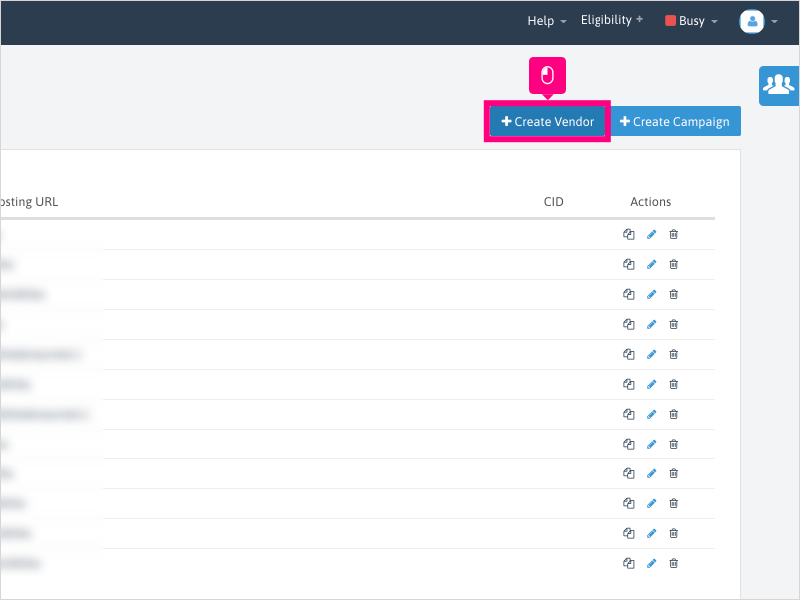
4. Click in the Name area and type the name of the Vendor you wish to create.
NOTE: This is the name that will appear in the Vendor URL.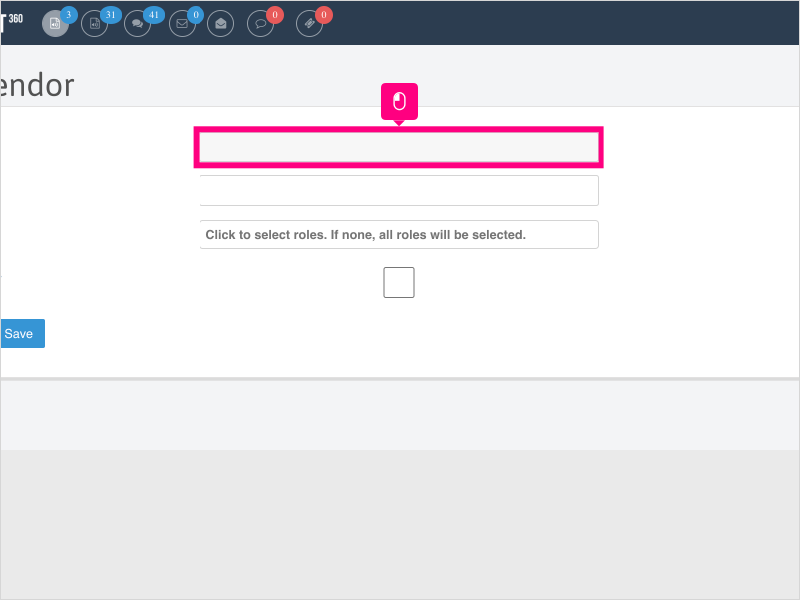
5. Click in the Label area and type the name you want to use as the Label for this Vendor.
NOTE: This is the name that will appear in the different areas of Ricochet. It is recommended to use the same name from the "Name" area as the Label.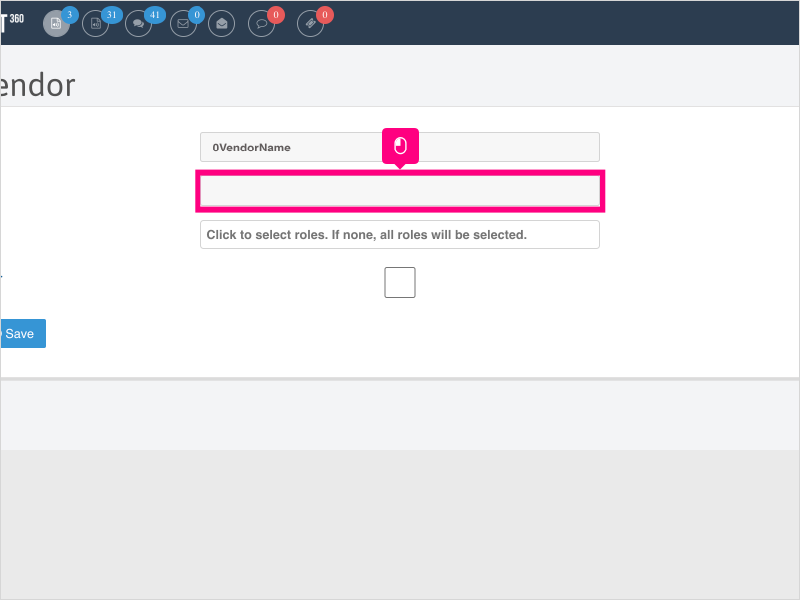
6. The Roles area allows you to restrict lead visibility to specific user permission roles.
It is recommended to leave this area blank and make use of the Distribution Rules and Tags area of Ricochet for lead vendor distribution.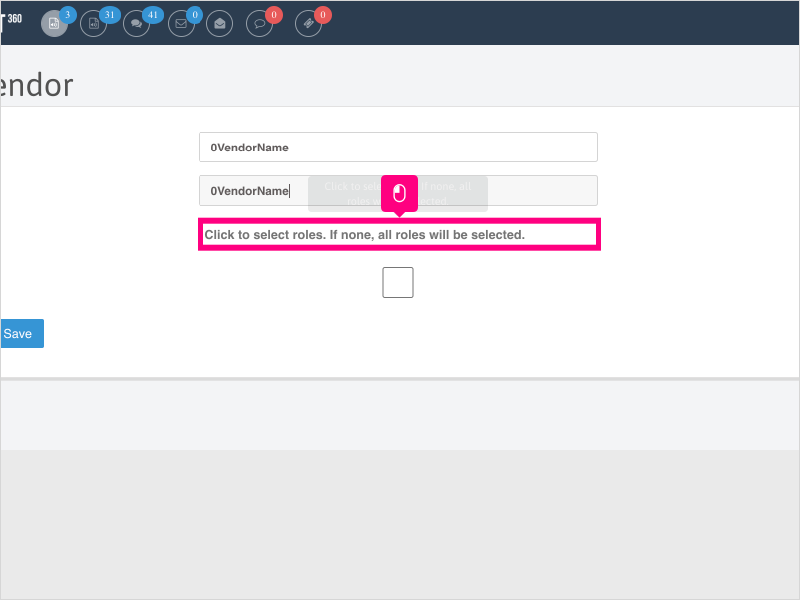
7. Click this checkbox if you are working with a vendor that is transferring leads into your system as a Live Lead Transfer.
NOTE: This will add a parameter at the end of the Vendor Posting URL that will prevent Real Time/Live Q/Eve Q calls when posted.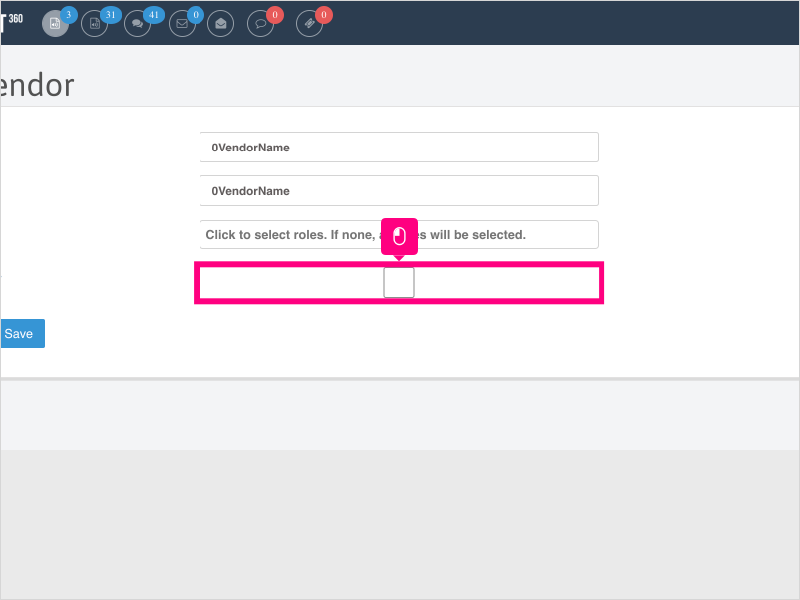
8. Click Save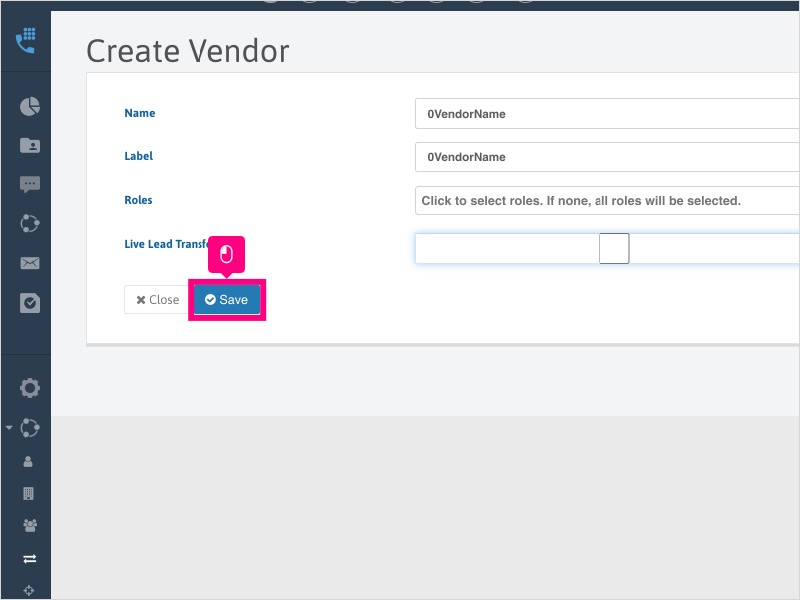
9. Click Close to return to the Vendor Page.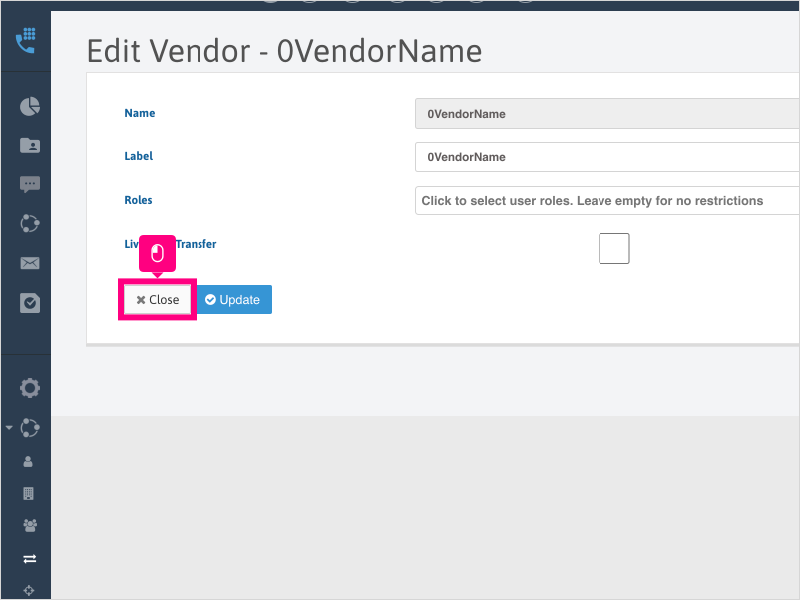
10. Click the Copy icon to copy the Vendor Posting URL and send it to your lead provider to distribute leads to your Ricochet platform.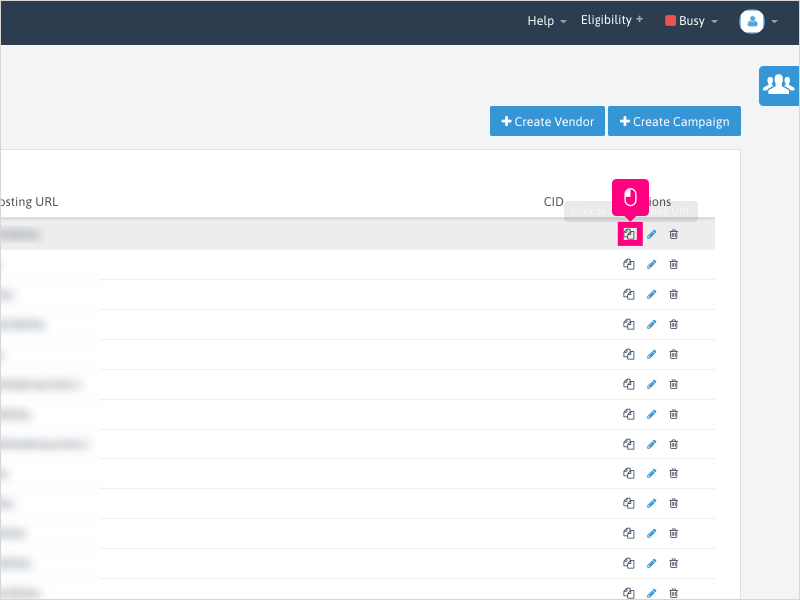
Was this article helpful?
That’s Great!
Thank you for your feedback
Sorry! We couldn't be helpful
Thank you for your feedback
Feedback sent
We appreciate your effort and will try to fix the article