Subject
Applies to: Admin/Branch Manager
Purpose: How to create custom user field in agent's profile
Location in Ricochet: Management > Agents
Description
The instructions in this article require Branch Manager permission or above
These instructions describe how to create Custom User Fields on an agent’s profile in Ricochet by navigating to Manage > Agents, editing a specific user, and adding new fields using the green plus icon. They explain how to label and create each custom field, and emphasize saving and refreshing the browser so the new fields appear on agent profile pages.
Resolution
Optional: View the interactive tutorial for this process:
Click here to open the step-by-step tutorial in a new tab
Non-Administrators do not have the access to follow these instructions and should open a ticket.1. To create a Custom User Field in an Agent's profile, click Manage.
NOTE: Custom User Fields are currently only visible for the Posts/Webhooks configuration when selecting the Data Type "User Field".
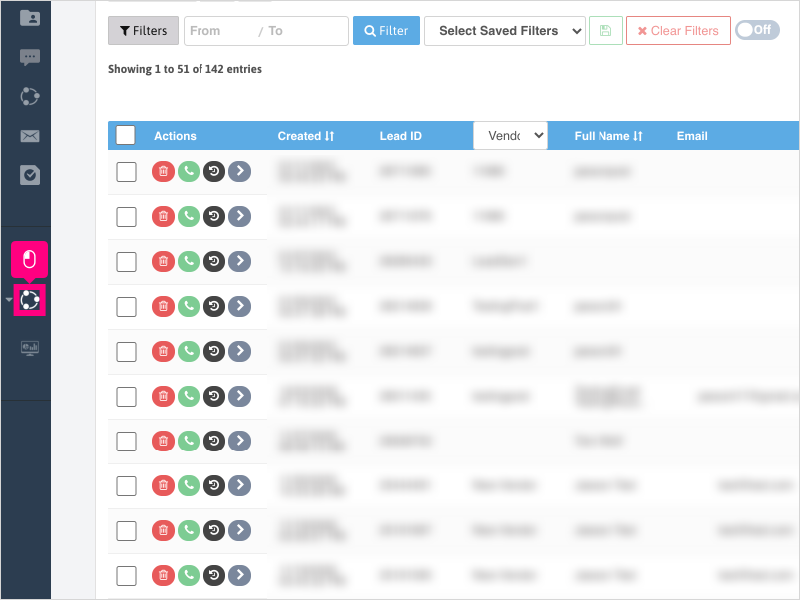
2. Click Agents
3. Click the edit button under the "Actions" column for the user you want to edit.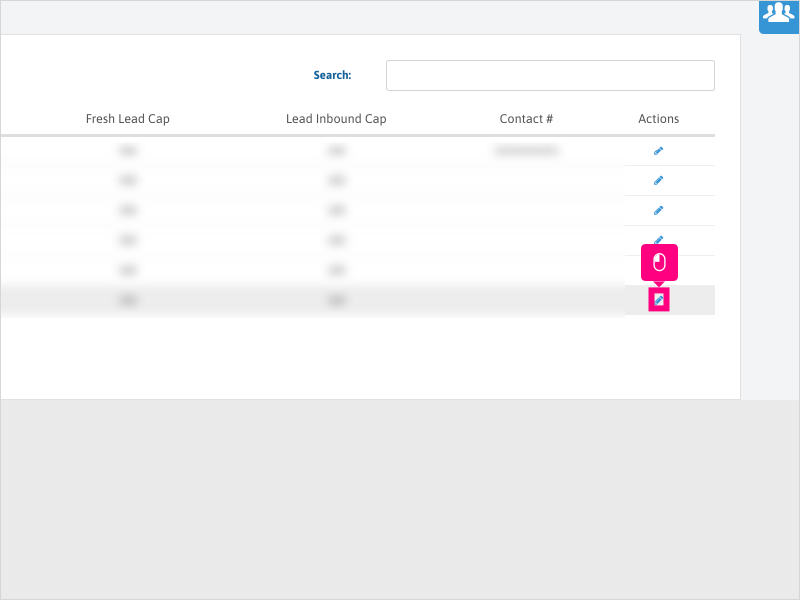
4. Scroll down and click the green + symbol to add your first Custom User field.
5. Click inside the Field Label area and type the name of the field you wish to create.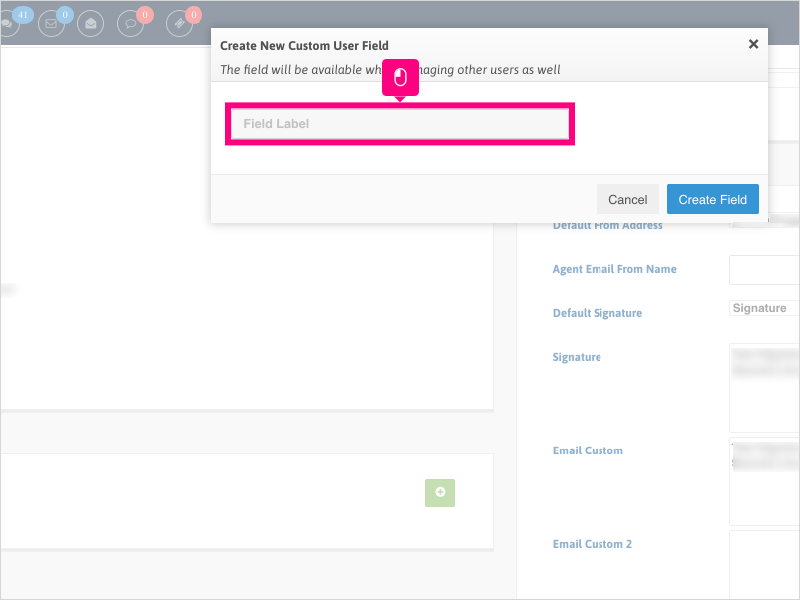
6. Click Create Field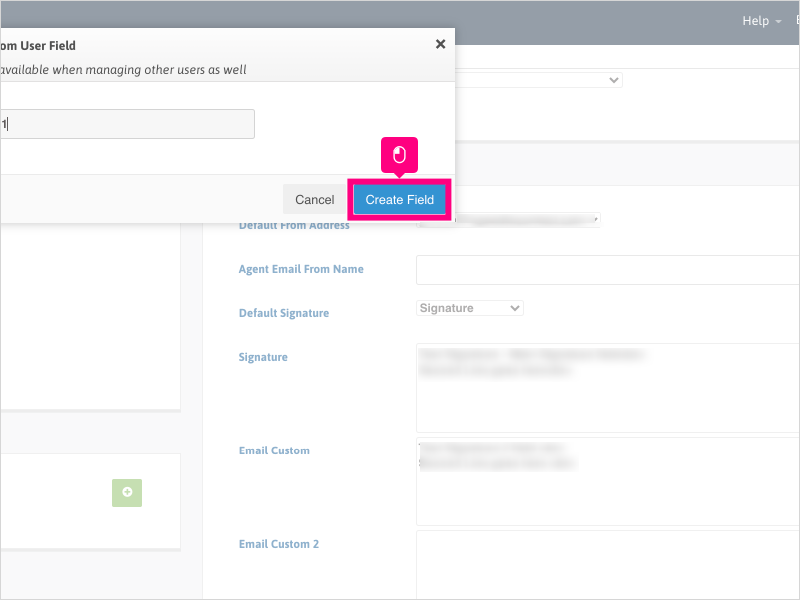
7. Repeat steps 4 through 6 if you want to create more Custom User Fields.
Click Save when completed and refresh your browser. These new fields will appear on each Agent's profile page when editing.
Was this article helpful?
That’s Great!
Thank you for your feedback
Sorry! We couldn't be helpful
Thank you for your feedback
Feedback sent
We appreciate your effort and will try to fix the article