Subject
Applies to: Admin
Purpose: How to add new vendor campaign
Location in Ricochet: Management > Vendors
Description
The instructions in this article require Administrator permission
These instructions describe how to create a new lead vendor campaign in Ricochet by selecting an existing parent vendor, and defining a campaign name (CID). They explain how to designate the campaign for live lead transfers, save the campaign, and access it from the vendor list. The steps conclude with copying the generated campaign-specific posting URL—which appends the campaign ID and required parameters—and sharing it with the lead provider.
Resolution
Optional: View the interactive tutorial for this process:
Click here to open the step-by-step tutorial in a new tab
Non-Administrators do not have the access to follow these instructions and should open a ticket.1. To create a new Lead Vendor Campaign for an existing Posting URL, click Manage

2. Click Vendors
3. Click Create Campaign
4. Click the dropdown for Select Parent Vendor and choose the Parent Vendor you want to add a campaign to.
5. Click inside the CID text area and type the name of your Campaign for this vendor.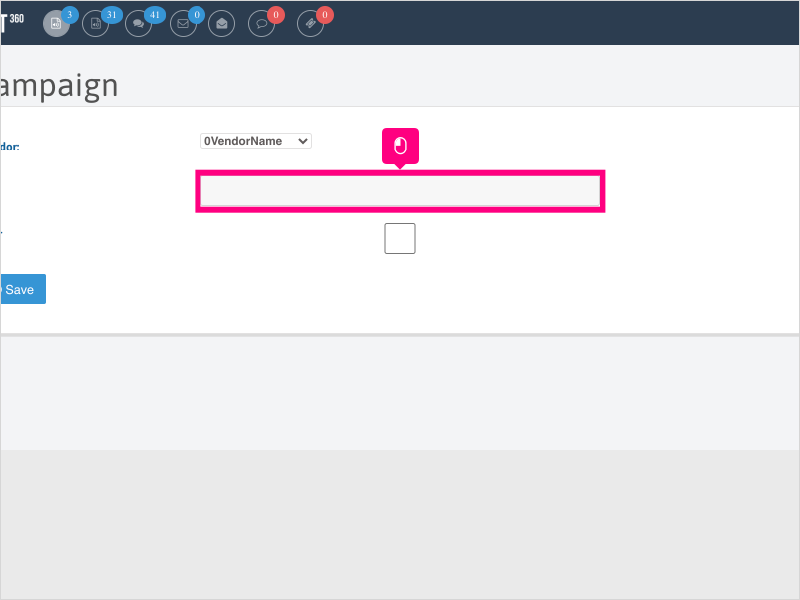
6. Click this checkbox if this particular Vendor Campaign will be used for Live Lead Transfers.
For this example, we will check that box.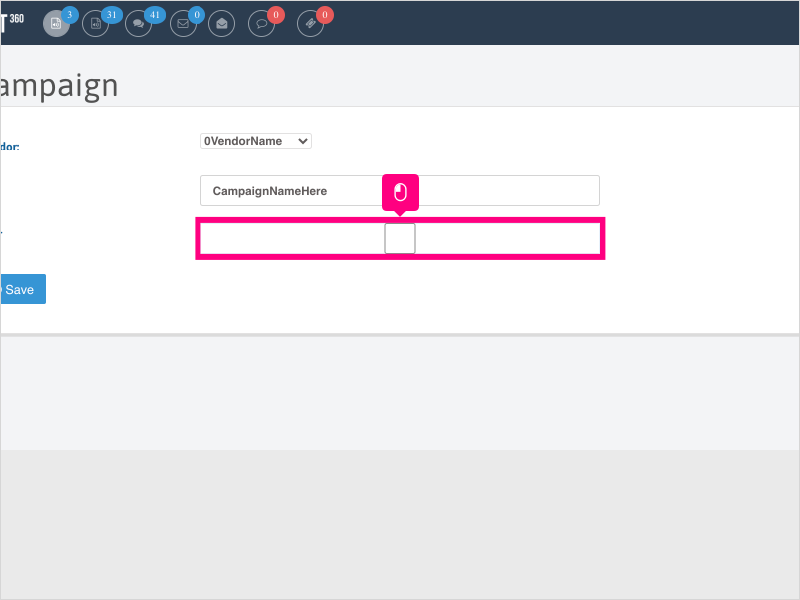
7. Click Save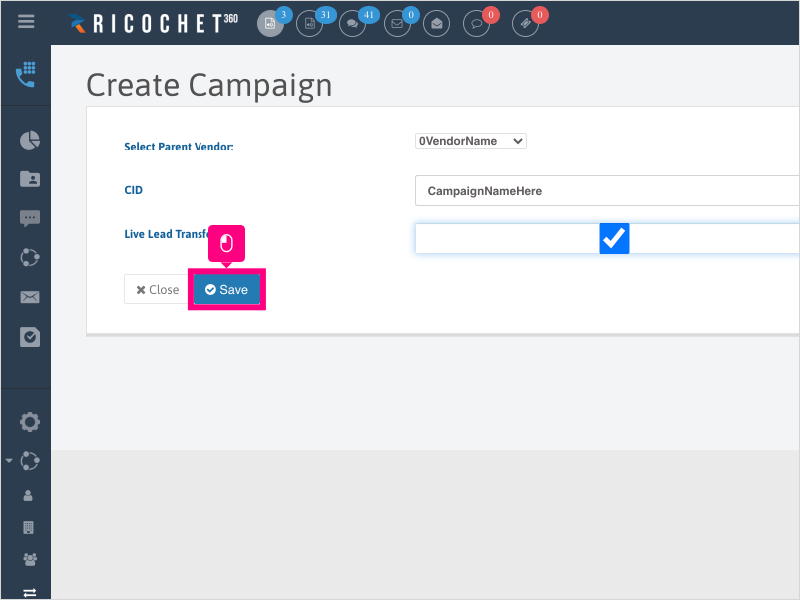
8. Click Close to return to the Vendors page.
9. Click the arrow next to the Vendor name to display any campaigns associated with that vendor.
10. Click the Copy icon to copy the URL to send out to the lead provider.
NOTE: The Campaign Name (CID) is added to the end of the Posting URL, as is the parameter "imported=1" to prevent Real Time/Live Q/Eve Q calls made to leads posted to this URL.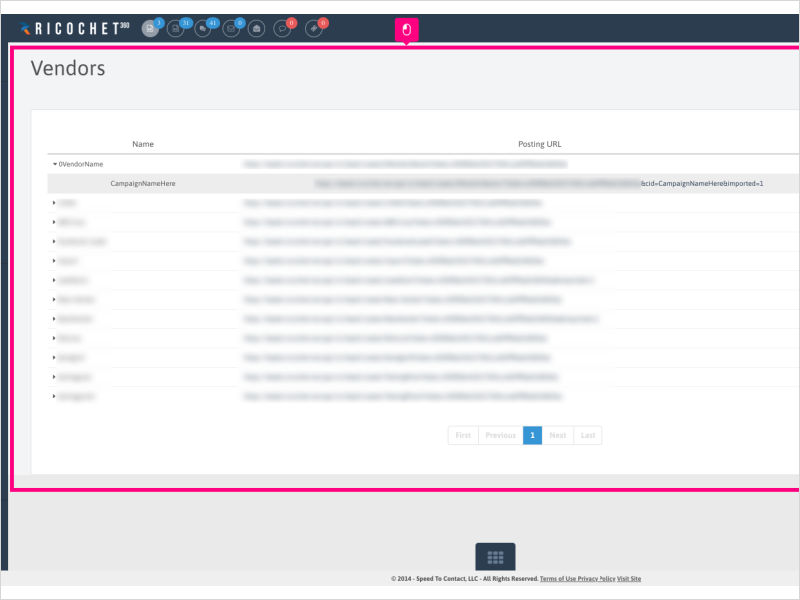
Was this article helpful?
That’s Great!
Thank you for your feedback
Sorry! We couldn't be helpful
Thank you for your feedback
Feedback sent
We appreciate your effort and will try to fix the article