Subject
Applies to: Admin/Branch Manager
Purpose: How to create a scheduled report
Location in Ricochet: Reports > Scheduled Reports
Description
The instructions in this article require Branch Manager permission or above
These instructions describe how to create and manage a scheduled Call History Report in Ricochet by naming the report, selecting recipients, and choosing Call History as the report type. They explain how to configure the delivery schedule, apply optional filters, customize exported fields, and save the report. The steps also cover managing the scheduled report by pausing, resuming, or deleting it as needed.
Resolution
Optional: View the interactive tutorial for this process:
Click here to open the step-by-step tutorial in a new tab
Non-Administrators do not have the access to follow these instructions and should open a ticket.1. To create a scheduled Call History Report, click Reports

2. Click Create Scheduled Reports
3. Click Create
4. Click inside the Name area and type the name of the scheduled report
5. Click inside the Send To dropdown and pick the email(s) you want to deliver this report to.
6. Click the Report Type dropdown and choose Call History
7. Click the Cycle Type dropdown and pick when you want the email to be delivered (Daily, Weekly, Bi-Weekly, or Monthly).
For this example we will choose Weekly
8. Click the Day of Week dropdown and choose the day of the week you want the report to run.
For this example we will choose Sunday.
9. Select any filters you want for this report, or leave empty to run a full call history report to be delivered.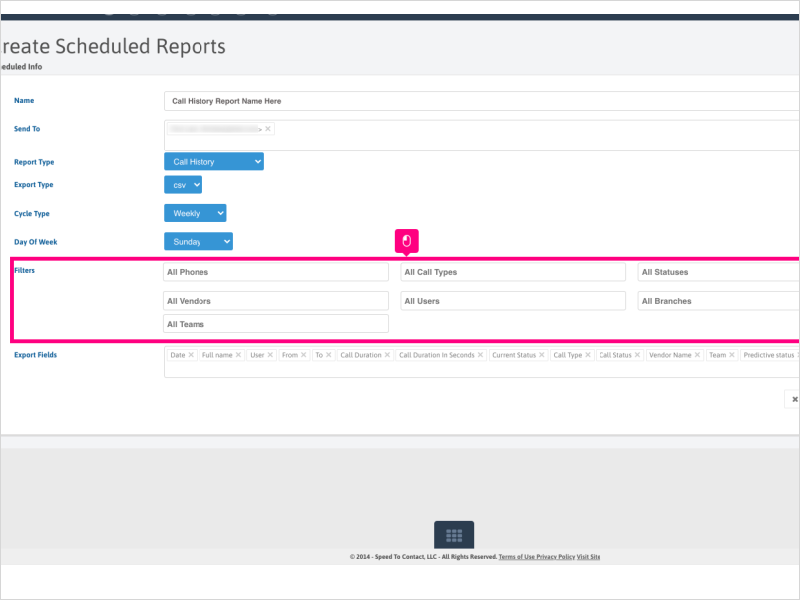
10. Click in the Export Fields box to add additional fields to the report, or leave the default fields selected.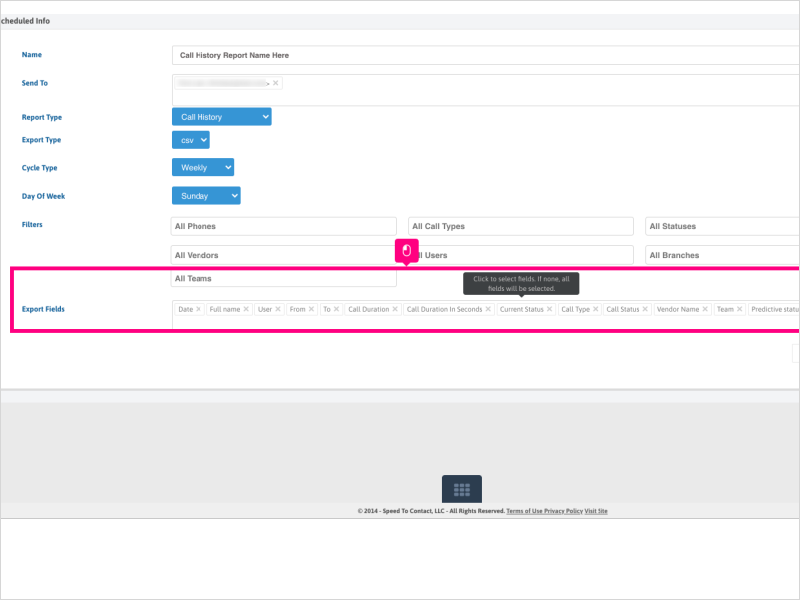
11. Click the X next to any field you want to remove from the report.
12. Review your report filters. Once completed, click Save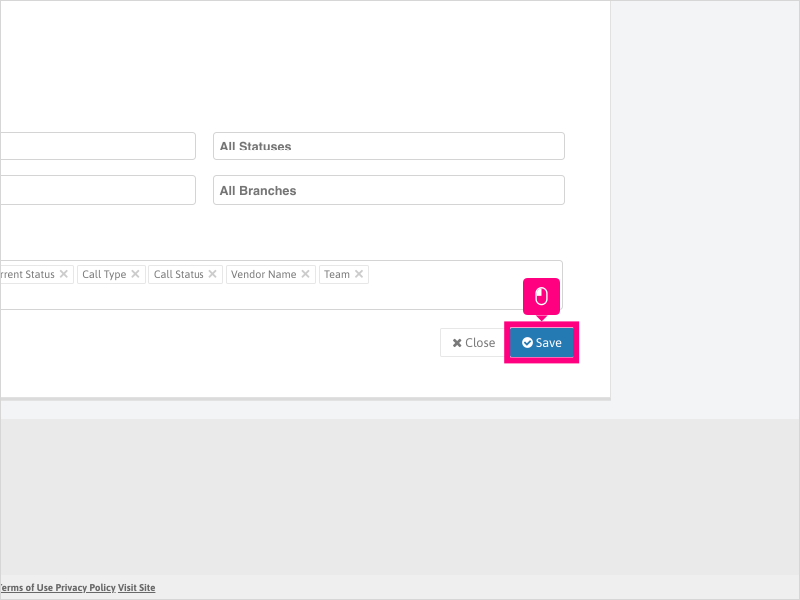
13. Click Close
14. Click the pause button if you want to stop the scheduled report from running.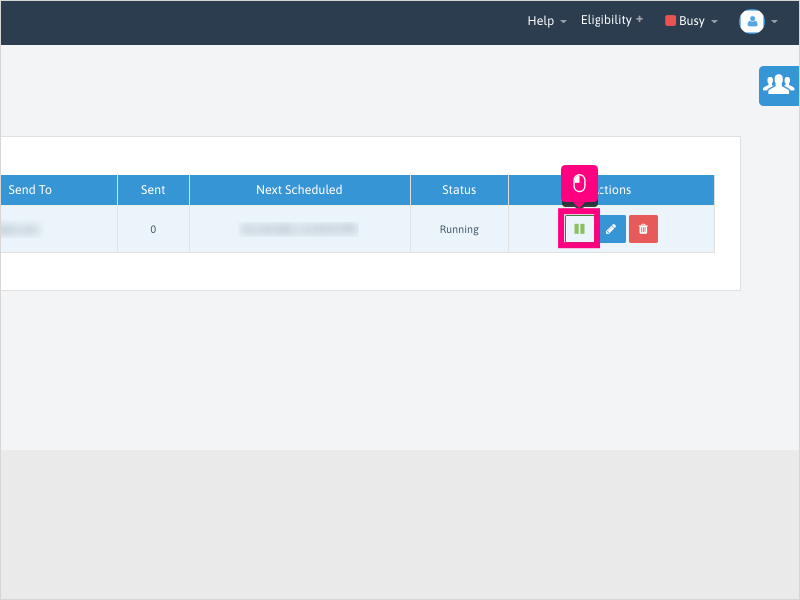
15. Click Ok to confirm stopping the next scheduled report from running.
16. Click the play button to resume the scheduled reports.
17. Click Ok to confirm restarting the next scheduled report.
18. Click the Delete button to remove the scheduled report from the page.
19. Click Ok to confirm deleting the scheduled report from the page.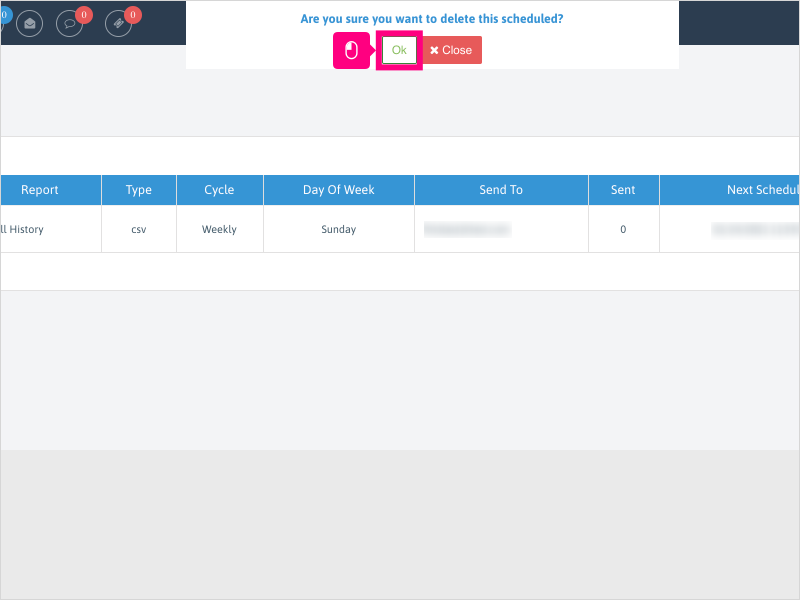
Was this article helpful?
That’s Great!
Thank you for your feedback
Sorry! We couldn't be helpful
Thank you for your feedback
Feedback sent
We appreciate your effort and will try to fix the article