Subject
Applies to: All users
Purpose: How to Create a Voicemail
Location in Ricochet: Configuration > User Settings
Description
These instructions explain how to create a personal Perfect Voicemail in Ricochet by navigating to Configuration > User Settings > Perfect Voicemail Settings and recording a voicemail using your microphone. They describe reviewing and downloading the recording, naming the voicemail, uploading the saved file, and saving the settings. The process concludes by refreshing the browser and confirming that the voicemail has been successfully stored and is available for use on the dial pad.
Resolution
Optional: View the interactive tutorial for this process:
Click here to open the step-by-step tutorial in a new tab
1. To create a Perfect Voicemail that only you have access to, click Configuration

2. Click User Settings
3. Click Perfect Voicemail Settings
4. Click + Add
5. Click Record and begin recording your Perfect Voicemail.
You must have a microphone attached to your system and enabled/permitted for access by Chrome.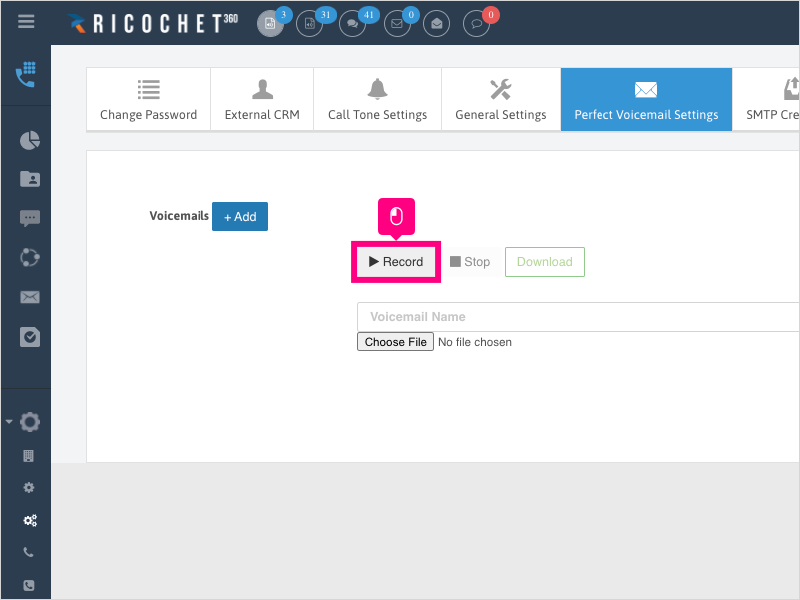
6. Click Stop when completed with the recording and a new tab will open for you to listen back to the recording.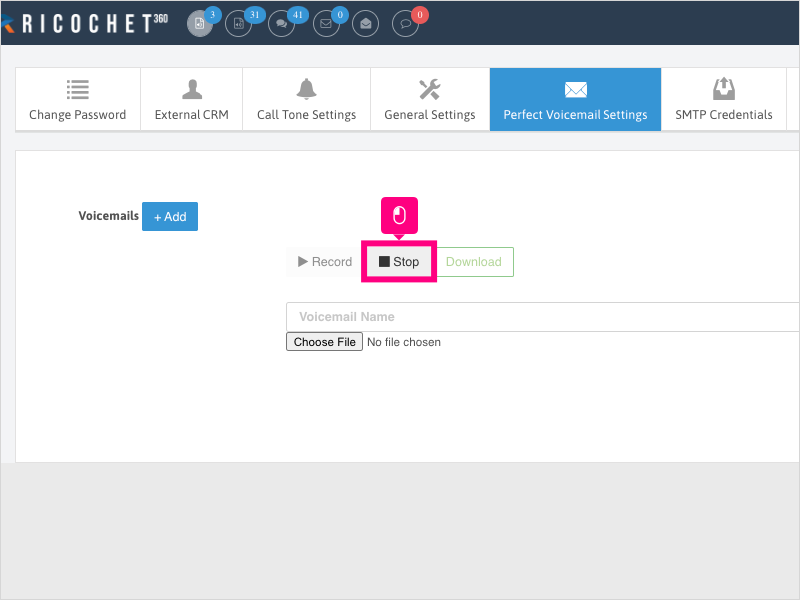
7. Once you've listened to the file and it sounds good, go back to the Ricochet page and click Download and save the file to your computer.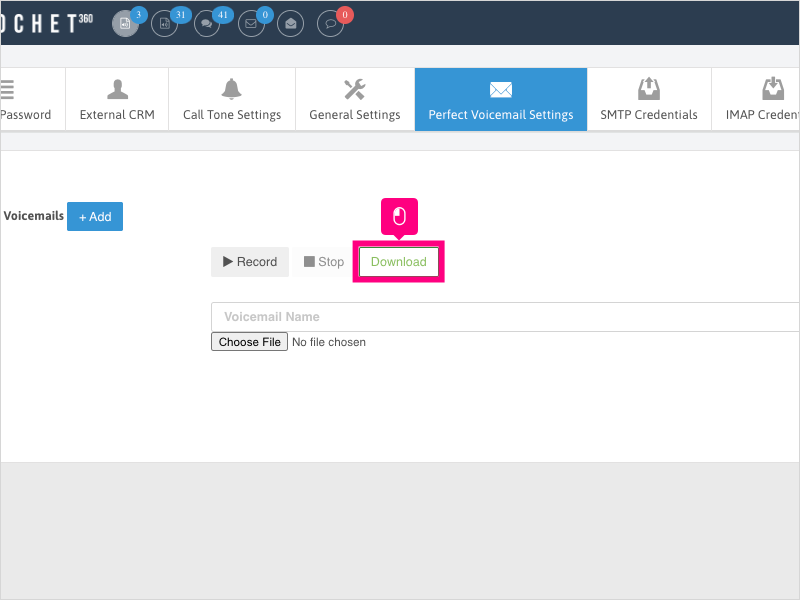
8. Click inside the Voicemail Name area and give your Perfect Voicemail a name that you'll recognize on the dialpad.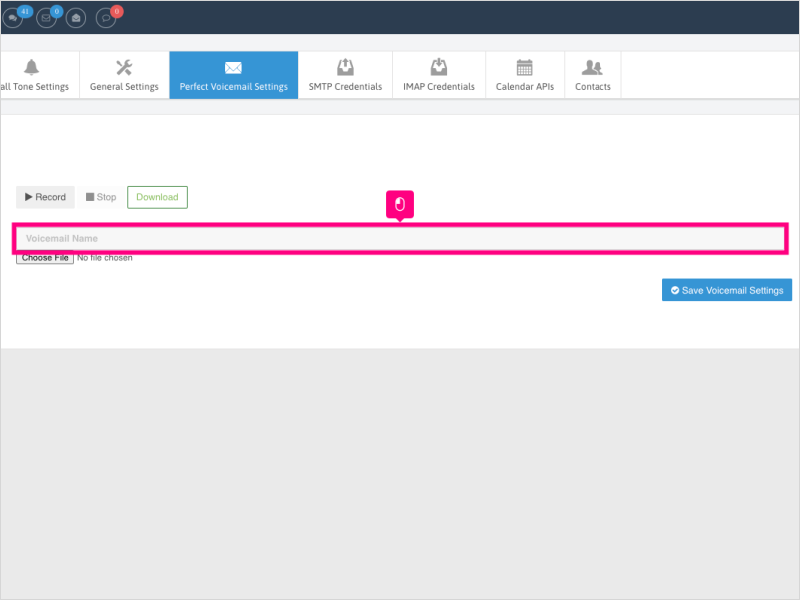
9. Click Choose File and select your file that you just recorded.
10. Click Upload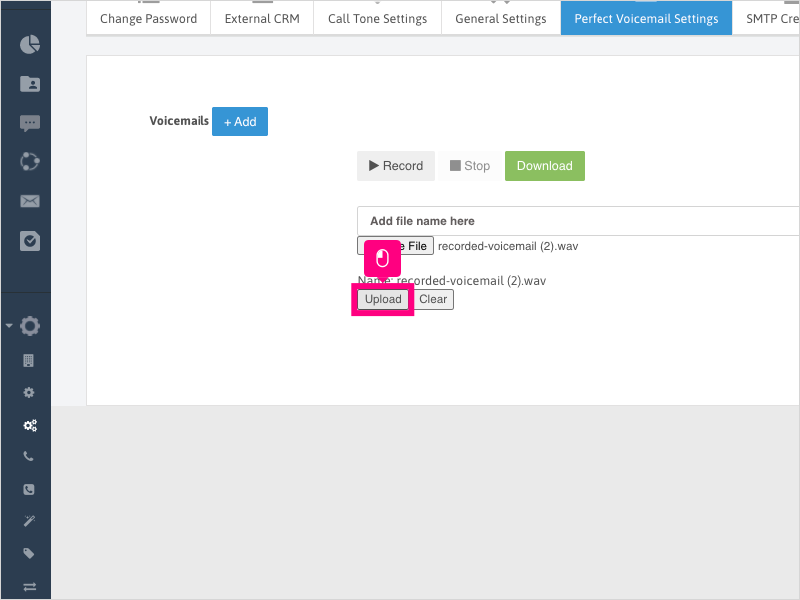
11. Click Save Voicemail Settings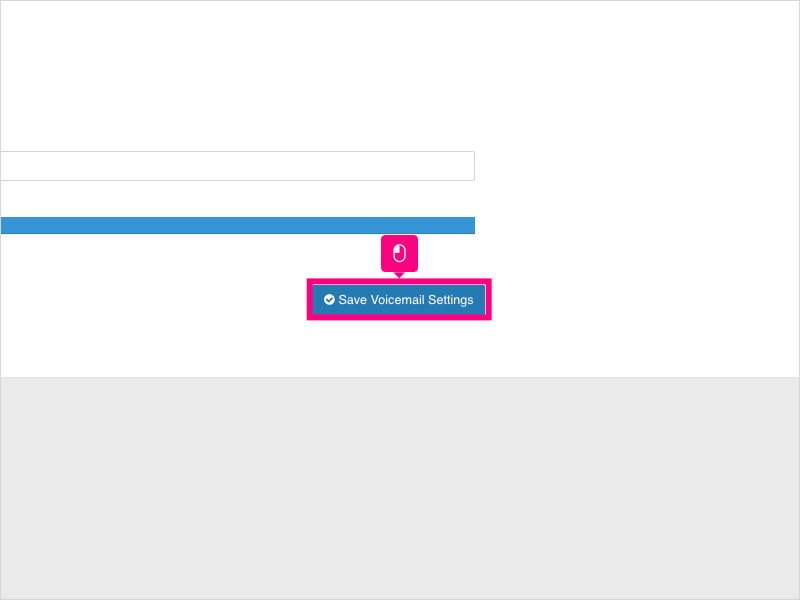
12. Refresh your browser and navigate back to the Perfect Voicemail Settings tab to confirm the file has saved correctly.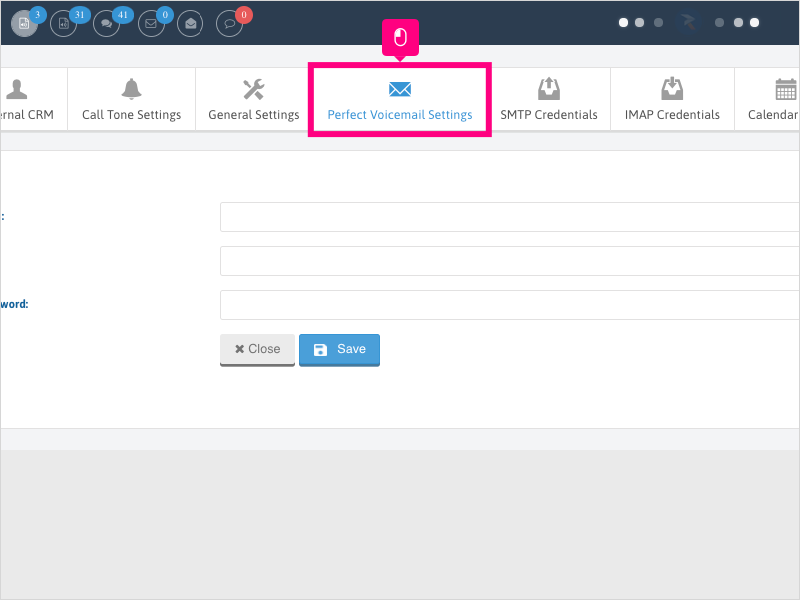
Was this article helpful?
That’s Great!
Thank you for your feedback
Sorry! We couldn't be helpful
Thank you for your feedback
Feedback sent
We appreciate your effort and will try to fix the article