Subject
Applies to: Admin/Branch Manager
Purpose: Set up a Vendor Performance Report to track vendor performance in Ricochet
Location in Ricochet: Dashboard -> Performance Dashboard -> Vendor Tab
Description
The instructions in this article require Branch Manager permission or above
Admin/Branch Managers can use the Vendor Performance Report to configure status groupings, select reporting periods, and analyze vendor and vendor campaign performance. This report is typically used for performance review, contact/quote/sale rate calculations, and lead volume measurements across lead providers.
Resolution
Optional: View the interactive tutorial for this process:
Click here to open the step-by-step tutorial in a new tab
Non-Administrators do not have the access to follow these instructions and should open a ticket.
1. To access & set up your Vendor Performance Reports, click on Dashboard

2. Click on the Performance Dashboard tab

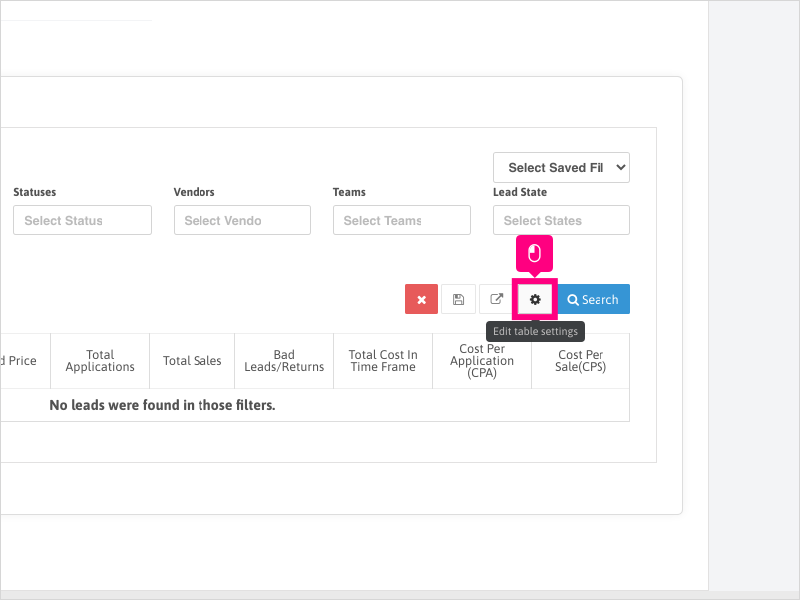
3. Click the Gear icon to edit table settings.
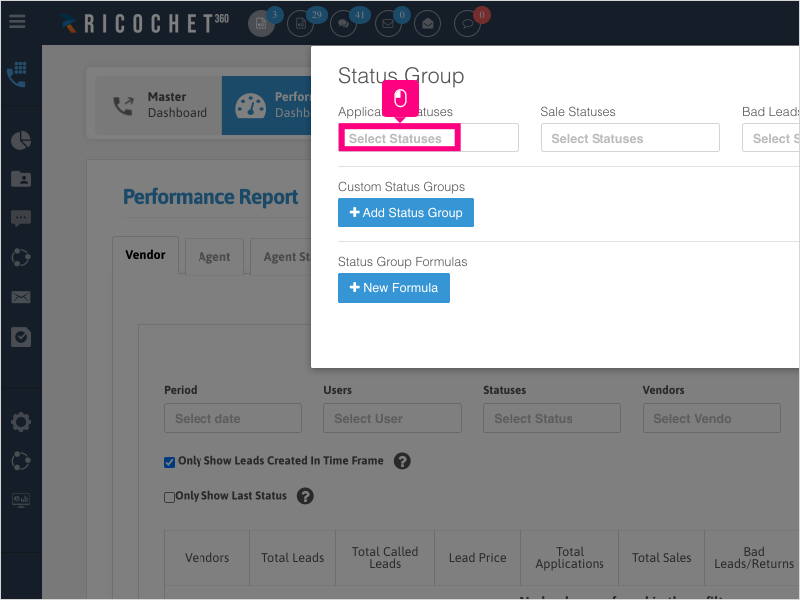
4. Click Select Statuses inside the Application Statuses area to select a status or statuses that you would deem as an Application or Data Taken status.
These would typically be your Contacted-type statuses.
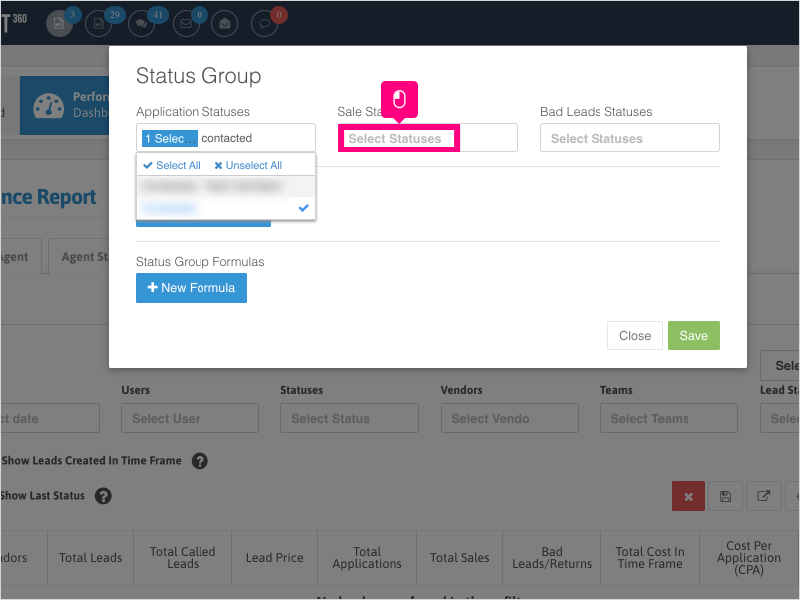
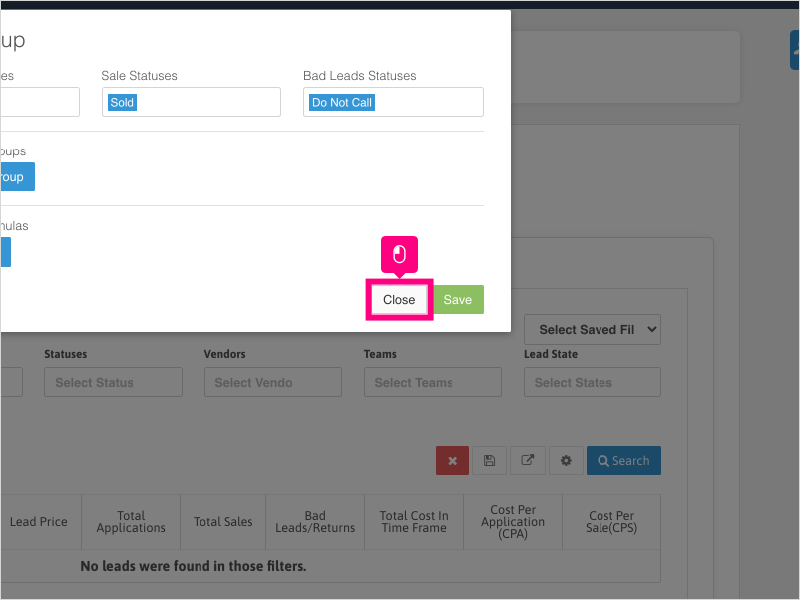
5. Click Select Statuses inside the Sale Statuses area to select a status or statuses that you would deem as a Sale status.
These would typically be your Sales-related statuses.
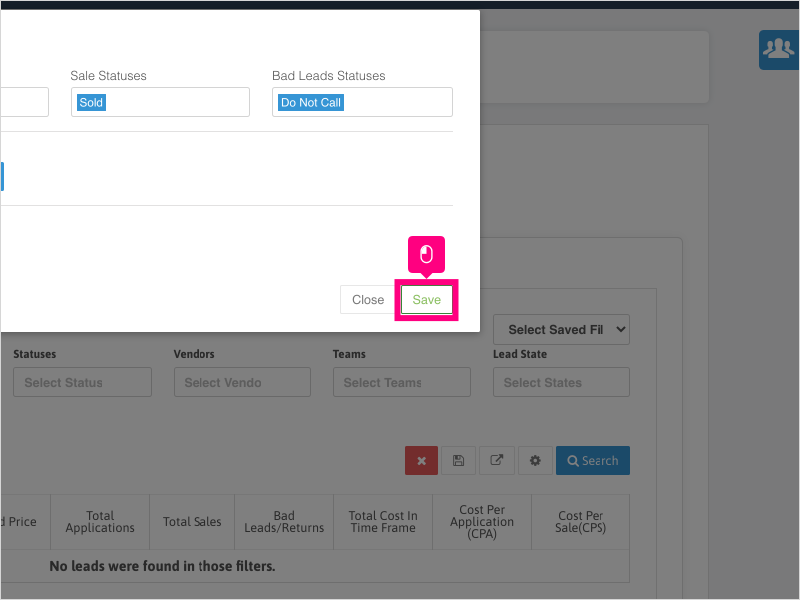
6. Click Select Statuses inside the Bad Lead Statuses area to select a status or statuses that you would deem as a Bad Lead status.
These would typically be your Do Not Call or Not Interested-type statuses.

7. Click Save
8. Click Close after the "Status Grouping Updated" message appears.
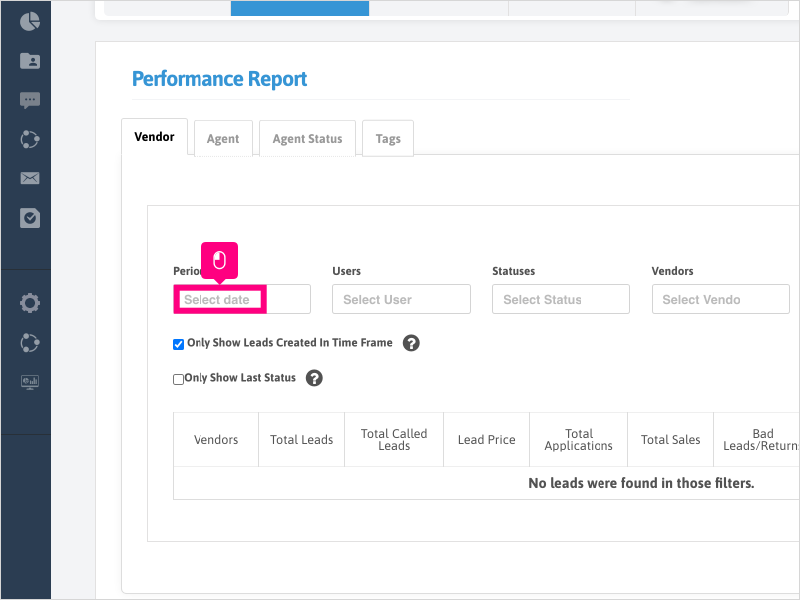
9. Refresh your browser and now you can begin to run your report.
First, click Select date under the "Period" section. Choose your date range that you want to run your report for.
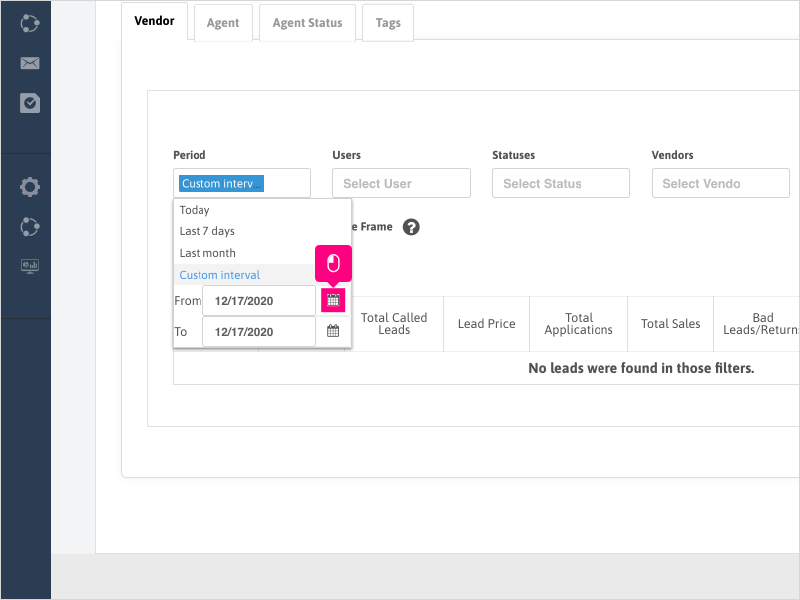
10. For this example, we are using the Custom Interval date range.
To use Custom Interval - click Select Date & choose Custom interval

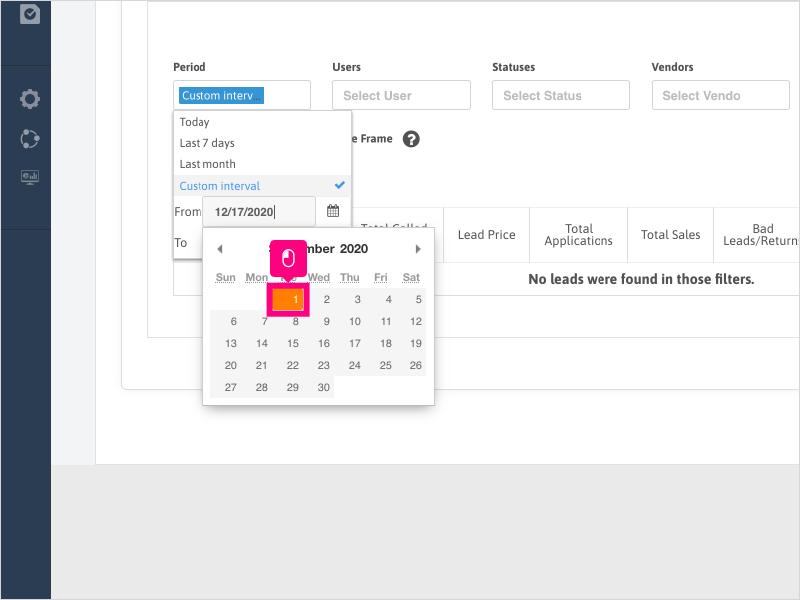
11. Click the Custom Interval option again in the Select Date area to reveal the calendar selection.
Press the calendar icon for the "From" date selector to reveal the calendar option.
12. Navigate back to a date you wish to start from with your report
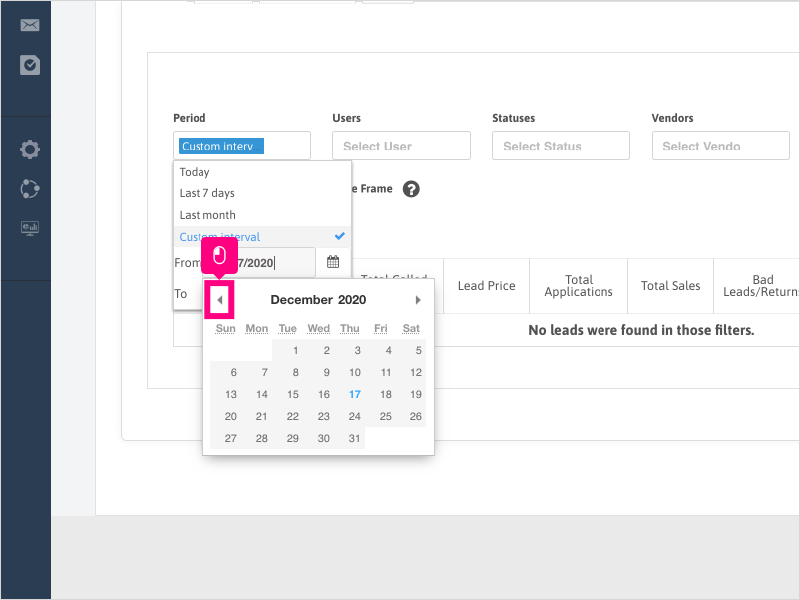
13. Select the date you wish to use as your "From" date.
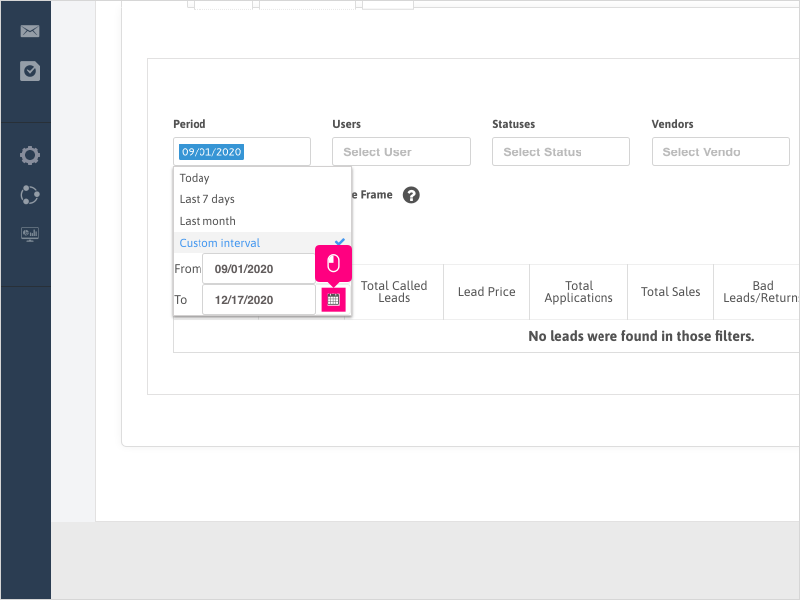
14. Press the calendar icon for the "To" date selector to reveal the calendar option.
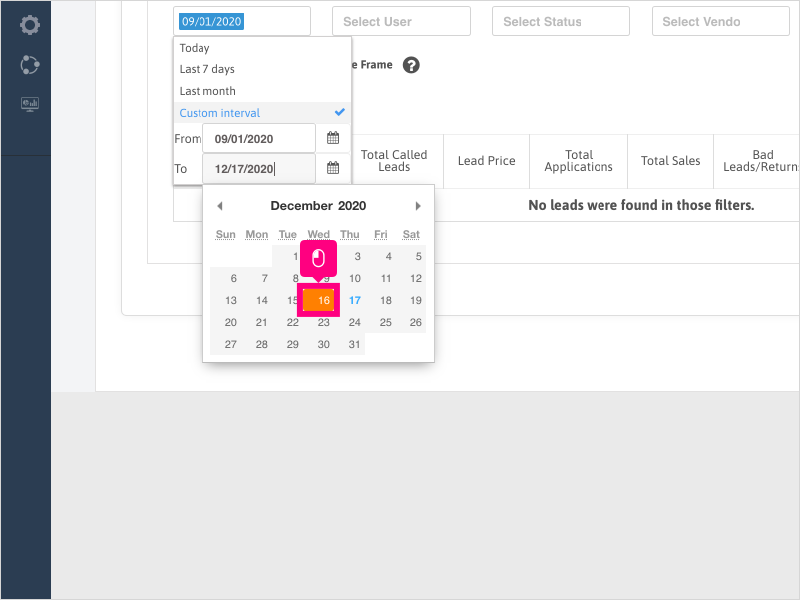
15. Select the date you wish to use as your "To" date.
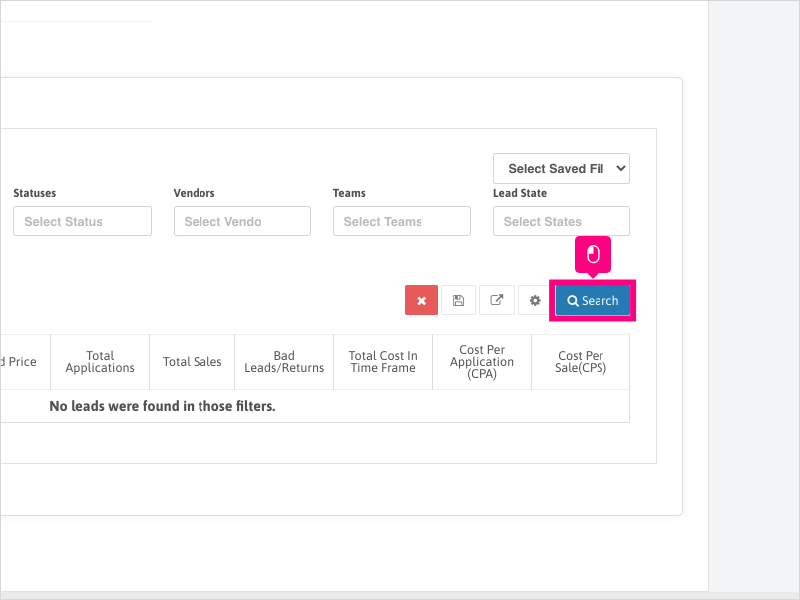
16. Click Search to run your report
17. Expand each vendor dropdown to see any associated campaigns.
You will need to add lead pricing for each vendor/campaign by clicking on "Set Price" for each vendor/campaign. Once the price is set, the financial columns will calculate accordingly.

Was this article helpful?
That’s Great!
Thank you for your feedback
Sorry! We couldn't be helpful
Thank you for your feedback
Feedback sent
We appreciate your effort and will try to fix the article