Subject
Applies to: Admin/Branch Manager
Purpose: Learn how to save and manage filter preferences for the Agent Performance Report
Location in Ricochet: Dashboard → Performance Dashboard → Agent Tab
Description
The instructions in this article require Branch Manager permission or above
This guide explains how to create, update, and delete saved filters in the Agent Performance Report, including setting default filters for quick access.
Resolution
Optional: View the interactive tutorial for this process:
Click here to open the step-by-step tutorial in a new tab
Non-Administrators do not have the access to follow these instructions and should open a ticket.1. To save filters for your Agent Performance Report, click Dashboard
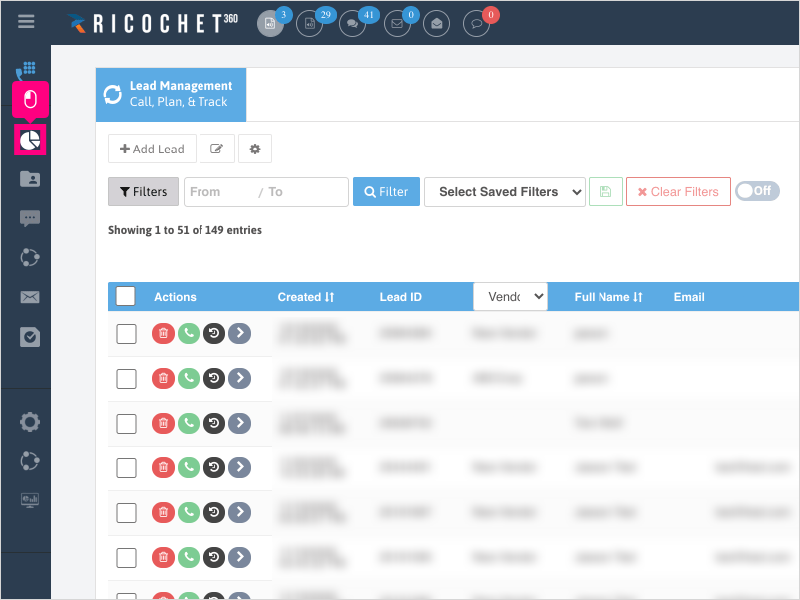
2. Click Performance Dashboard
3. Click the Agent tab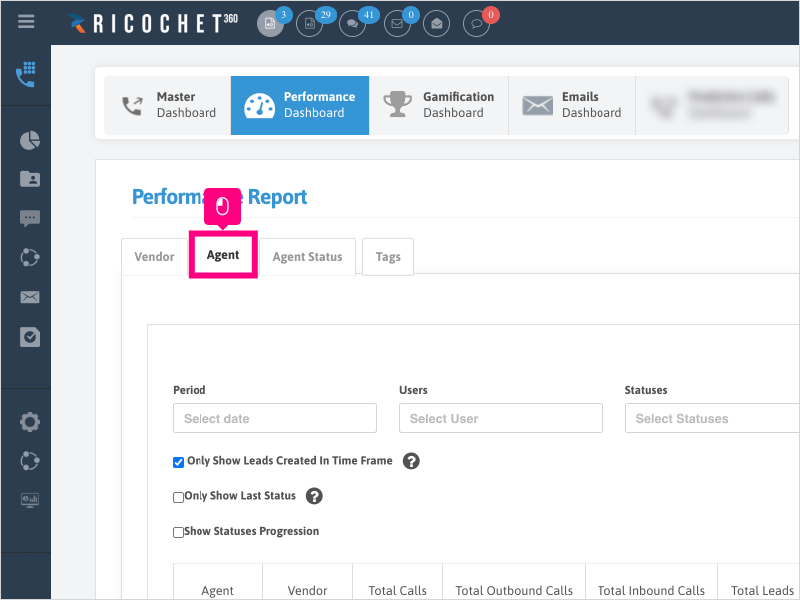
4. Proceed to run your report using the filters desired. 
5. For this example, we will look at leads created in the period of the last 7 days. Click Last 7 days from the dropdown menu.
6. Click Search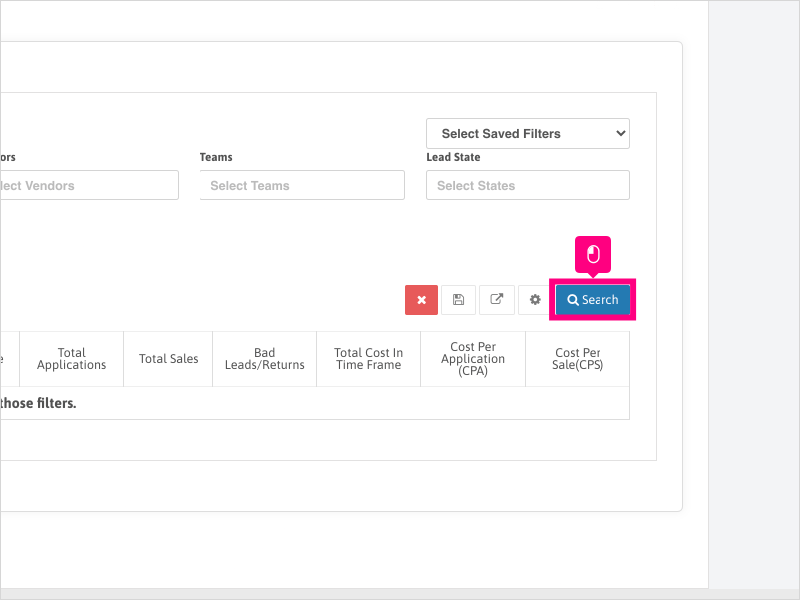
7. Click on the Save Filter button
8. Click in the Name section and enter the name you wish to call this saved filter
9. If desired, you can also check the box for "Default Filter", which will load this filter every time you arrive at the Agent Performance Report page.
Click Save as New Filter
10. Refresh your browser & click the Select Saved Filters dropdown
11. Select the filter name you just created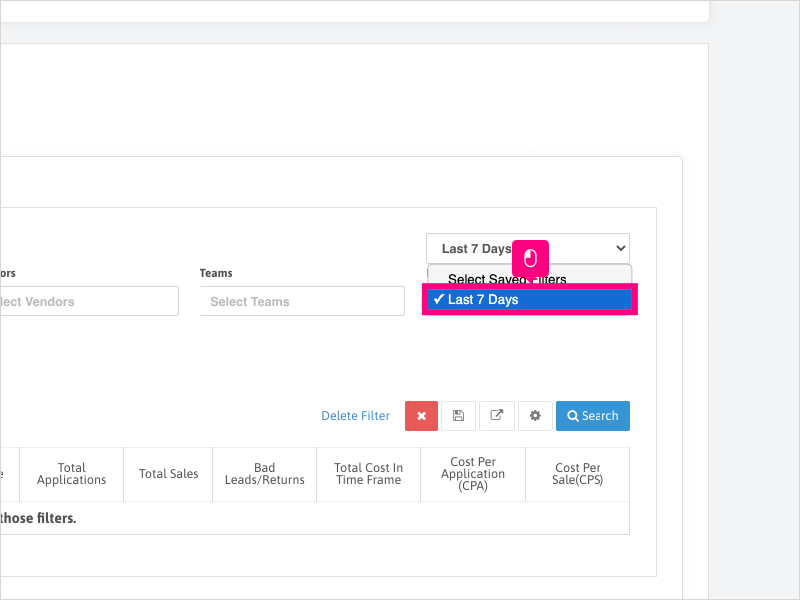
12. Click Search to reveal the results of your saved filter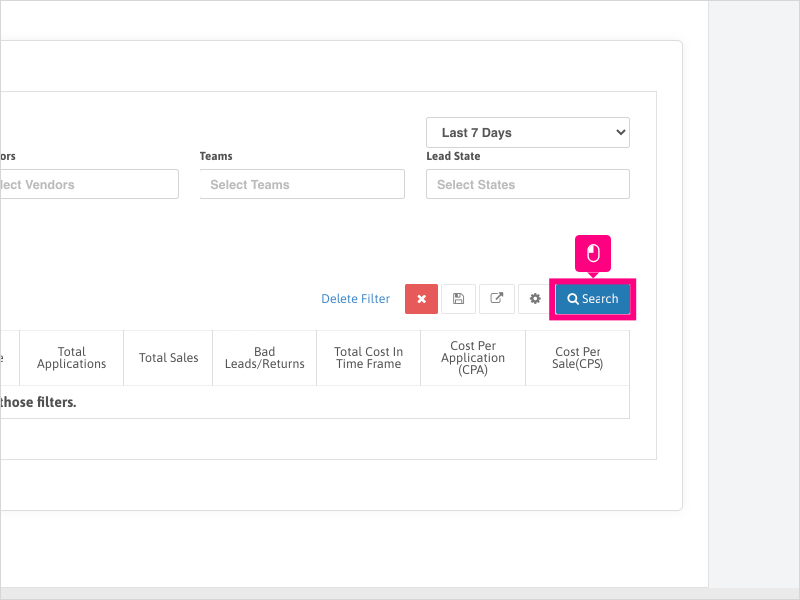
13. If you need to edit your filter after it's selected (after making any filter changes or just a name change) - click Save Filter
14. For name changes, click inside the Name section and re-type the new name (if applicable)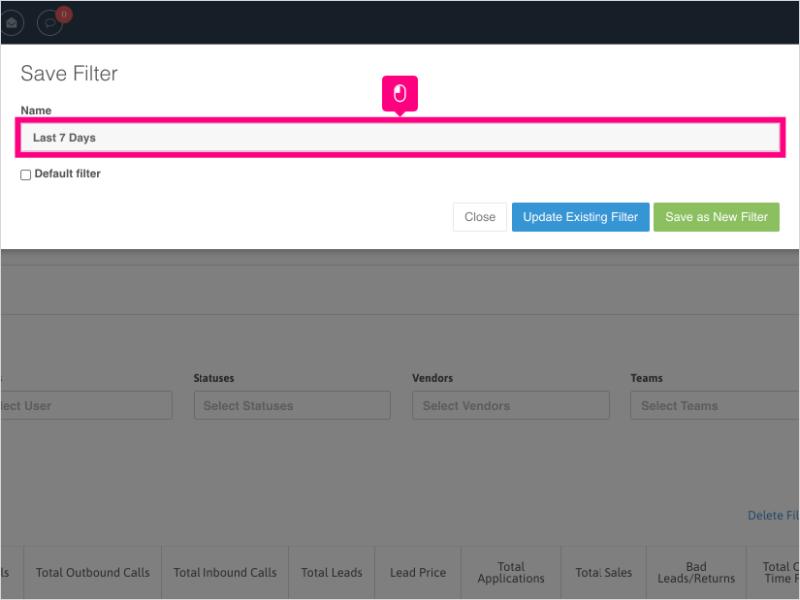
15. Click Update Existing Filter
16. After making the changes, refresh your browser and click Select Saved Filters dropdown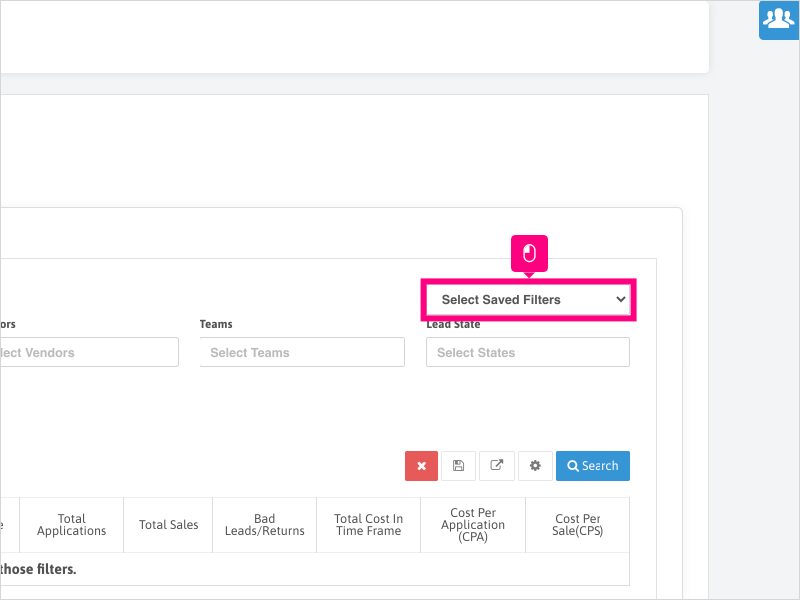
17. Select the filter name you just edited/updated
18. Click Search to show the results of your saved filter selection (if any)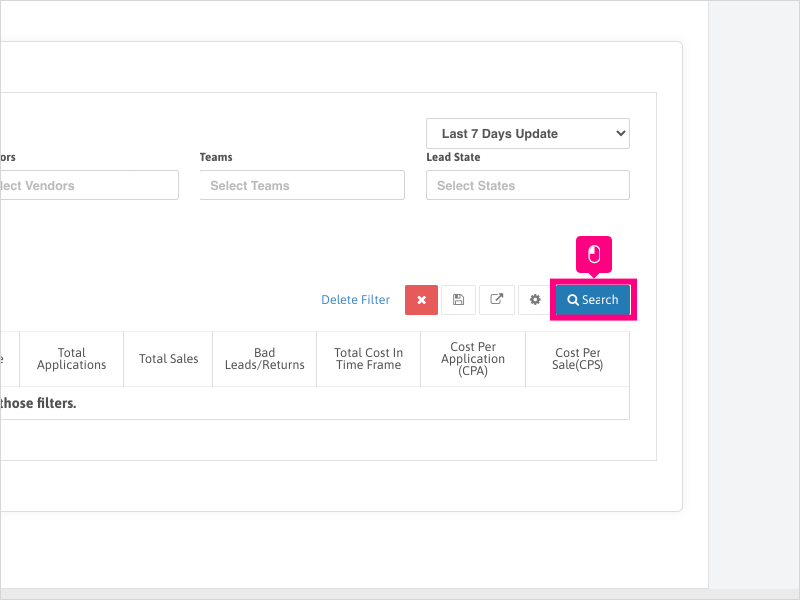
19. If you need to delete a filter, select it from the dropdown and click Delete Filter
20. Click Ok to approve the deletion of the filter.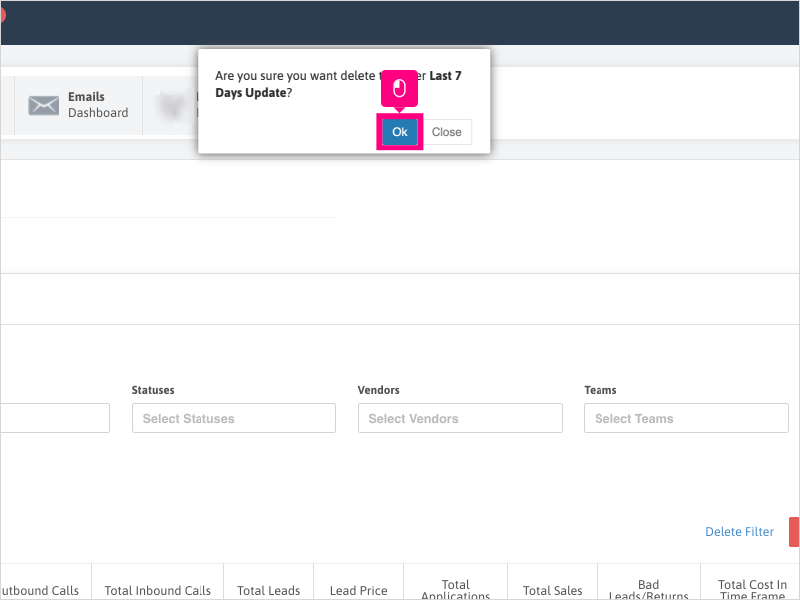
Was this article helpful?
That’s Great!
Thank you for your feedback
Sorry! We couldn't be helpful
Thank you for your feedback
Feedback sent
We appreciate your effort and will try to fix the article